Black Bean Quinoa Burgers

‘Sup everyone? School has started, and making lunches is a struggle once more. Fun times! In keeping with this theme, my next few posts will be simple lunch recipes that can easily be made and frozen so that you can defrost them during busy mornings. Today we’re making Black Bean Quinoa Burgers, which are delicious, easy, and freezable; important qualities for our purposes. You can whip up a big batch and have burgers for days while your friends glare at you enviously. Sounds great, right? Well, you have to make them first. Let’s do this.

Black Bean Quinoa Burgers

Makes 5-6 burgers

Cook Time: 35 minutes

Ingredients:

  • 1 can black beans, drained and rinsed
  • 1/2 cup cooked quinoa
  • About 3 cups fresh spinach that has been wilted (not 3 cup of wilted spinach), or 1/4 cup frozen corn, or both, or none
  • 2 tsp cumin
  • 1 1/2 tsp paprika
  • 1 tsp chile powder
  • 1 tsp garlic powder
  • 1/4 tsp cayenne powder (add more or less to taste)
  • 1/2 tsp oregano
  • 1 tsp salt
  • Couple cracks o’ pepper;))

Directions:

  1. Preheat your oven to 400 degrees F
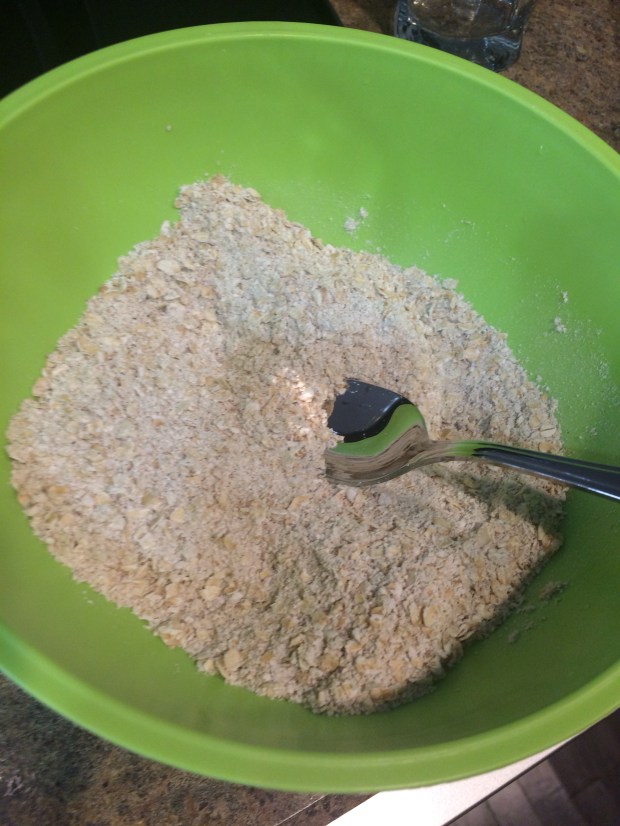
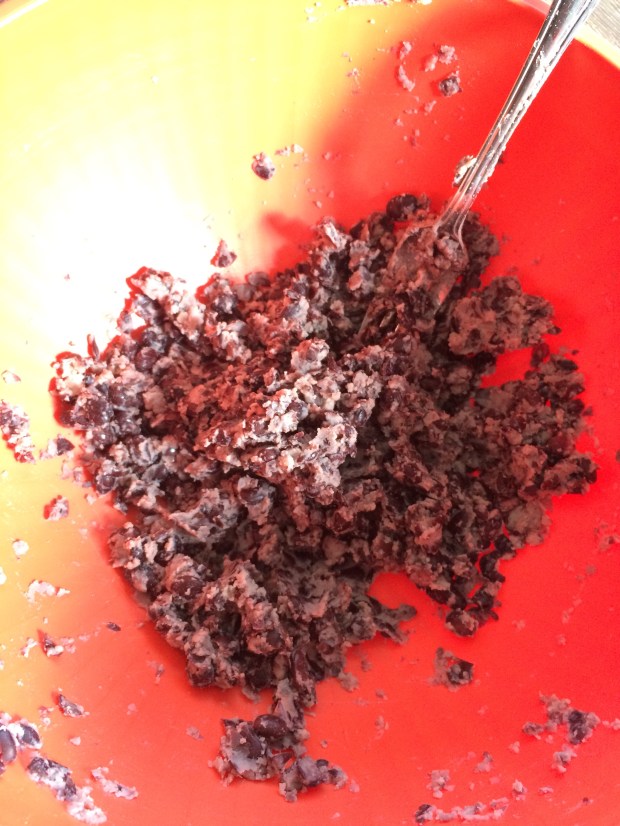
  2. Pat the black beans dry and dump them into a medium sized bowl. Mash them with a fork (or with your hands) until you can form a bit of a ball with them, but there’s still some whole beans in there.img_9397
  3. Add all the spices, quinoa, wilted spinach or corn if using and mix with your hands until combined.img_9398
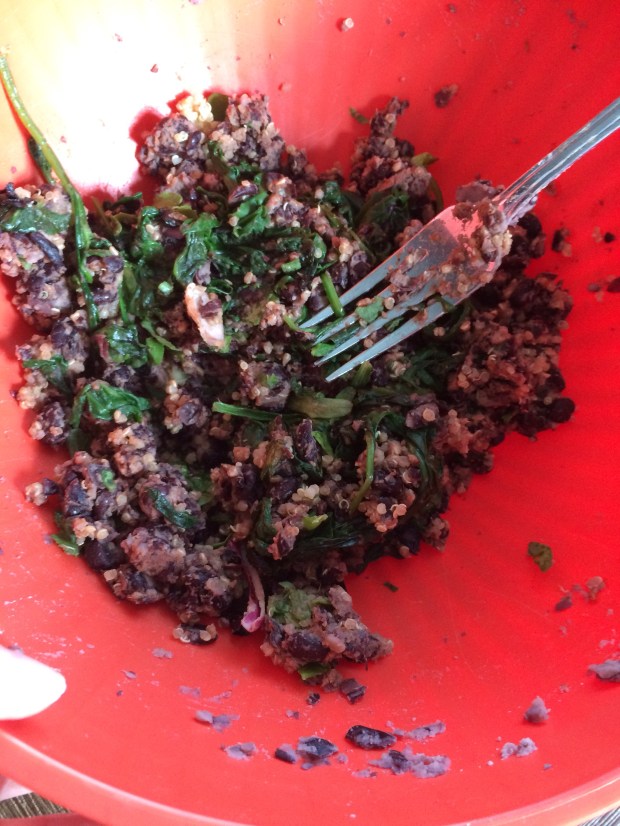
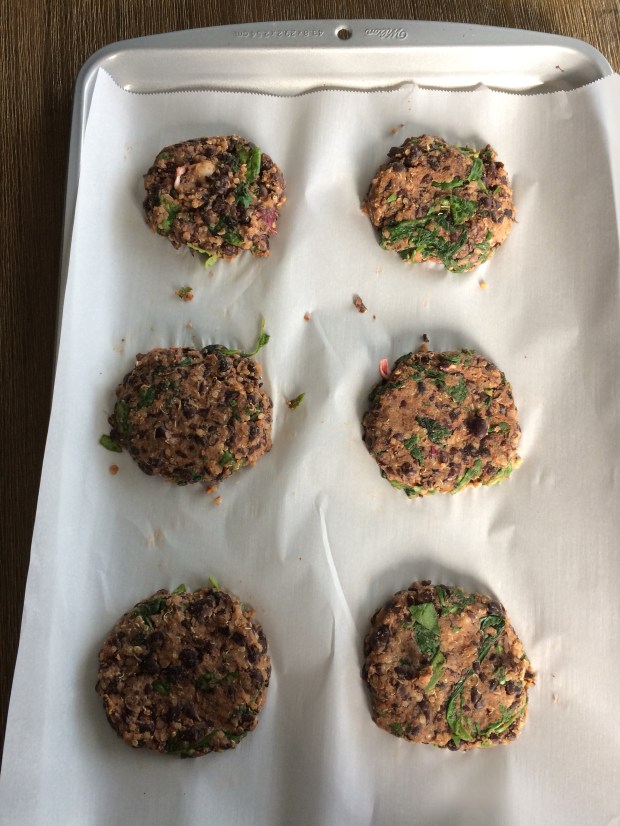
  4. Scoop 1/3 cup of the mixture at a time and form it into patties; they should look something like this:img_9400
  5. Bake for 10 minutes, then flip and bake for about another 25 minutes.
  6. Cool completely before eating or freezing. Freeze the burgers laying flat in a sealed freezer bag.

I love eating these between two pieces of sprouted grain bread with some sliced pickles, tomatoes, spinach, and a little bit of pesto, bet heck, they’d be great in a bun or a wrap with veggies and tzatziki. MMMMMMM! Hopefully these burgers help you out in a pinch, or just give you something great to munch on. Stay tuned for more freezable school lunch recipes coming soon!

Yours truly, MyDayIsBooked;))

Nutty Apple Crumble

Hey guys! I for one love a good apple crumble, and with fall coming up (ewww), I thought that this would be the perfect time for this post. This crumble turned out great, and I ended up using peanut butter instead of the recommended coconut oil (surprise surprise), which makes it unique. But you can totally use coconut oil if you prefer. Almonds give a nice crunch, and using oat flour instead of regular flour makes it healthier.  Scroll down for the recipe.;)

Serves 4-6

Ingredients:

  • 4 Gala Apples, peeled and sliced
  • 1 cup rolled oats
  • 1 cup oat flour (make by grinding oats in your blender)
  • 1 tsp cinnamon
  • 1/4 tsp allspice
  • 1/4 cup melted natural peanut butter (or sub melted coconut oil)
  • 1/4 tsp salt (omit if you’re using salted peanut butter)
  • 1/4 cup whole almonds
  • Drizzle of honey (optional)


Directions:

  1. Preheat the oven to 350F.
  2. Mix together the oats, oat flour, cinnamon, allspice, salt and almonds in a medium sized bowl.img_9245
  3. Add in the peanut butter (or coconut oil) and mix until combined. You may need to get in there with your hands to get rid of chunks of peanut butter or oil.
  4. Place the peeled and sliced apples in a parchment lined baking dish.img_9246
  5. Sprinkle the oat mixture over the apples evenly.
  6. Place the crisp in the oven for about 40 minutes, until the apples are soft.
  7. After 40 minutes in the oven, take out the crisp and drizzle a little but of honey on it. Place it back in the oven for another 5 minutes. (If you’re not using honey, just bake it for a full 45 minutes;)).
  8. Remove the crisp from the oven and enjoy with ice-cream, peanut butter, or more honey. Or all of the above!b50d553f-1135-4d82-b8c7-dd4d3cdd468c-1340-0000004593f2a867_file

Boom! Simple, easy, healthy and delicious! I hope that you enjoy my version of this classic fall dish!


Yours Truly, MyDayIsBooked;)))


Balsamic Roasted Veggie and Quinoa Salad

‘Sup people! One of my favourite things to do is come up with new recipes; I just love being creative and experimenting with different ingredients. Today my experiments paid off, because this salad turned out great! Chickpeas, sweet potato and cauliflower are the main components, with a few fresh cucumbers in there as well. I’m usually not a huge fan of balsamic vinegar, but together with rosemary, quinoa and roasted veggies, it’s waaaay better. Plus, there’s no greens in this salad, which is a nice change! I kept my salad vegetarian, but you could totally add some grilled chicken on top to make it a heartier meal. Here’s the recipe for my Balsamic Roasted Veggie and Quinoa Salad:

Ingredients:

Makes 4 servings

For the Roasted Veggies:

  • 1 sweet potato, peeled and cubed
  • 1 can chickpeas, drained and rinsed
  • 1/4 cup cauliflower florets, washed
  • 1 tbsp avocado or olive oil
  • 1 tbsp balsamic vinegar
  • 1 tsp salt
  • A bit of pepper
  • 1/2 tbsp rosemary leaves

For the Quinoa:

  • 1 cup quinoa, cooked
  • 1 cup cucumber, diced
  • 2 sprigs of green onion, chopped

For the Vinaigrette:

  • 1/4 cup avocado or olive oil
  • 2 tbsp balsamic vinegar
  • 1/2 tsp Salt

Directions:

  1. Preheat your oven to 400 degrees Fahrenheit
  2. Mix all of the roasted veggie ingredients in a large bowl, until the veggies are covered in oil and vinegar.
  3. Spread out the veggies on a sheet pan covered with parchment and bake for about 25-30 minutes, until the sweet potatoes are soft.
  4. While the veggies are baking, cook the quinoa and cut up the onion and cucumber. Mix it all in the bowl the you want to serve the salad in.
  5. Prepare the vinaigrette, mixing the oil and vinegar until combined.
  6. Once the veggies are ready, mix them in with the quinoa mixture. Pour in the vinaigrette and toss the salad.
  7. Enjoy!!


I hope that you like this quick recipe. the sweet potato and balsamic work really well together, and the fresh cucumber sort of brightens everything up. Thanks for checking out this post, and stay tuned for a crafty tutorial coming soon!!

Yours Truly, MyDayIsBooked;))

3 Overnight Oatmeal Recipes to Try This Summer

Hi there! For me, summer is a great time to try new recipes and make a mental note to implement them in my routine for the rest of the year. So I thought that I would try out a few new overnight oatmeal recipes. Overnight Oatmeal is just what it sounds like- oatmeal made overnight by soaking the oats in milk. This means that it’s the perfect make-ahead option for busy mornings. If you have something against oatmeal, don’t worry. The texture of these oats is almost completely different than that of regular oatmeal, and there’s a lot more flavour. I used to have peanut butter banana overnight oatmeal for breakfast every morning- and honestly, I don’t know why I stopped. When something is this delicious and easy to make, how can you go wrong? Here are three of my favourite overnight oatmeal recipes.

  1. Peanut Butter Banana

Yes, PB and Banana strikes again! This is probably my favourite overnight oatmeal recipe of all time. However, if you’re not into the whole peanut butter thing, you can always use Homemade Almond Butter as a replacement, or just leave the nut butter out altogether. Anyway you make it, this recipe is a winner. Ingredients:

  • 1/3 cup rolled oats
  • 1/2 cup milk of your choice
  • 1/2 a banana, mashed
  • 1/2 tsp vanilla
  • 1/4 tsp cinnamon
  • 1 tbs peanut (or any nut) butter, plus additional for garnish

Directions:

  1. Mash the Banana in a small bowl.
  2. Mix in the nut butter until combined.
  3. Stir in all of the other ingredients.
  4. Cover the bowl with plastic wrap and refrigerate overnight.
  5. Uncover in the morning, top with additional nut butter, and enjoy!

2. Stone Fruit Crumble

A stone fruit is a fruit that has a pit in it, so cherries, peaches, nectarines and plums all count. I used plums in my oatmeal, but feel free to use any stone fruit you like.

Ingredients:

  • 1/3 cup rolled oats
  • 1/2 cup milk of your choice
  • 1/2 tsp vanilla
  • 1/4 tsp cinnamon
  • 1/4 tsp nutmeg
  • 1/2 a stone fruit, sliced thinly

Directions:

  1. Mix all of the ingredients above in a small bowl except for the stone fruit until combined.
  2. Place the sliced stone fruit on top of the mixture.
  3. Cover the bowl with plastic wrap and chill overnight.
  4. Remove the wrap in the morning and enjoy!

3. Double Chocolate

This is for all you chocolate lovers out there! Which I’m pretty sure is all of us. This recipe has chocolate in the actual oatmeal itself, and if you want you can top it with some chocolate chips for extra chocolateyness (which should be a word so I’m making it one).

Ingredients:

  • 1/3 cup rolled oats
  • 1/2 cup milk of your choice
  • 1 1/2 tsp cocoa powder
  • 1/2 a banana, mashed
  • 1/2 tsp vanilla
  • Chocolate chips or nut butter for topping

Directions:

  1. Mash the banana in a small bowl.
  2. Mix in all of the other ingredients except for the garnish.
  3. Cover with plastic wrap and place in the fridge overnight.
  4. Uncover, top with your choice of garnish, and enjoy.

So there you go, three overnight oatmeal recipes to try this summer! Let me know what you think of the recipes in the comment space below or on Twitter @mydayisbooked. Thanks for checking out my blog!

Yours Truly, MyDayIsBooked😄

Chickpea Nutella

Hello again! I’m back, and this time you only had to wait ten days in-between posts! I think that’s a new record. Seriously though, this “Nutella” is amazing. If you’re skeptical about the whole chickpea thing, don’t worry, I was too. But the end result was this delicious chocolatey spread that goes well with just about everything. There is an option to add some peanut butter, which I obviously did, but if you’re sick of all the peanut butter recipes on this site than feel free to take a break from it! Personally, I don’t think I’ll ever get tired of peanut butter. Before I give you the recipe, I want to commemorate shaneandsimple.com for coming up with it:)

Ingredients:

  • 1 15oz can of chickpeas, drained, rinsed, and patted dry
  • 1/4 creamy natural peanut butter (optional)
  • 1 small ripe banana
  • 1/4 cocoa powder
  • 1 tsp vanilla
  • a pinch of salt
  • 2 tbsp water (or more; add until you reach your desired consistency)


Directions:

  1. Add all ingredients to a high-speed blender and blend until desired consistency is reached. Add more water if needed.


And……………. wow, that’s pretty much it. I think that’s the simplest recipe ever! Enjoy this spread on toast, with fruit, or anything else that needs chocolate on it! (Which is pretty much everything.) Thank for checking out this recipe! I’ll definitely be posting more in the summer – this darn invention called “studying for final exams” is killing my free time! Enjoy this spread in the meantime!


Yours Truly, MyDayIsBooked;))