MERRY CHRISTMAS!!!! Hope you’re all having an amazing day so far! I know this Christmas looks a little different than past years, but hopefully you guys can find some way to hang out with family, whether it be virtually or with a small, socially distant group in person.
For a fun and festive Christmas recipe, I thought I’d share a delicious popcorn mix! It’s a quick and easy recipe that you can whip up while celebrating the holiday. The walnuts are beautifully candied in some maple syrup on the stove, making them tender and sweet, balancing perfectly with the salted popcorn! I also threw some cinnamon in there for some extra Christmas flavour.
Also, we’re making our popcorn from scratch! Of course, you can use pre-made popcorn if you want to speed things up even more, but making your own is surprisingly easy and healthier. You’ve just got to heat up the oil, toss in the kernels, and listen to them pop! Plus you can season to your own taste with salt.
I’m going to keep this post short today so you can get straight to the recipe and go back to making holiday memories! I hope you enjoy this recipe and have a great rest of your day:)
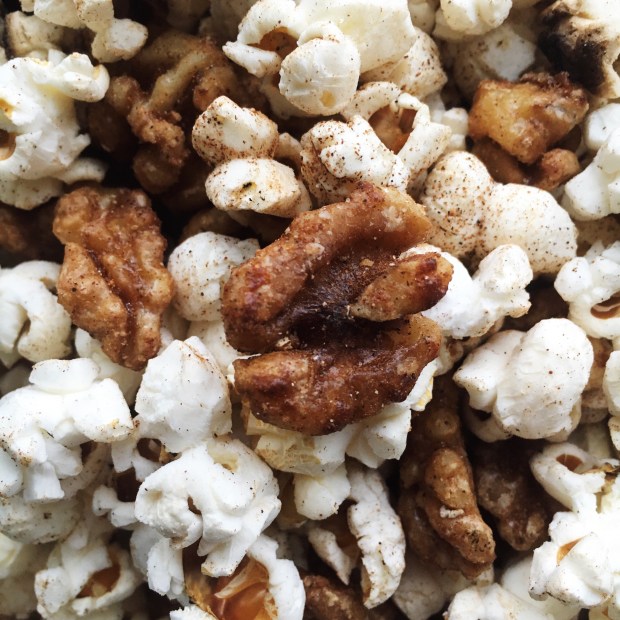
Candied Walnut Popcorn
Serves: 4
Total Time: 20 minutes
Ingredients:
- 2 tbsp coconut oil
- 1/3 cup popcorn kernels
- 1 1/2 cups walnuts
- 2 tbsp maple syrup
- 1/2 tsp cinnamon + more to taste
- Salt to taste
Directions:
- Heat the coconut oil in a large pot over medium-low heat.
- Add in the popcorn kernels to the pot, and put on the lid, leaving it slightly ajar so that the steam can escape. Listen to the kernels pop! When the popping slows, remove the pot from the heat.
- Season the popcorn to taste with salt.
- In a small pot, combine the walnuts and maple syrup. Put the pot on the stove over medium-low heat, and wait for the maple syrup to come to a slight simmer. Keep stirring the walnuts and maple until the maple syrup begins to caramelize and turns into a sticky coating on the walnuts, about 3-5 minutes.
- Take the pot off of the heat and let the candied walnuts cool for about 2 minutes before adding them to the popcorn. Mix everything up and season to taste with some more salt and cinnamon.
- Enjoy!!
Merry Christmas and I’ll see you soon with my 2021 Bullet Journal Set-Up! I’m so excited:))
Yours Truly,
Olivia:)))