I have a VERY deep love of sweet potatoes, and my obsession has only grown after rediscovering this method of cooking them. It takes five minutes, is super easy, and is done in- wait for it- the MICROWAVE. That’s right, we’re making some baked potatoes in the microwave, and I promise you that after trying them out you will never go back to the oven🙌
Don’t get me wrong, I still love some good roasted or air fried sweet potatoes. I love when they get all crispy! But when I’m looking for a quick sweet potato fix, this method is the best. You’re basically steaming the sweet potato in the microwave by wrapping it in a damp paper towel and then cooking it on high for about 5 minutes, flipping halfway through. This super simple technique is a game changer because it allows you to whip up some delicious potatoes on short notice, instead of waiting 30-40 minutes for them to roast in the oven.
I remember that I saw this idea somewhere on social media a couple of years ago and was only cooking my sweet potatoes this way before I discovered roasting them. But I don’t know why I stopped this microwave magic altogether- now that I’ve remembered how awesome it is I can’t wait to start making sweet potatoes more quickly! What I have in mind is making quick sides for dinner, super fast and delicious school lunches, and last minute additions to salads and bowls.
I hope this method changes your guys’ lives as much as it’s going to change mine!😂 If anyone’s down to start a sweet-potato-cooking-technique-discussion-group let me know because I will be the president✌️
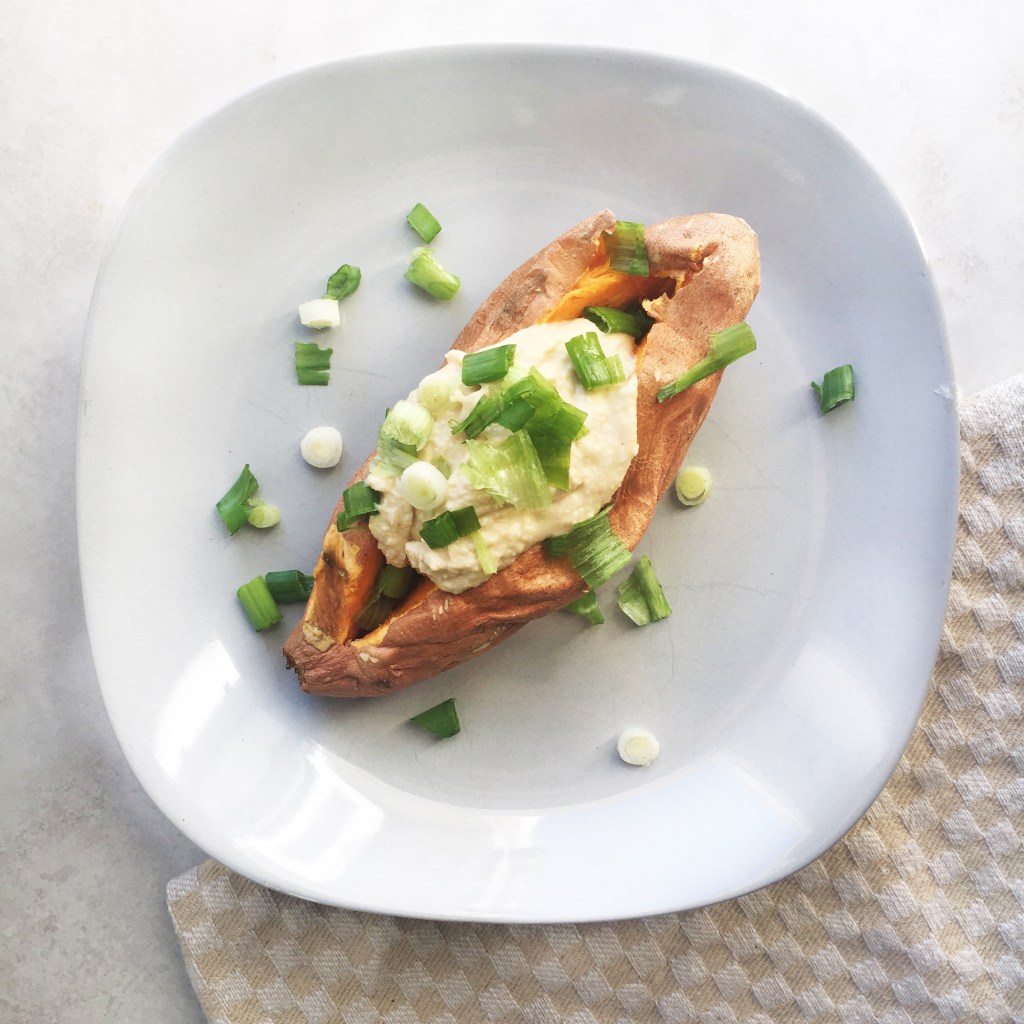
5 Minute “Baked” Sweet Potatoes
Serves: 1
Total Time: 7 minutes
Ingredients:
- 1 small sweet potato, washed and cleaned (any eyes or blemishes removed)
- Hummus, chives, avocado, beans, or plain yogurt for topping (optional)
Directions:
- Grab about 2-3 connected sheets of paper towel and soak them under the tap. Wring them out until no more water comes out, and the towels are damp.
- Use a fork to poke about 10 holes all around the sweet potato. Wrap it in the damp paper towels, place on a plate, and microwave on high for 2 minutes and 30 seconds.
- Take the potato out of the microwave, flip it over, and microwave for another 2 minutes and 30 seconds, or until the potato is cooked all the way through.
- Unwrap the potato, cut open the top lengthwise, and top with hummus, plain Greek yogurt, chives, or avocado, or add to your favourite bowls and salads.
- Enjoy!
There’s a super simple recipe for you on a Saturday! Have a great rest of your weekend and get ready for more tasty recipes coming next week:)
Yours Truly,
Olivia;))