I’m loving my shrimp lately! It’s fast, easy, and so so good🙌 So I added it to this amazing pasta dish which uses a nice spring vegetable, the artichoke!

Artichokes can be a little scary to prepare because they’re not a super common vegetable. However, the flavour is DELICIOUS and they contain lots of antioxidants👌 I started by steaming my own artichokes and then using the hearts and stems, because the leaves are very fibrous. In the future I can do a whole post on how to prepare an artichoke. If you want to skip all the prep and get right to the pasta though, you can buy a jar of marinated artichokes. Either way, you’re getting lots of great flavour.
If you’re using marinated artichokes, then this dish comes together in a SNAP. We’re talking 15 minutes people. THAT’S A ONE. AND THAT’S A FIVE. I The artichokes are sautéed with some garlic, olive oil and cherry tomatoes, before the shrimp get added in with some salt and pepper. All of this together creates a really light sauce that is perfect to highlight the artichokes! I then tossed in some cooked lentil spaghetti, which is great because it’s packed full of protein. It’s also gluten free so that’s a win! Whole wheat or regular spaghetti works great too though!

Once everything’s tossed up, all that’s left to do is serve. This makes an amazing quick lunch or dinner, but it’s also kind of fancy so if your looking to treat yourself to a nice meal in, you’re all set. Hope you enjoy!
Yours Truly,
Olivia:)
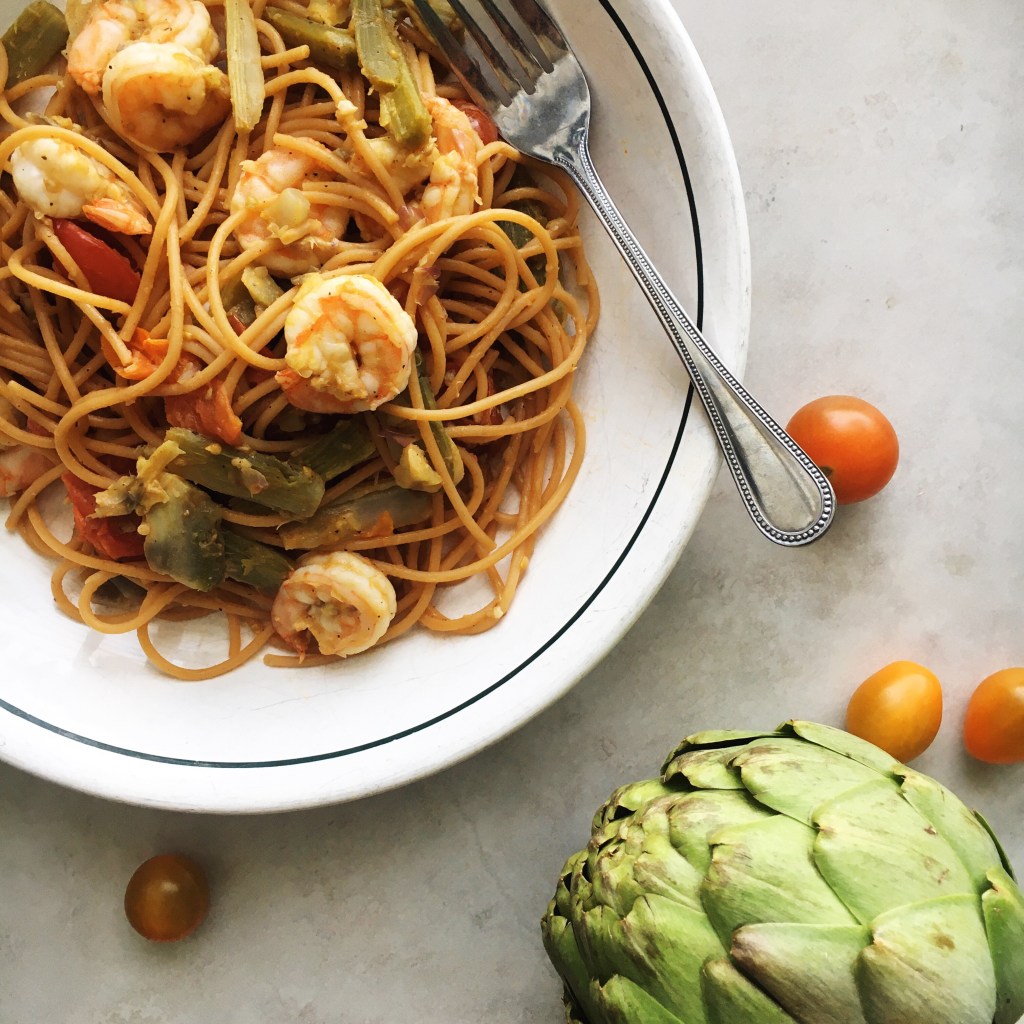
Shrimp and Artichoke Pasta
Ingredients
-1/2 tbsp olive oil
-15 medium shrimp, tails off
-2 chopped artichoke hearts, steamed or marinated
-10 cherry tomatoes, cut in halves
-1 large clove of garlic, minced
-2 servings of cooked lentil, whole wheat or regular spaghetti
-Salt and pepper to taste
Directions
1. Heat the olive oil in a pan over medium heat. Add in the garlic, tomatoes, and chopped artichoke hearts and cook for about 4 minutes, until the tomatoes are soft and tender. Smash the tomatoes down during the cooking process to get the juices going in the pan.
2. Add the shrimp to the pan and cook for about 2 minutes per side, until they are light pink in colour. Season everything to taste with salt and pepper.
3. Add in the cooked pasta, remove from the heat and toss everything together.
4. Serve warm and enjoy:)