Peanut Butter and Jam Tarts

Hi peoples! I’ve had a great weekend so far; I ate a fantastic avocado egg salad sandwich, did some bullet journaling, baked and decorated sugar cookies, painted eggs with my family, and today I made healthy and delicious Peanut Butter and Jam Tarts.

I was looking around Pinterest and Instagram for some Easter treat ideas, but pretty much all of the ones I found called for either coconut oil, dates, cocoa butter or maple syrup, all of which I don’t have at the moment. So I decided to get creative and come up with my own version of a healthy dessert: Peanut Butter and Jam Tarts.

These tarts are ridiculously easy to make and call for super simple ingredients. The shells are made up of the same formula as my Chocolate PB Banana Energy Balls; just bananas, oats, oat flour and a dash of vanilla. A berry filling is then poured over top of a teaspoon of peanut butter at the bottom of the shells, and voila, you have some beautiful tarts! They’re perfect as a snack, dessert, or quick breakfast. I hope you like them as as much as I do!

Peanut Butter and Jam Tarts

Makes: About 6 tarts

Total Time: 45 minutes

Ingredients:

For the tart shells:

  • 2 ripe bananas, mashed
  • 1 cup oat flour (ground up oats)
  • 1/2 cup rolled oats
  • 1/2 tsp vanilla
  • any kind of oil, for greasing the muffin tin

For the filling:

  • 2 cups frozen berries
  • 1 tsp vanilla
  • 1/4 cup water
  • 1 tbsp plus 6 tsp peanut butter
  • 2 tsp oat flour

Directions:

  1. Preheat your oven to 350 degrees Fahrenheit
  2. Grease 6 holes in a normal sized muffin tin with the oil. I used olive, but coconut or avocado would work too.
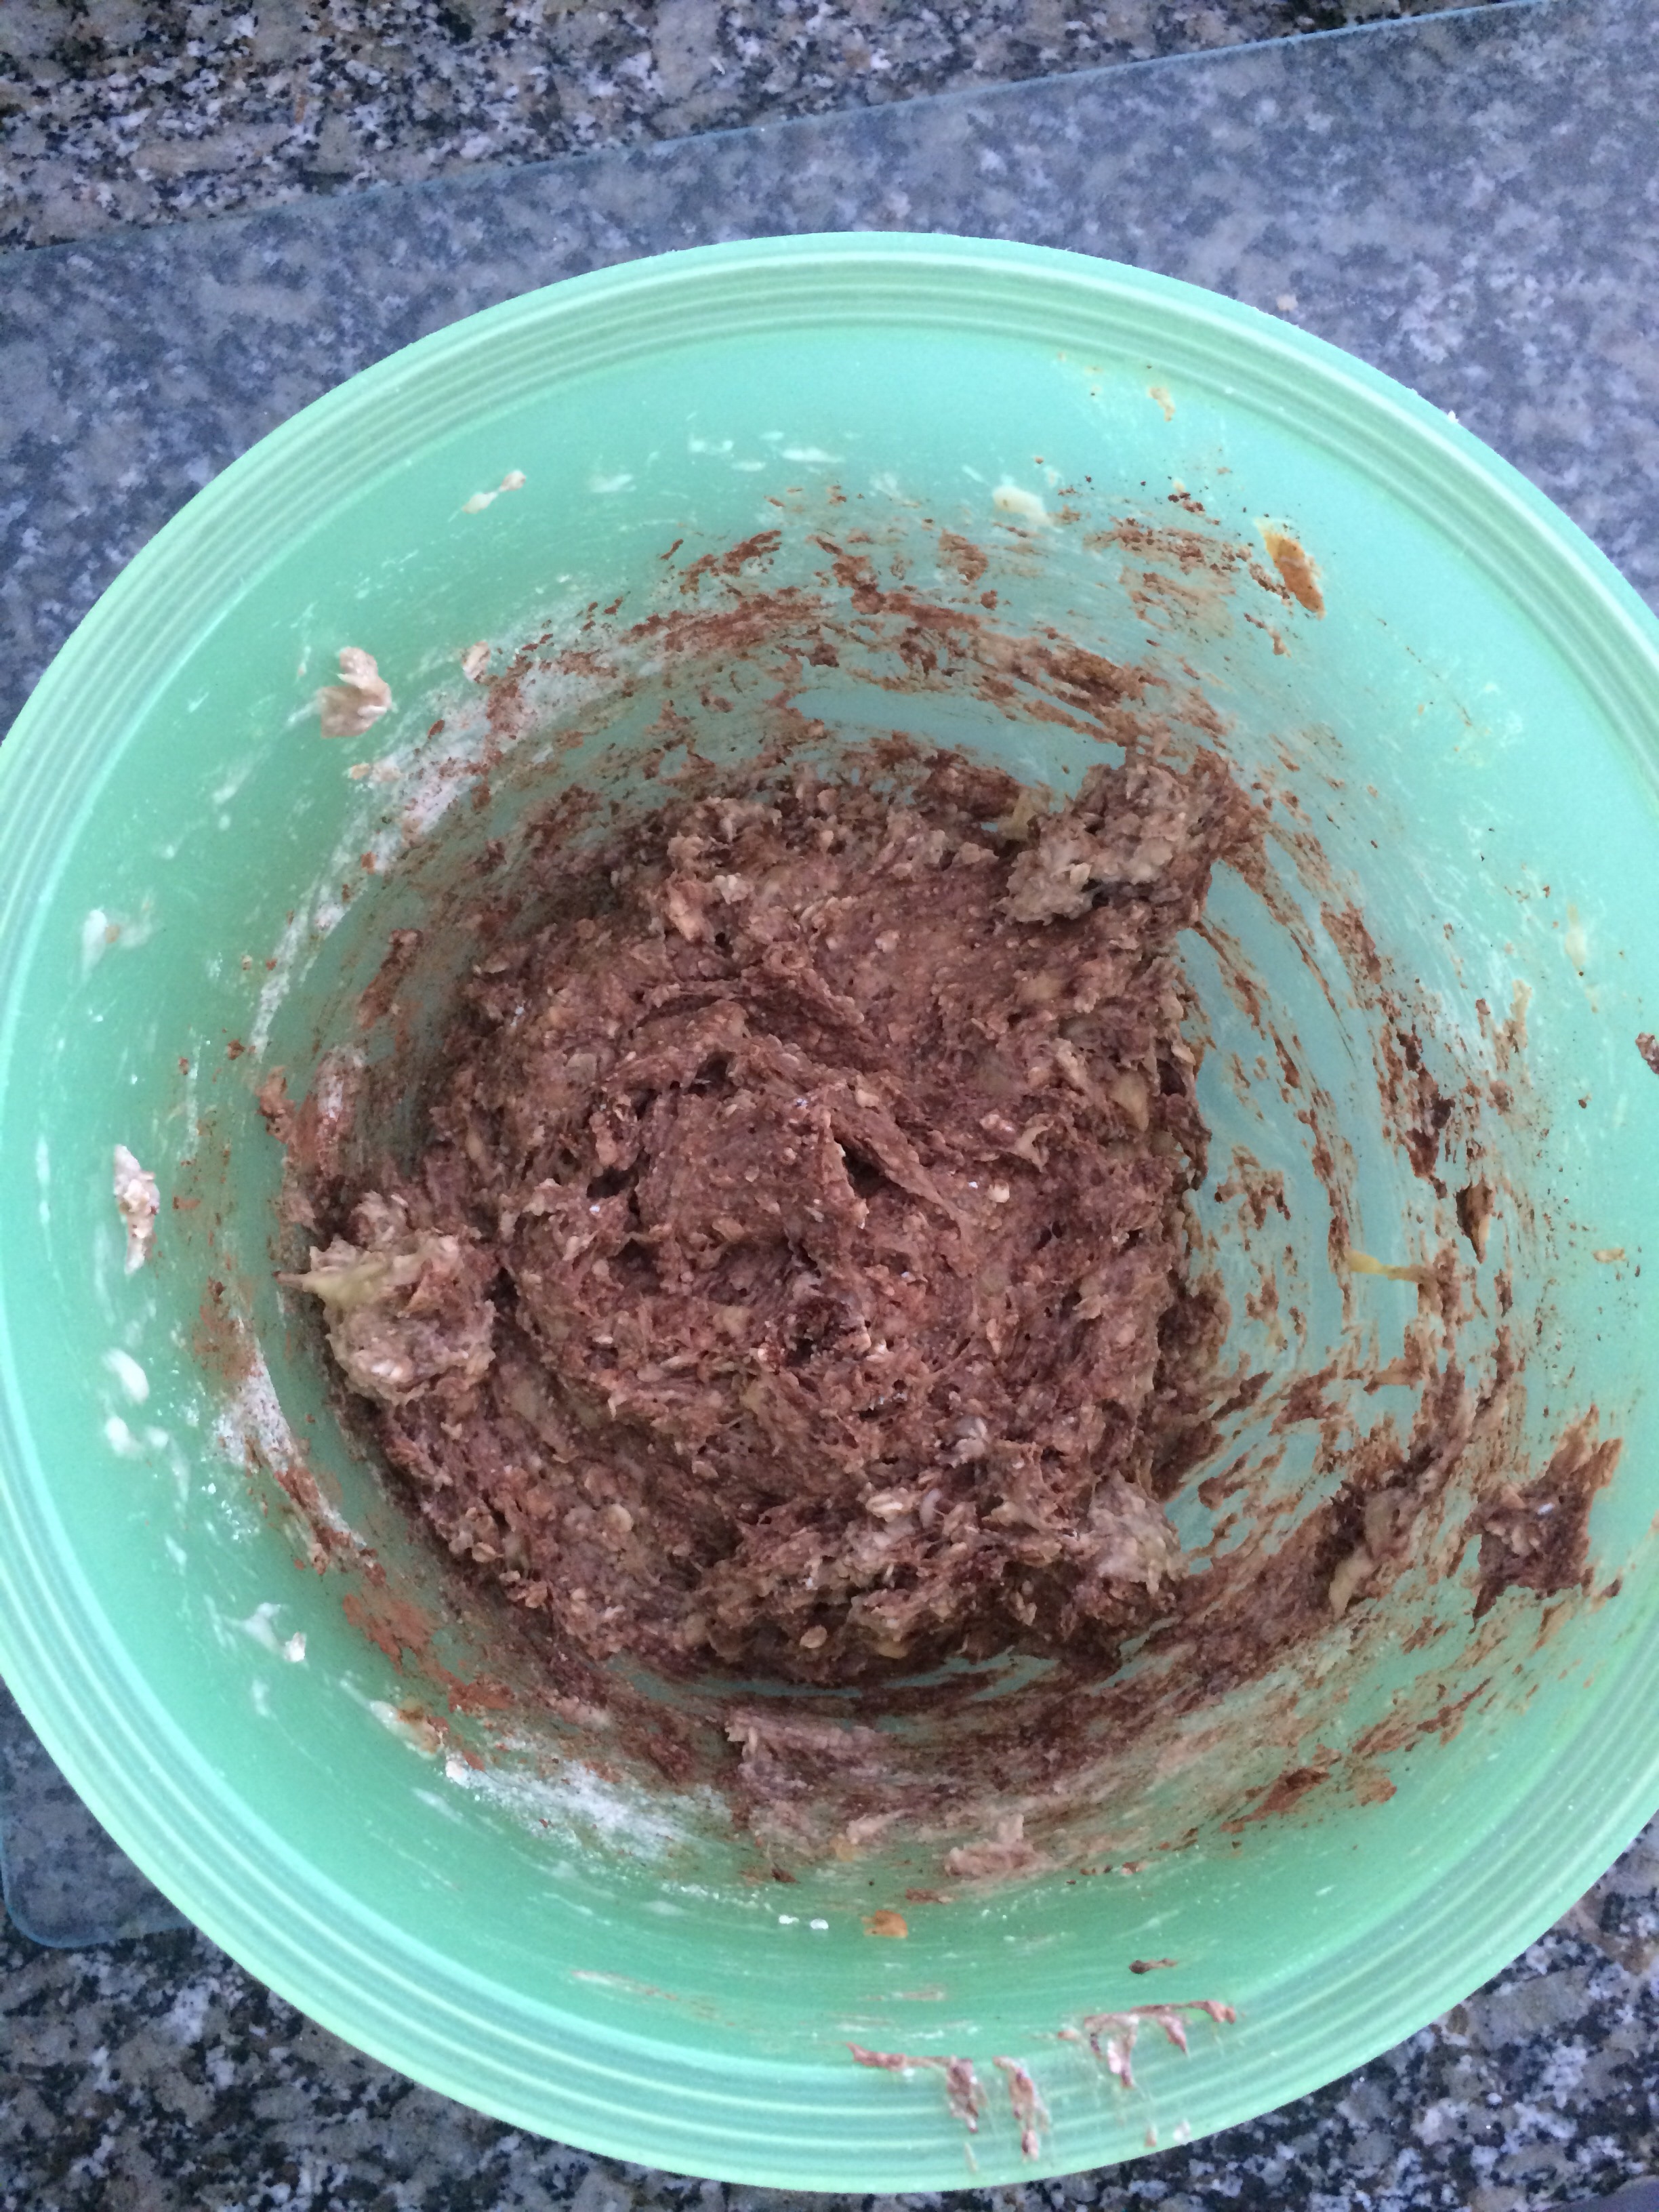
  3. Mix together the oats, oat flour, mashed bananas and vanilla in a bowl. Then use a tablespoon to scoop the mixture into six muffin holes. Use your fingers to spread it around and create a cup shape. Make sure that the mixture is evenly distributed and not too thick or thin in some parts.
  4. Bake for 10-15 minutes, until golden brown. Remove them from the muffin tin using a butter knife to pry them out and let cool.
  5. Stir together the frozen berries, vanilla, water, oat flour and 1 tbsp peanut butter in a small pot. Place over high heat, bring to a boil, and then let simmer for 5-10 minutes, until thickened. Make sure to stir the berries every once in a while so that they don’t burn. Place in the refrigerator to cool and set up a bit more.
  6. Spoon a teaspoon of peanut putter into the bottom of each tart. Then fill the rest of every tart with the berry filling.
  7. Enjoy!

Thanks for checking out my recipe! Have a great weekend and a Happy Easter!

Yours truly,

MyDayIsBooked:))))

PB Banana Creamsicles

Hi! I seriously can’t wait to share this recipe with you; I know I say this in every post, but these creamsicles are actually my favourite recipe of all time! They’re delicious, and made with some of my favourite things; you guessed it, bananas and peanut butter! I actually found this recipe on Pinterest, and would like to give a little shout-out to feedingyourbeauty.com for making my tastebuds super happy! These measurements make approximately 6-8 creamsicles, depending on how big your molds are. If you don’t have any molds, it’s all good! Freeze the creamsicle batter (do you call it batter?) as directed in my Very Berry Frozen Yogurt post. Without further ado, here’s the recipe for this creamy summer treat:

Ingredients:

  • 3 medium bananas, chopped and frozen
  • 2 tsp vanilla
  • 1/3 cup all natural peanut butter (salted and unsalted both work) plus more for swirling
  • 2 tbs milk of your choice
  • A big pinch of salt! (You won’t need extra salt if your peanut butter is salted)

Directions:

  1. Blend bananas, milk, vanilla, 1/3 cup peanut butter and salt (if using) in a high speed blender until smooth.
  2. Scoop the mixture out of the blender and fill each mold about halfway.
  3. Swirl in about 1tsp of peanut butter, and a little bit more salt if it isn’t salted for that delicious sweet and salty element.
  4. Fill the molds with the remaining banana mixture.
  5. Pop in the popsicle sticks and freeze for about 2-3 hours. 
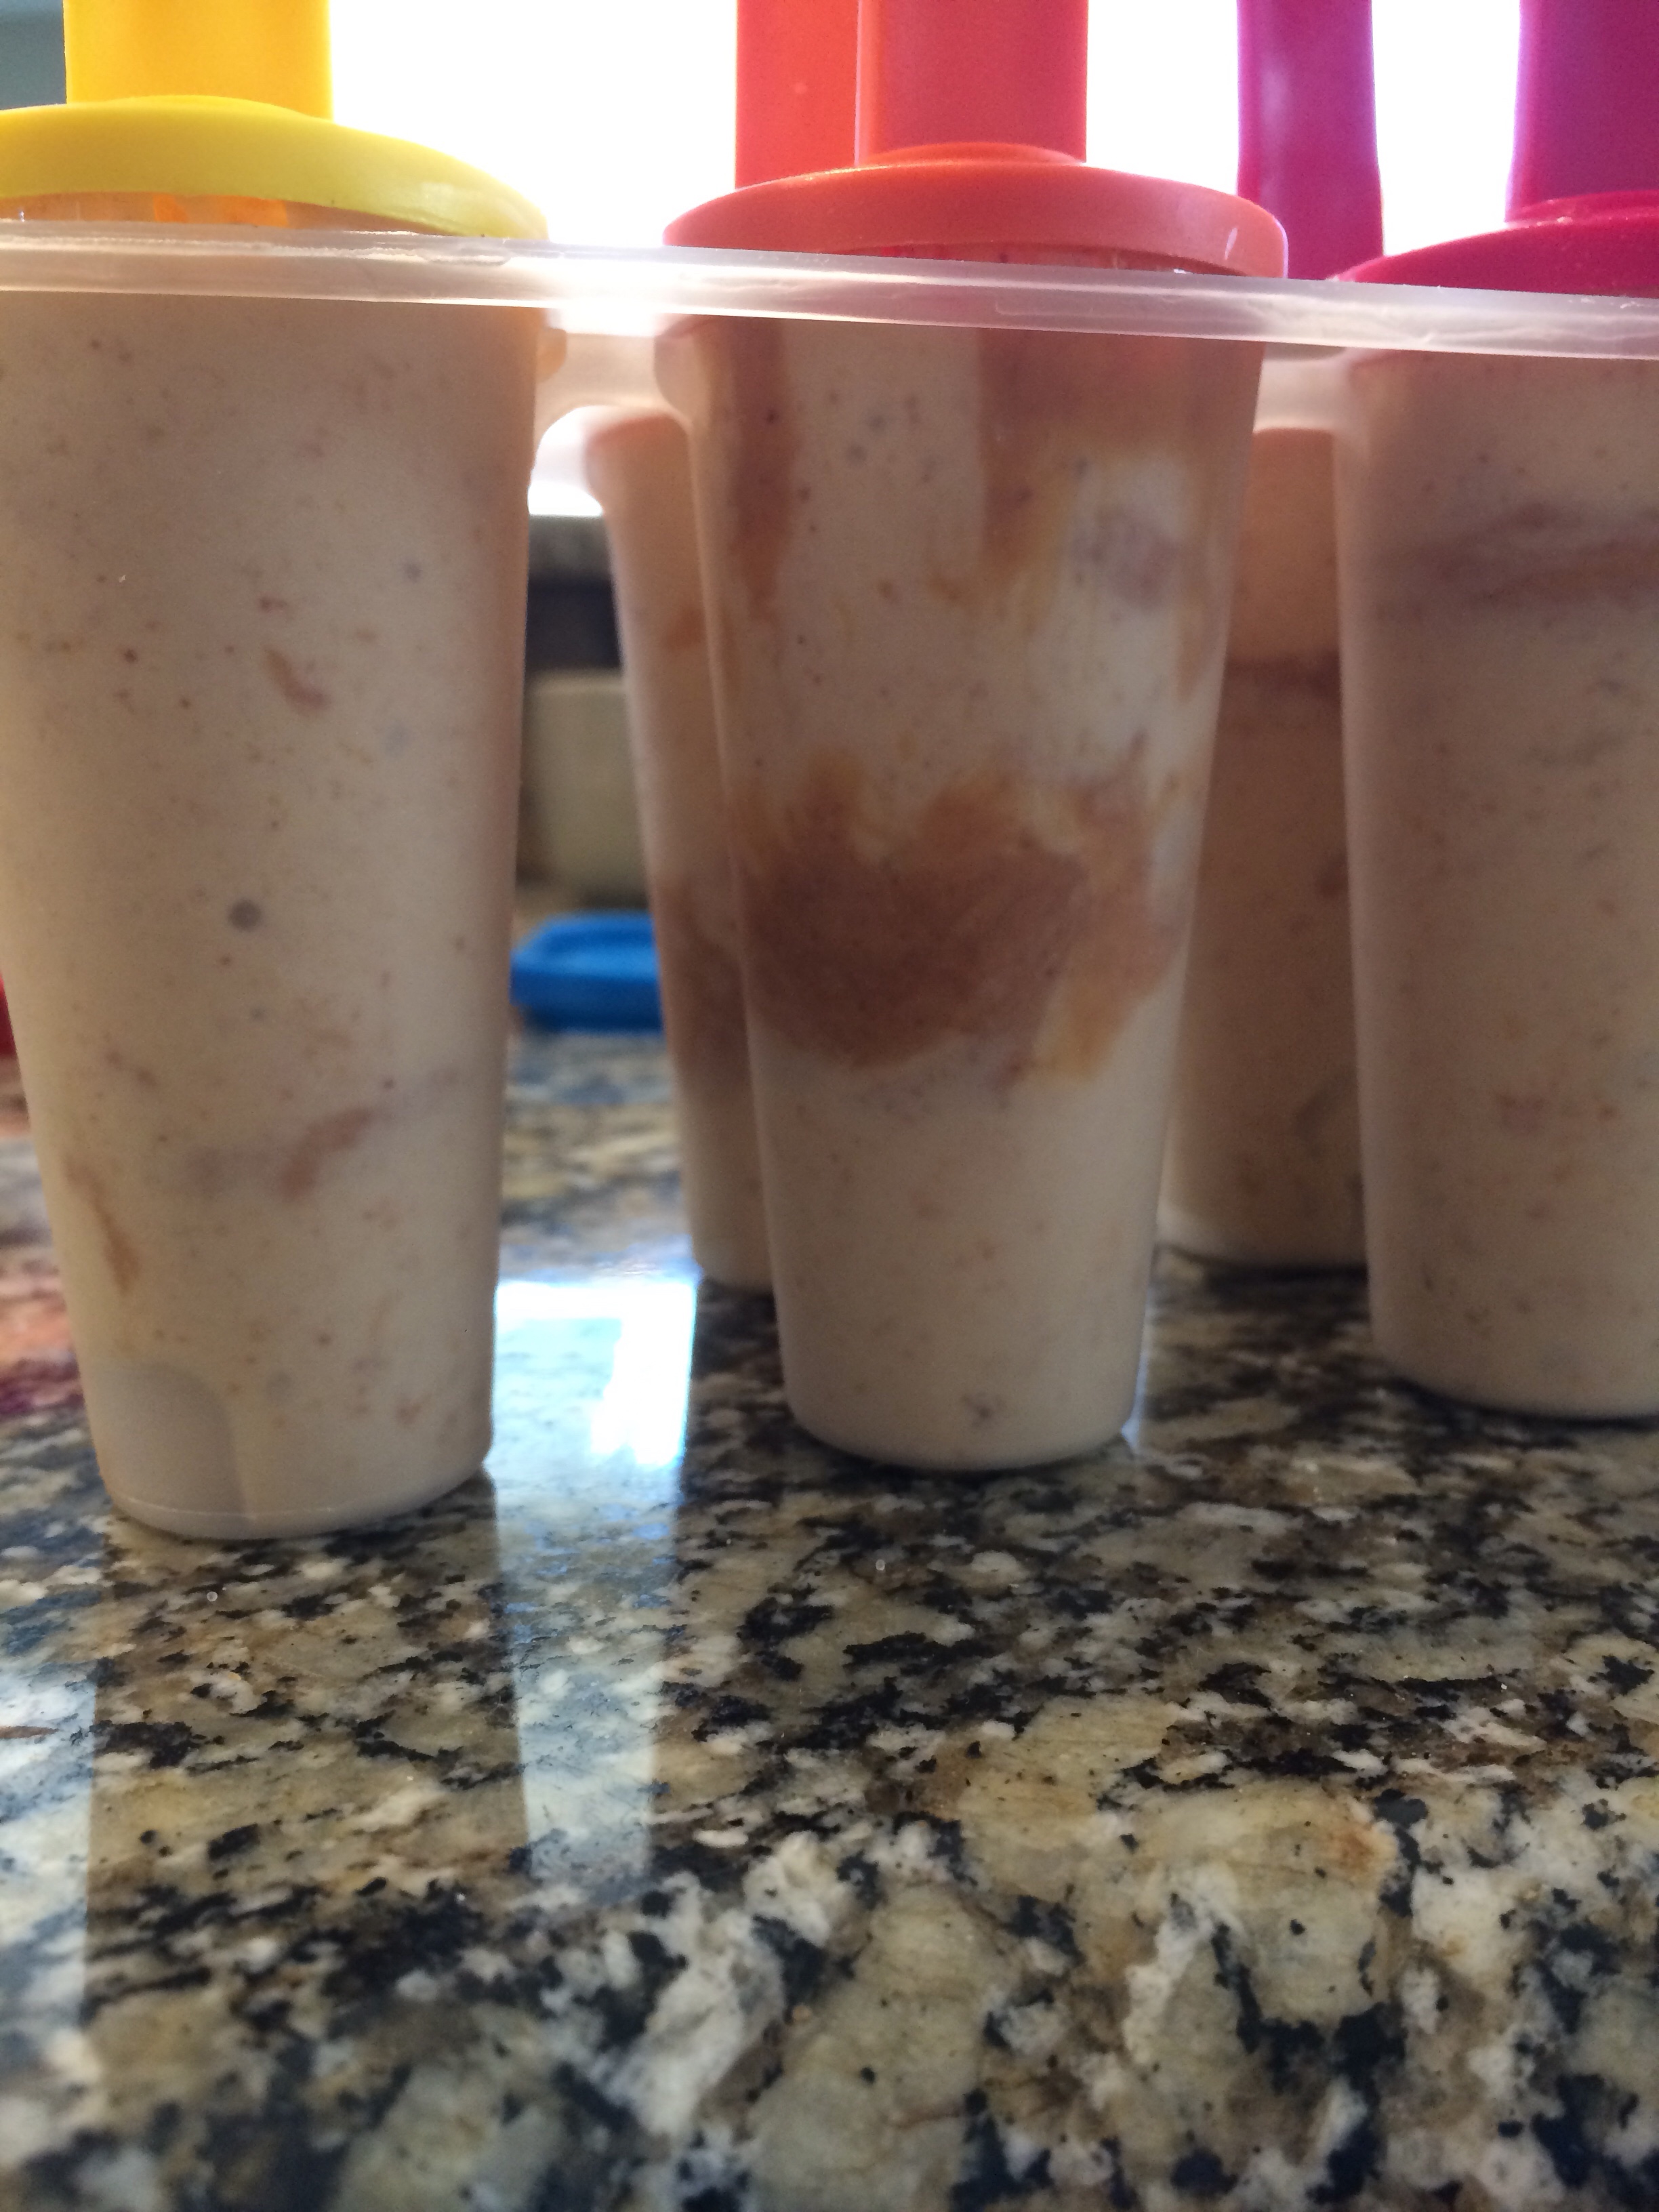
MAKE SURE THEY ARE COMPLETELY FROZEN BEFORE YOU TRY AND REMOVE THEM FROM THD MOLDS. 😉
  6. Run warm water over the molds to release the creamsicles.
  7. Enjoy!

Have fun making and eating these scrumptious creamsicles! They’re the perfect cold treat on a hot day;)

Yours Truly, MyDayIsBooked😄

Chocolate PB Banana Energy Balls

Hi peoples! If you love chocolate, peanut butter, and bananas as much as I do, then these energy balls are going to be your new favourite snack!! They’re healthy, chewy, and most importantly, delicious! This recipe is super simple and easy to double or even triple if you love them as much as I do;) Take a peek down below for the ingredients and instructions!

Ingredients (makes 8 balls)

  • 2 bananas
  • 1/3 cup all natural peanut butter
  • 2 tablespoons of cocoa powder
  • 1/2 cup oats
  • 1/2 cup oat flour (made from grinding oats in a dry blender)

Directions:

  1. Preheat oven to 350 degrees Fahrenheit.
  2. Mash the bananas in a large bowl. Add in the cocoa powder and peanut butter and mix until combined.
  3. Stir in the oats and oat flour. Oat flour is super easy to make- just throw some oats in a blender and grind them up! I like it because it’s more nutritious than regular flour. Once all of your ingredients are combined, the “dough” should look something like this:
  4. Roll the mixture into balls by the tablespoon full and put them on a pan lined with parchment paper.
  5. Bake for about 15 minutes, then remove and let cool before storing them in an airtight container in the fridge.

And thee you have it! Eat a few of these after school, for breakfast, or in between sports. You won’t believe that there’s no added sugar!

Yours Truly, MyDayIsBooked

Healthy Homemade Granola

Don’t you just love a good granola? I absolutely adore granola. But the store bought versions are full of sugar and other stuff that you can’t pronounce. This is a delicious version of granola that has all the good taste with none of the unhealthy ingredients! the fact that it is super versatile and easy to make is even better. This is the recipe!

Healthy Homemade Granola

Time: 15 minutes Makes: About 3 servings of 3/4 cup

Ingredients:

  • 2 cups of rolled or quick oats
  • 1/3 cup of chopped almonds (or other nuts, coconut works too)
  • 2 tbs peanut butter (preferably all natural)
  • 2 tbs coconut oil (or olive oil)
  • 3 tbs honey (or maple syrup)

Directions:

 Preheat your oven to 375° Fahrenheit.

Put the oats in a large mixing bowl. Next, chop your nuts. IMG_8252
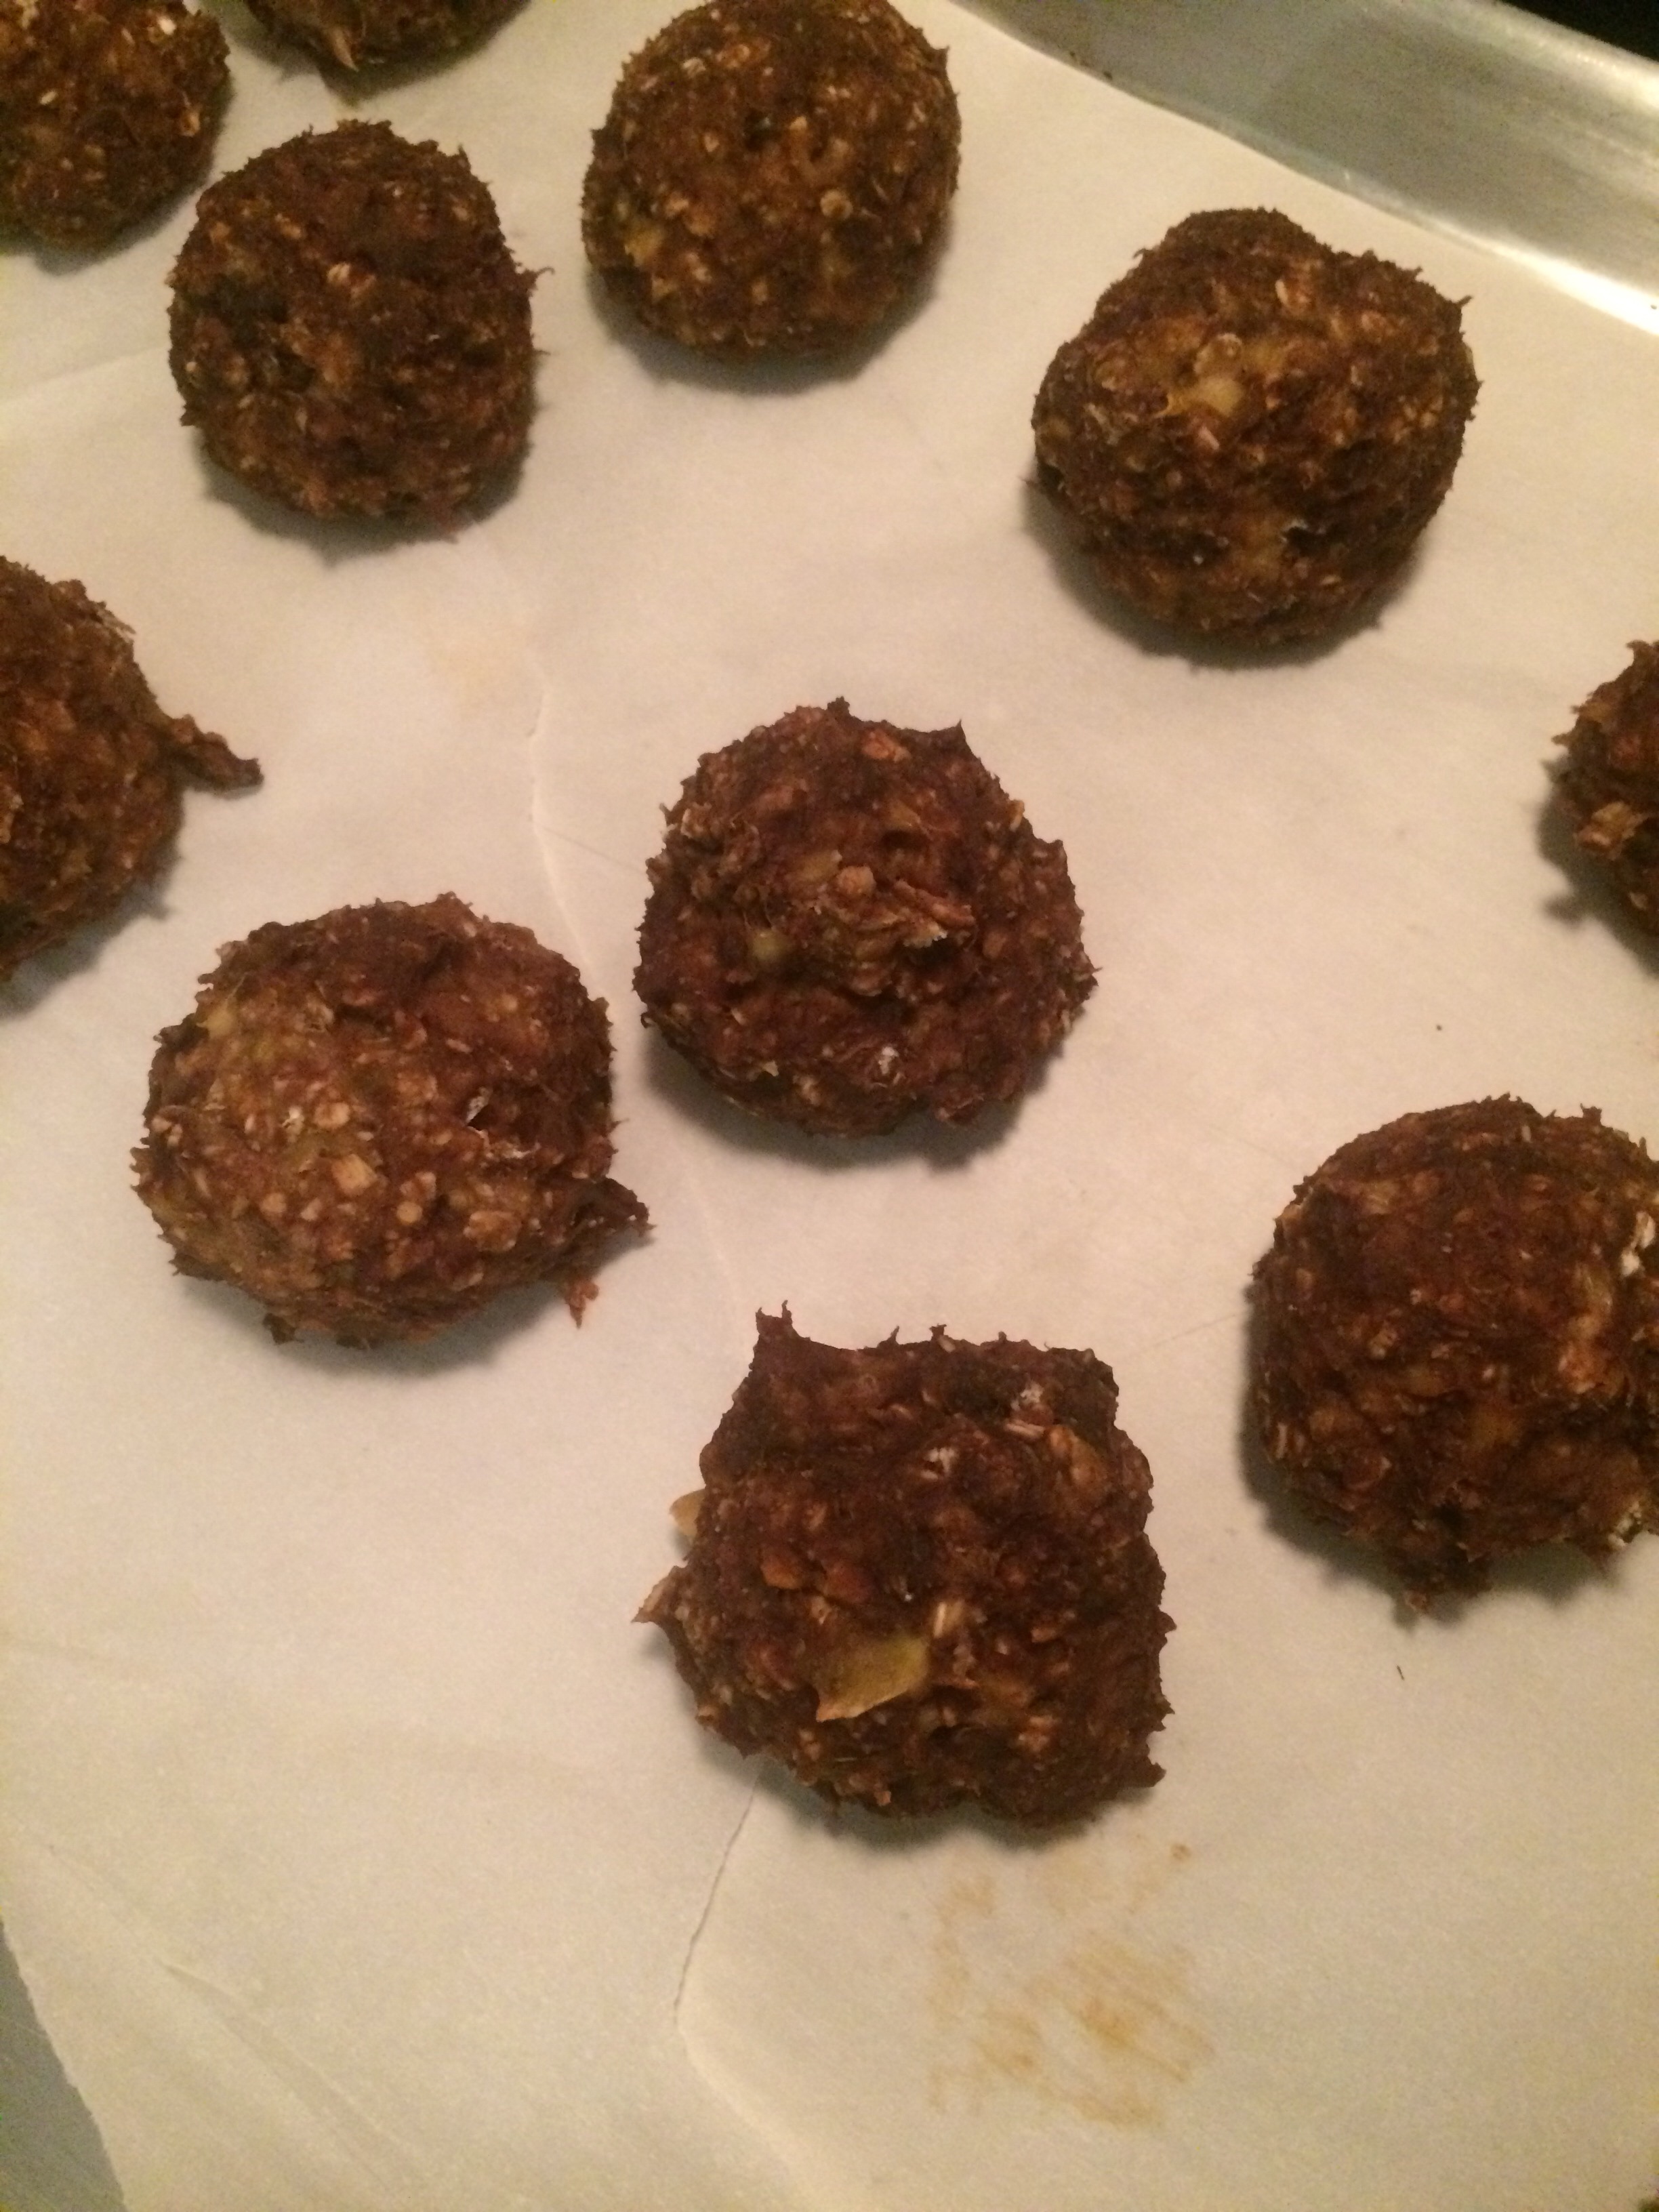
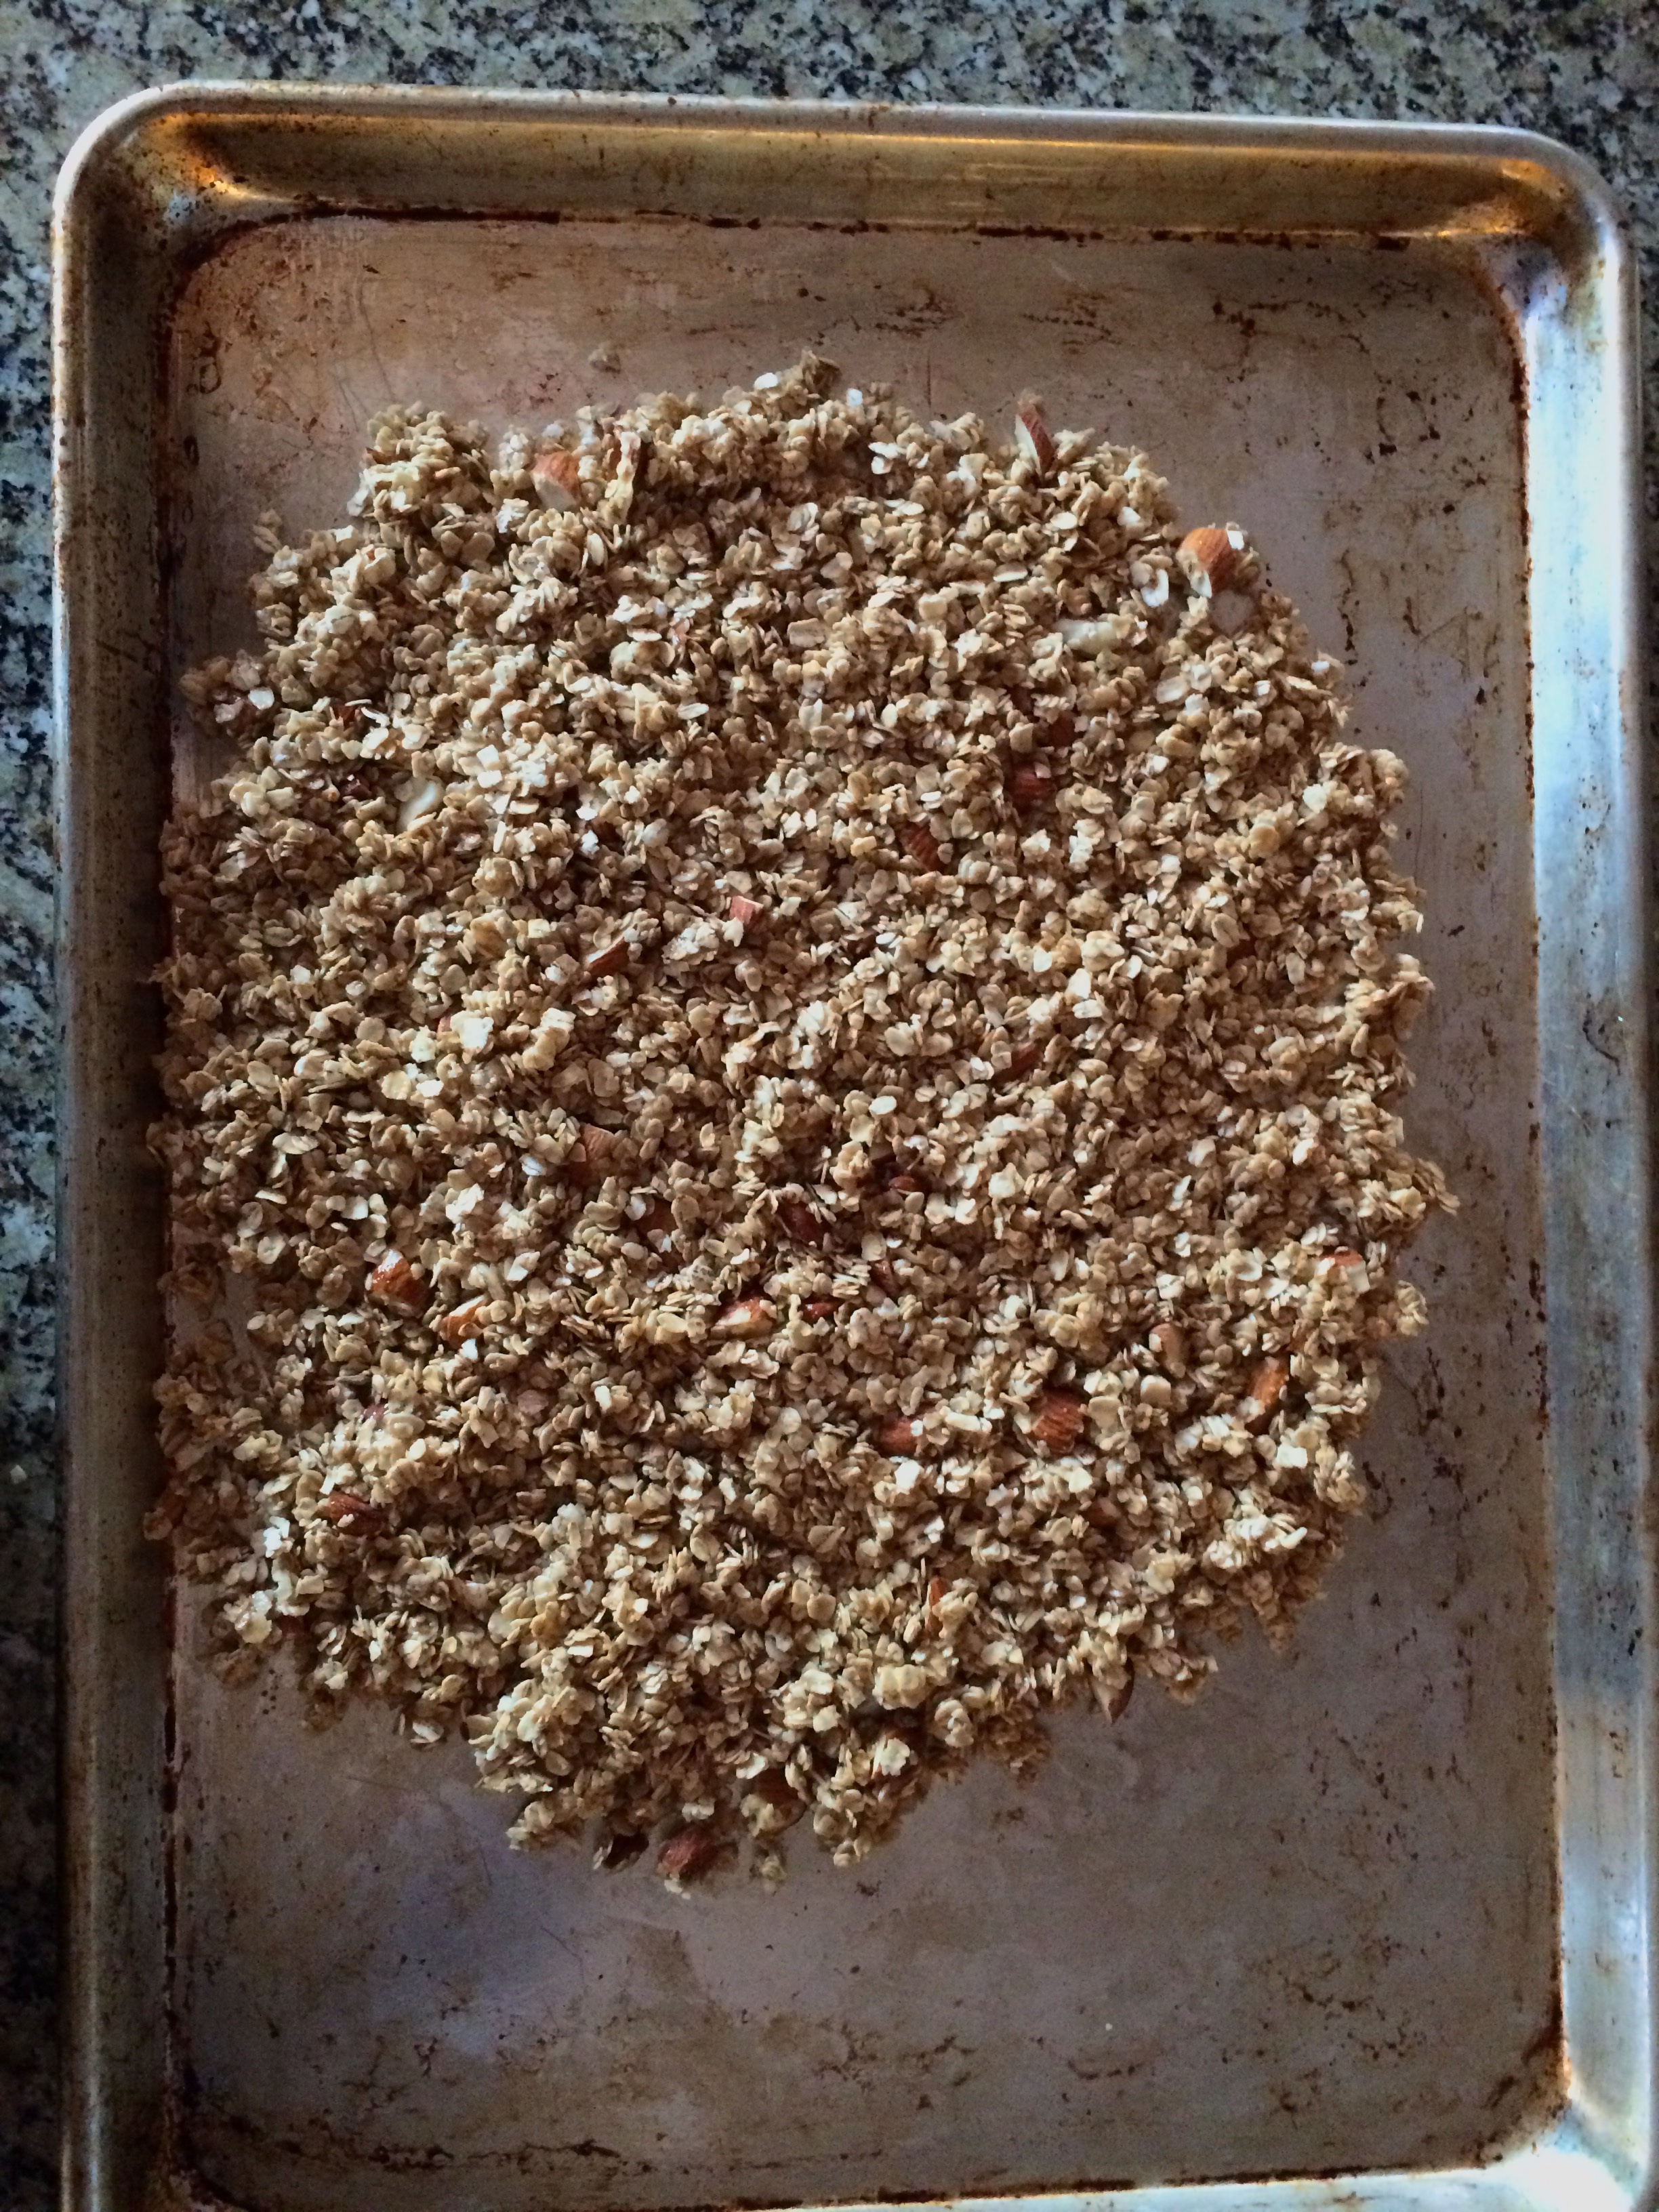
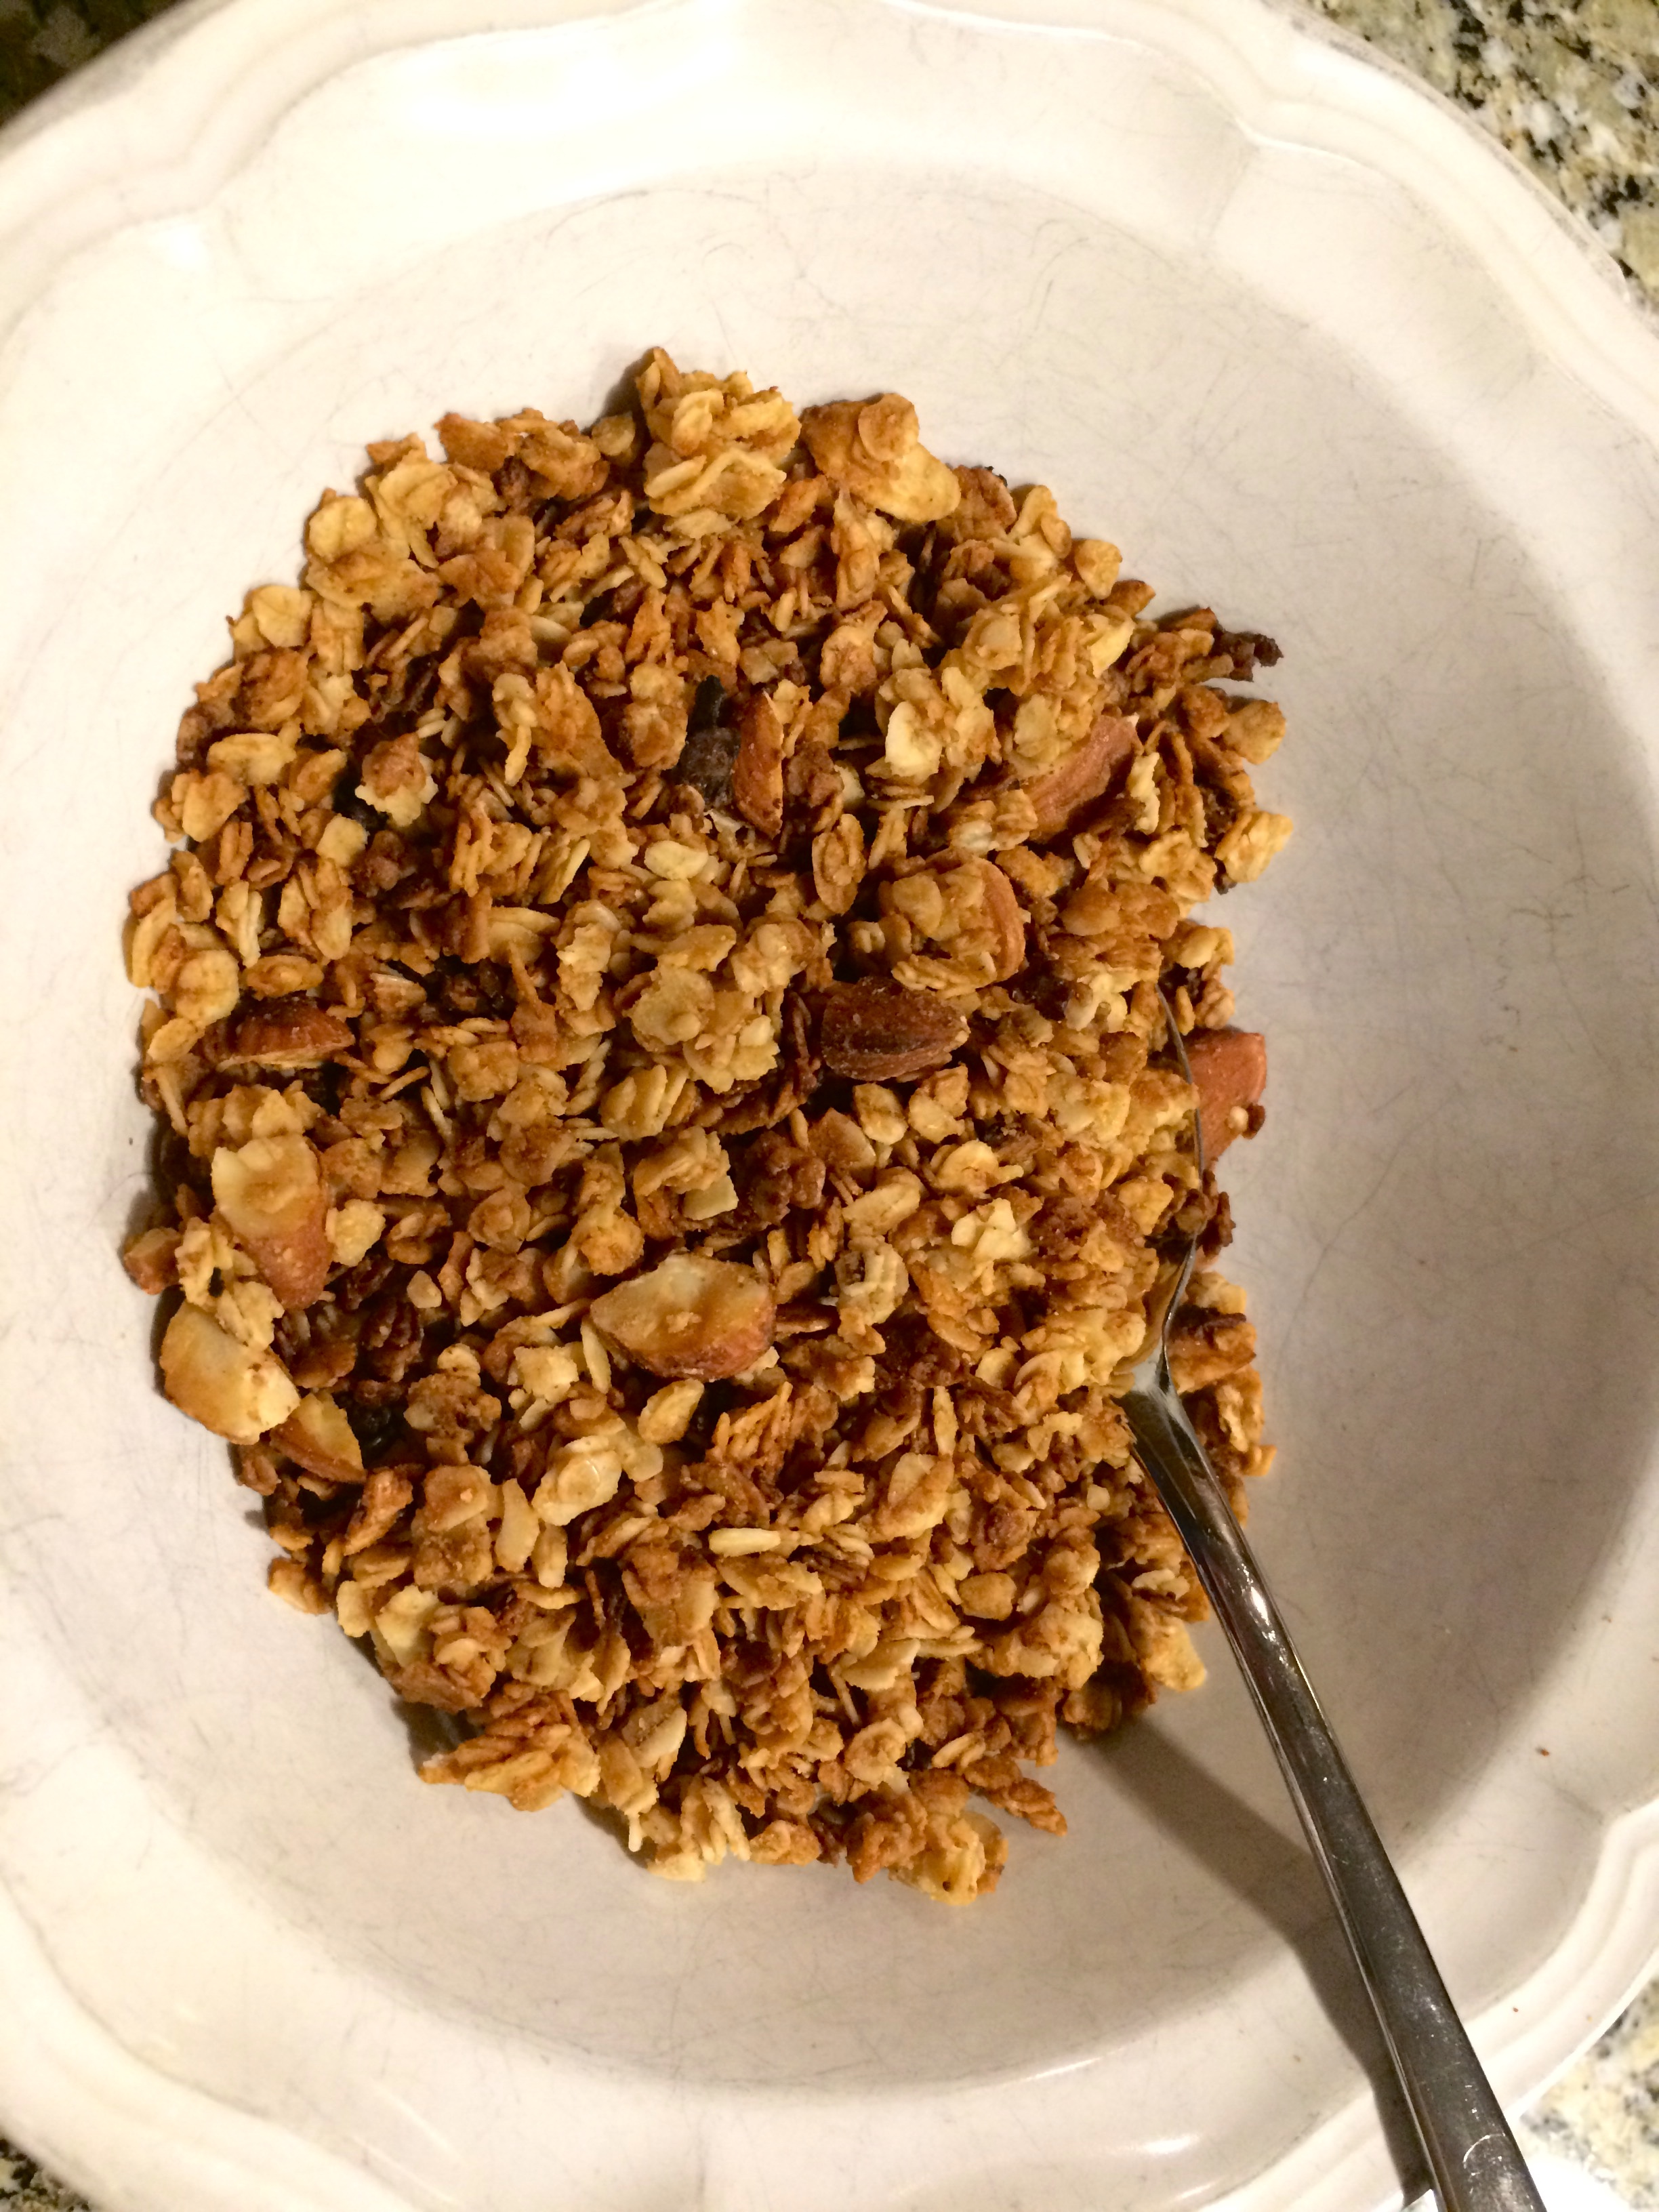
Try not to make them too small, but not so big that you’ll have a hard time chewing them (life with braces!). Dump the nuts into the oats and mix until combined.

Scoop the peanut butter, coconut oil, and honey into a microwave -safe bowl. If you don’t have coconut oil, use olive, but I highly suggest you get some. It’s a great healthy swap for butter, and you can use it in sugar scrubs and multiple other homemade beauty products!

IMG_E8254

Pop the bowl into the microwave for about thirty seconds, just enough to get the mixture melted and combined. Once the pb, oil and honey are ready, pour it into the oats and nuts and stir well!

IMG_E8255

After making sure the dry and wet ingredients are well mixed, place the mixture on a sheet pan.

IMG_E8261

Spread it out a fair bit, but not so much that it will burn quickly, so make sure that it’s in a layer about a half a centimetre thick. Pop the pan in the oven for about ten minutes, stirring the granola halfway through so that it doesn’t burn. make sure to let it cool before eating it, because it will be hot! Store it in an airtight container in your fridge.

IMG_E8263

And Voíla! Beautiful granola! Eat this stuff over yogurt, with milk, or even on your Greek Yogurt Smoothie Bowls!

This is a great healthy snack that goes along with Day 1 and 2 of 12 Days of Awesome Ways to Be Healthier! I hope you enjoy it and leave some comments so I know what kind of recipe to share next!

Yours Truly, MyDayIsBooked(: