Hi there! I wanted to start by letting you know that this is my 200th post!! Crazy how time flies! I’ve loved every minute of working on this site, and I want to thank you guys for all of your support. Your likes and comments mean so much! To celebrate, I’ll be posting my top ten favourite recipes sometime this weekend, so be sure to check that out;)
Today I have a very colourful and fresh recipe to share- Beet and Parsley Salad! Other than roasting the beets, this recipes calls for very little prep and is a perfect lunch or side dish. I even used pre -roasted beets to cut down on prep time. Fresh herbs are great to work with and bring so much flavour. Paired with the earthy beets they really get a chance to sing! This salad is even better when it sits overnight in the fridge because it allows it to marinate in the dressing (which is a delicious combo of fresh lemon juice, red wine vinegar, and olive oil), but feel free to enjoy it right after you whip it up. Honestly, I wouldn’t blame you.
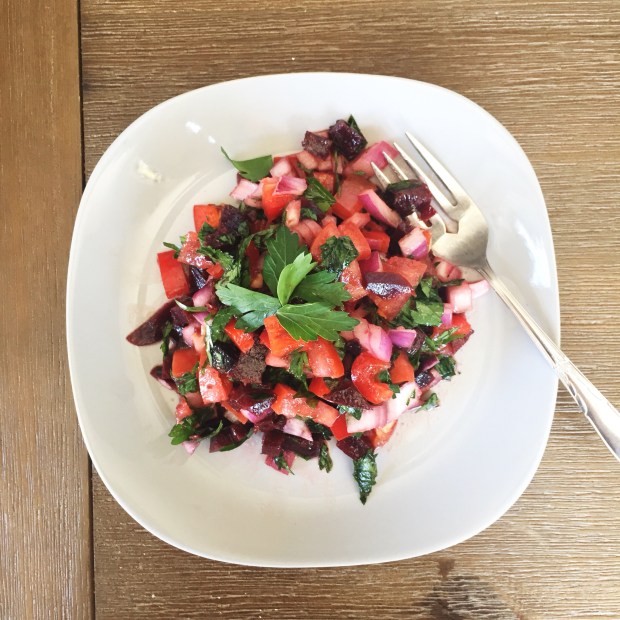
Beet and Parsley Salad
Serves: 4
Total Time: 10 minutes (using pre-roasted beets), 30 minutes (roasting the beets included)
Ingredients:
- 1 beet
- 1 tomato, diced
- 1/4 of a red onion, diced
- 1/2 a red bell pepper, diced
- 3/4 cup packed parsley leaves (I used the flat-leafed Italian variety, but the curly leafed kind would work too)
- 1 tbsp olive oil
- 1 tbsp lemon juice
- 1 tbsp red wine vinegar
- salt and pepper to taste
Directions:
- If roasting the beet, peel it and dice it into small cubes. Preheat your oven to 400 degrees Fahrenheit, toss the beets in some olive oil on a parchment lined baking sheet, and roast for about 25 minutes. Remove from the oven and let cool completely before tossing with the salad.
- If you’re using a pre-roasted beet, make sure that it’s diced into small cubes. Toss the beet chunks in a bowl with the tomato, parsley, onion, bell pepper, lemon juice, olive oil and red wine vinegar.
- Season to taste with salt and pepper and enjoy!
**optional: let the salad sit in the fridge overnight in the fridge to marinate in the dressing**
Thank you so much for reading! Stay safe and I’ll see you again this weekend with my top ten favourite recipes;))
Yours Truly,
Olivia;))