May Bullet Journal Set-Up with April Monthly Recap

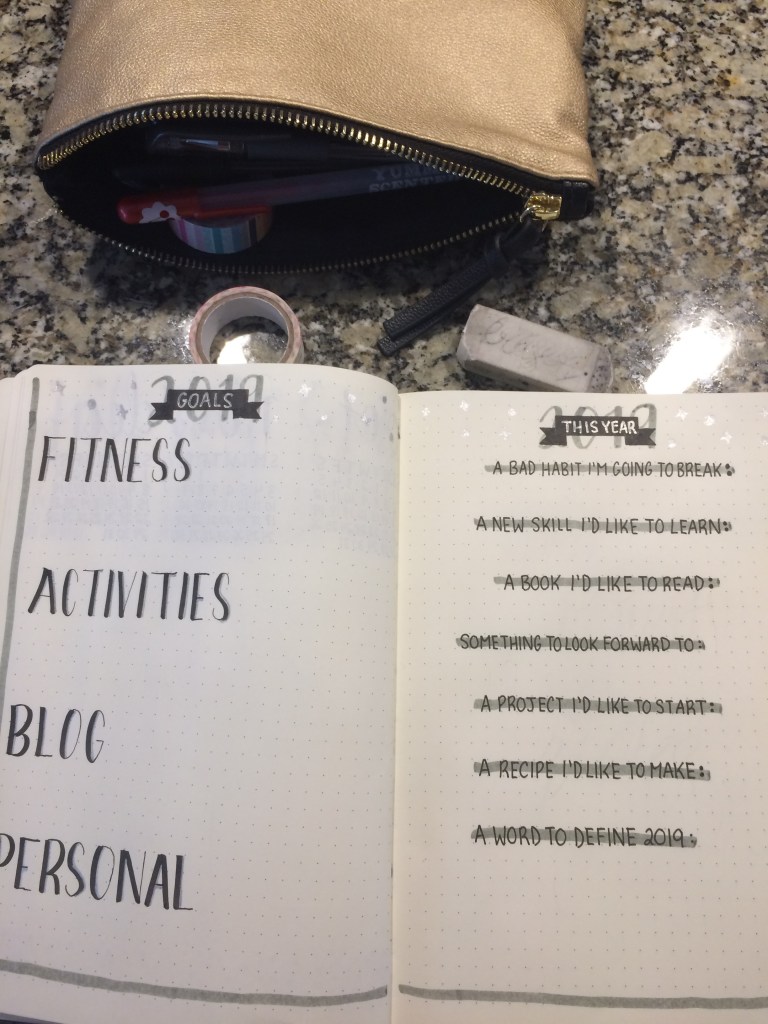
Hi guys! Today I’ll be sharing my May Bullet Journal Set-Up and April Monthly recap;) I decided to go with a Mandala theme, and I’m super happy with the way that it turned out! The colours that I used are a few different shades of blue and purple, as well as some gold. Since colouring mandalas is pretty relaxing, all of the quotes in my spreads are based around zen and meditation, which I’d like to focus in this month. As I’m writing this I’m playing fetch the sock with my dog, so I’m sorry if there’s any typos;) Here’s my May bullet journal set-up!

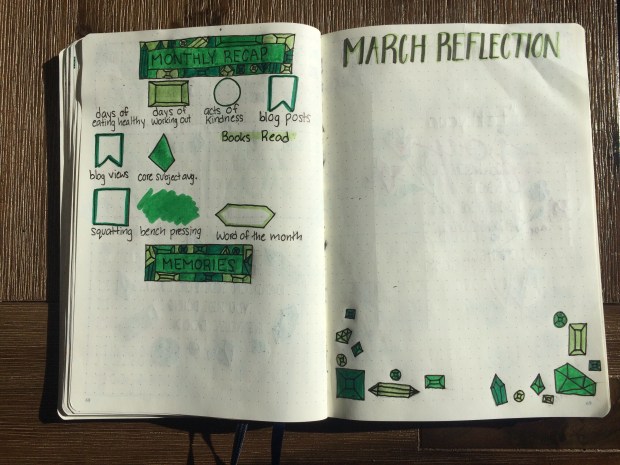
Let’s start with my April monthly recap. Nothing really changed here, but I think it’s one of my prettier monthly recaps.

This is my title page! It took a while to draw and colour, but I think that it was worth it. Here’s a few pictures of the steps I took to complete my mandala:

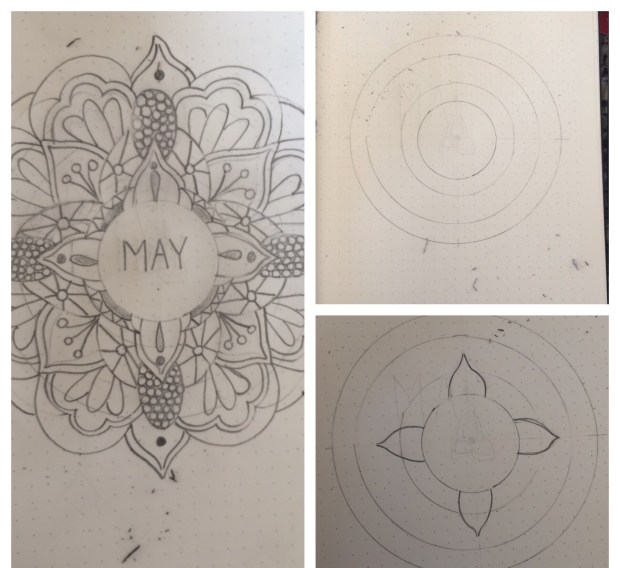
I started by tracing a few circles as a guideline, and worked outwards from there. Once you get the hang of drawing these mandalas, you can skip this step.

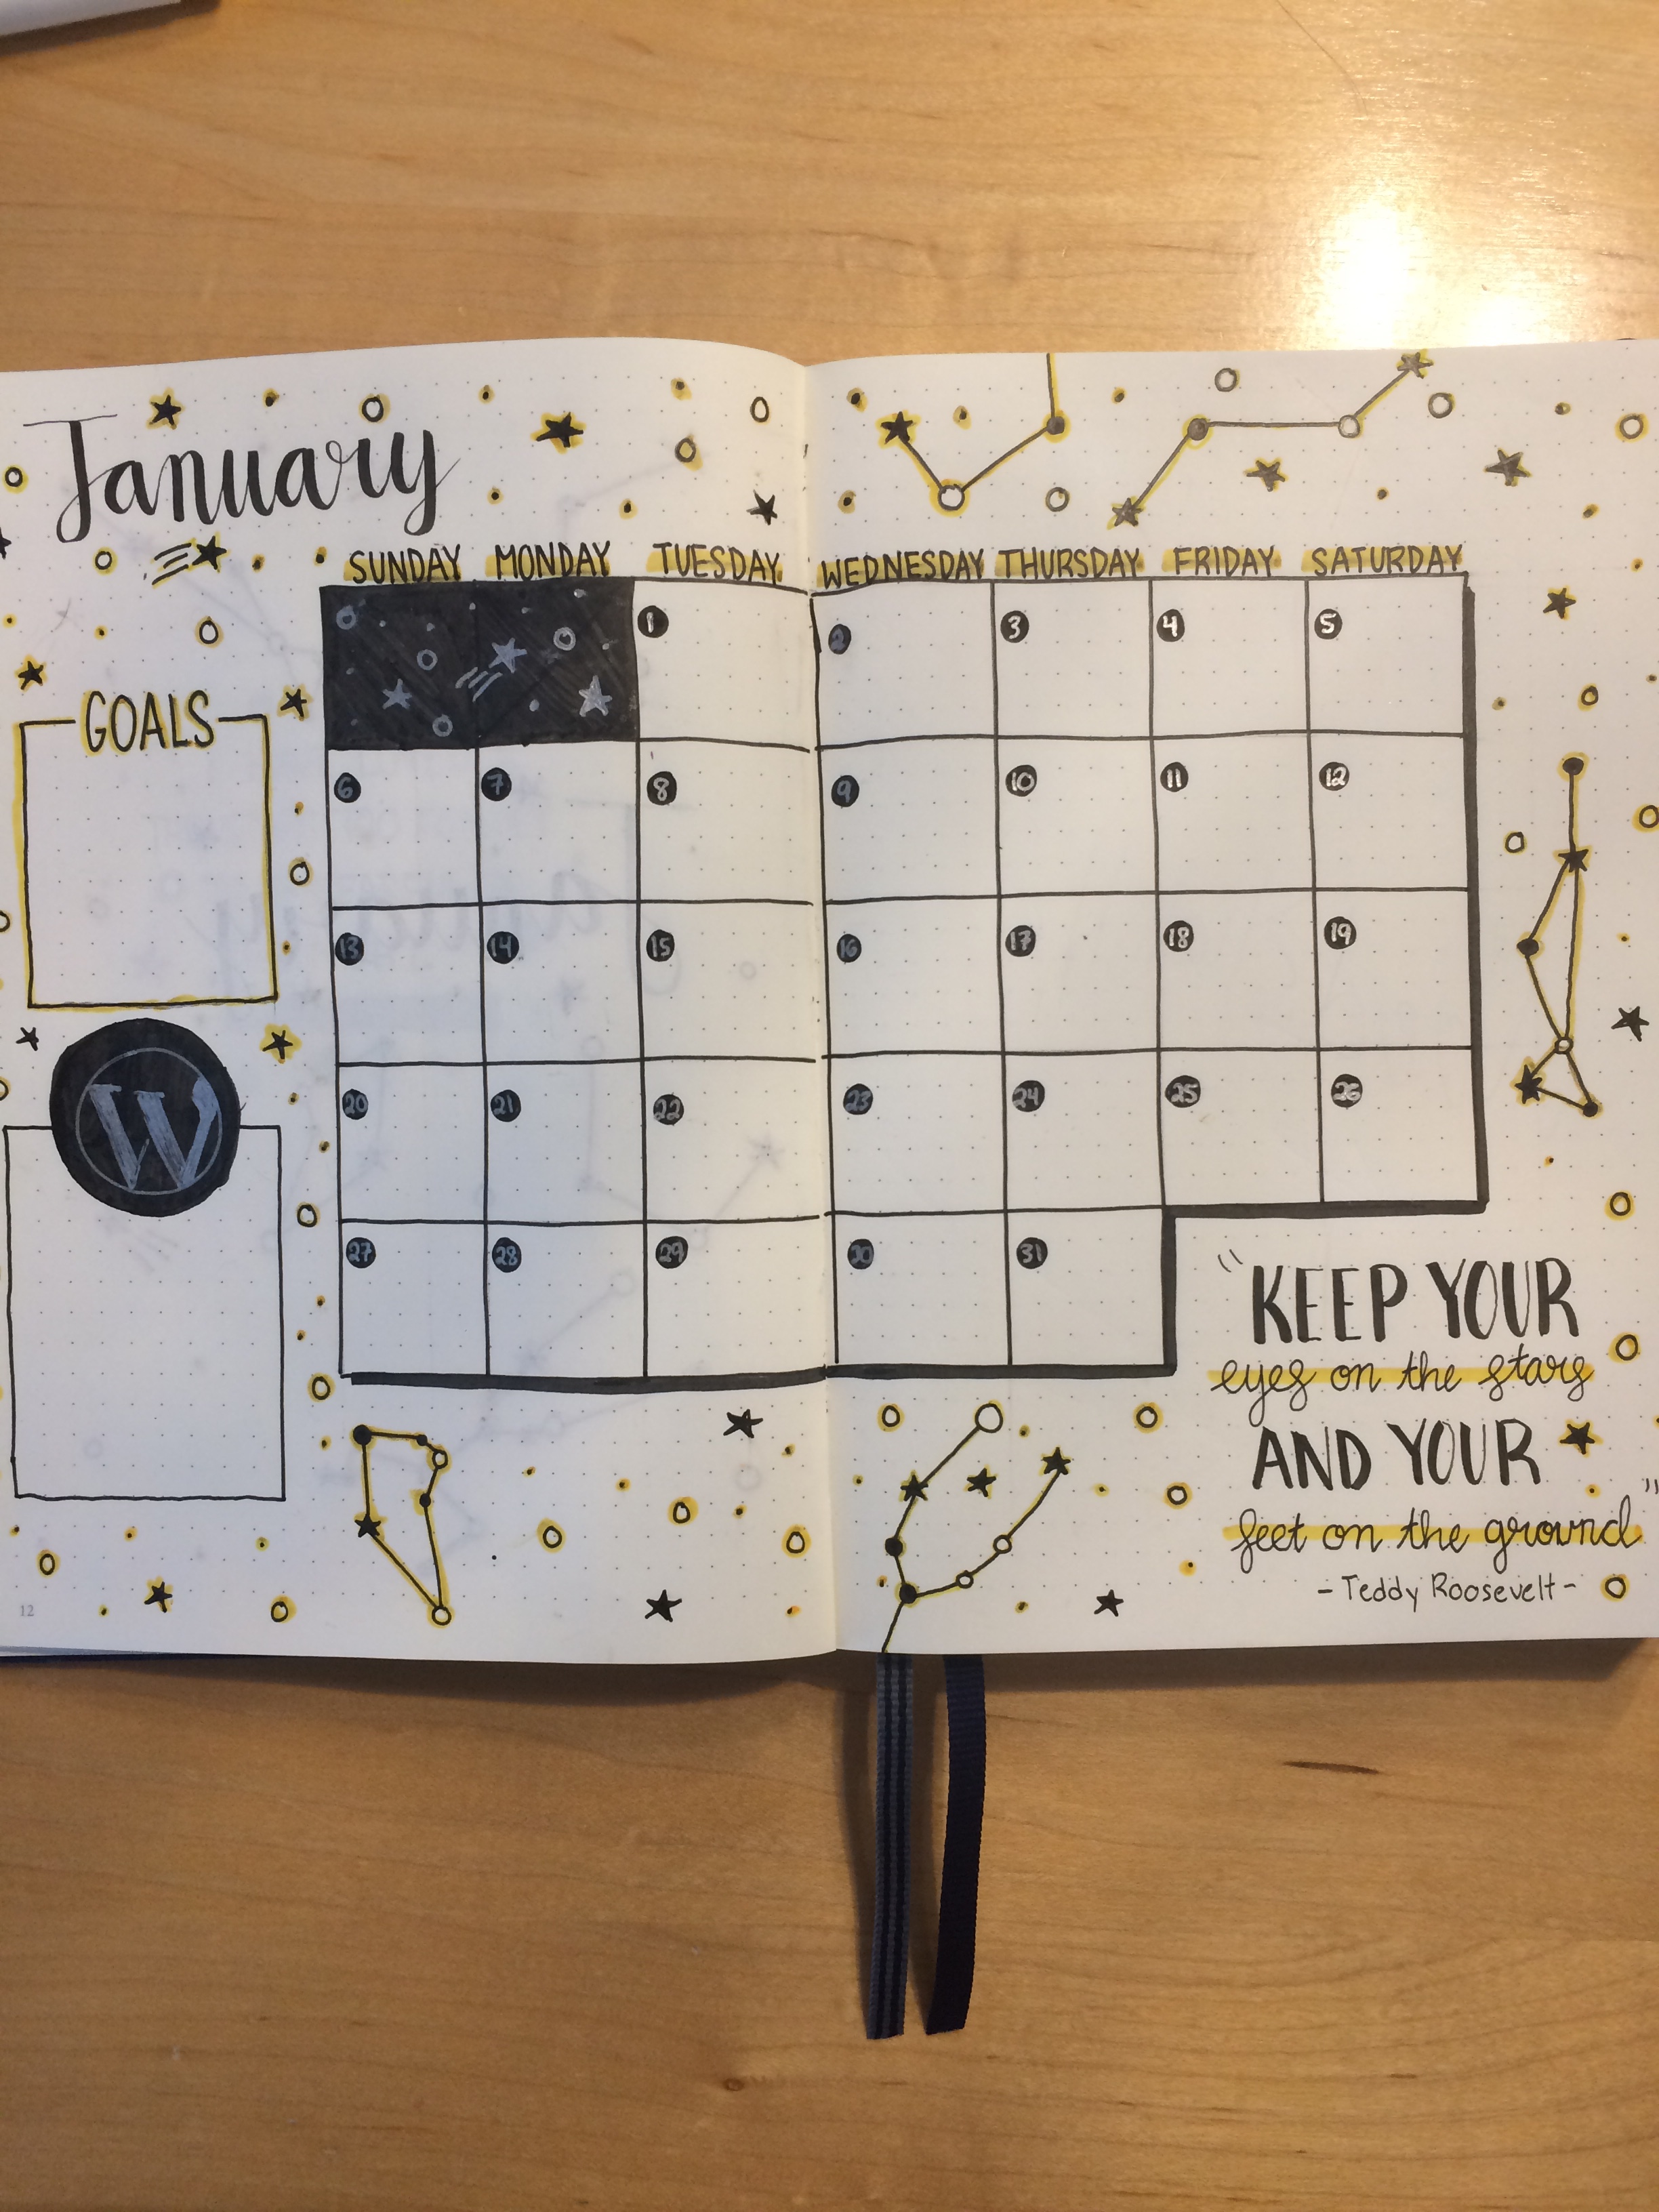
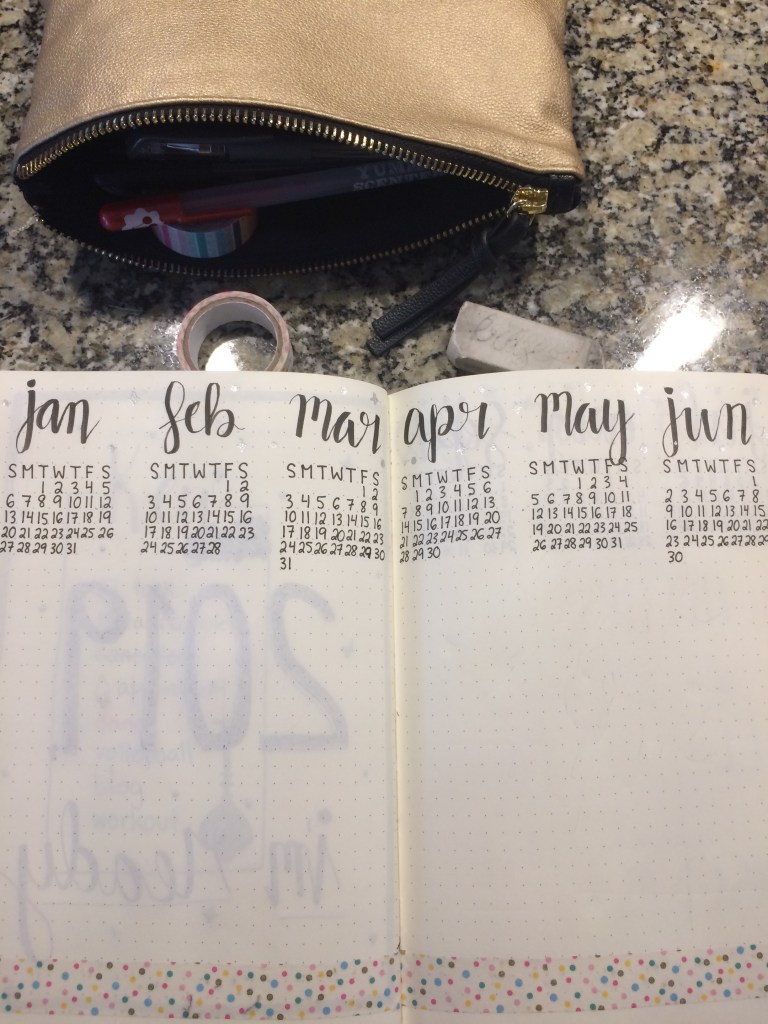
My monthly calendar is simple but pretty;) I drew some mandalas around the May title, as well as my goal and blog planning sections.

My mood and habit trackers pretty much stayed the same as last month, but of course my mood tracker is a mood mandala, so each day I’ll colour in a section of the mandala according to the legend at the bottom of the page.

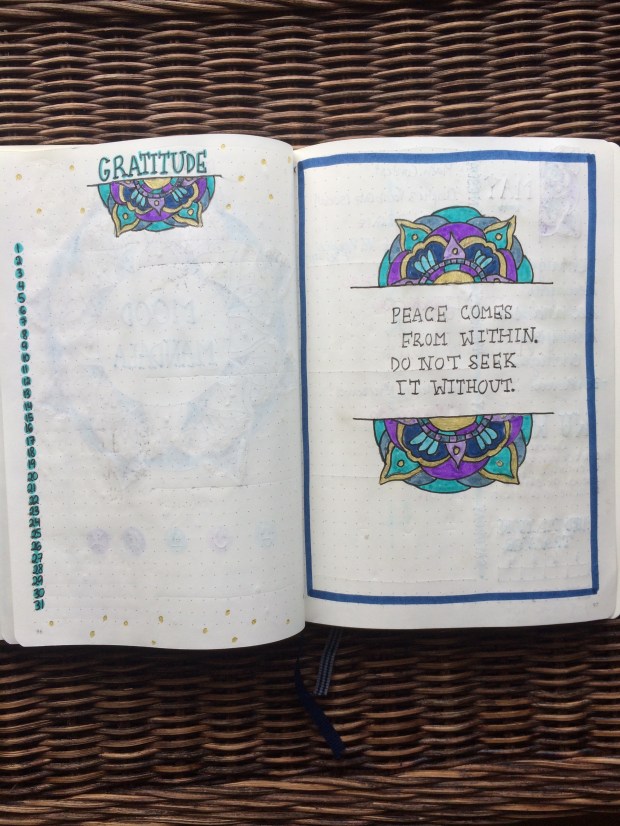
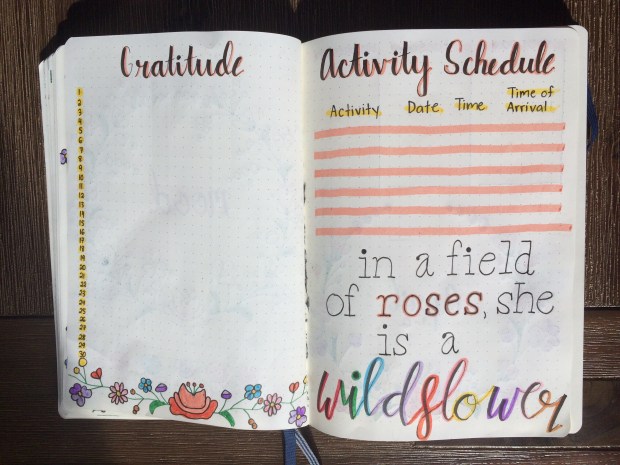
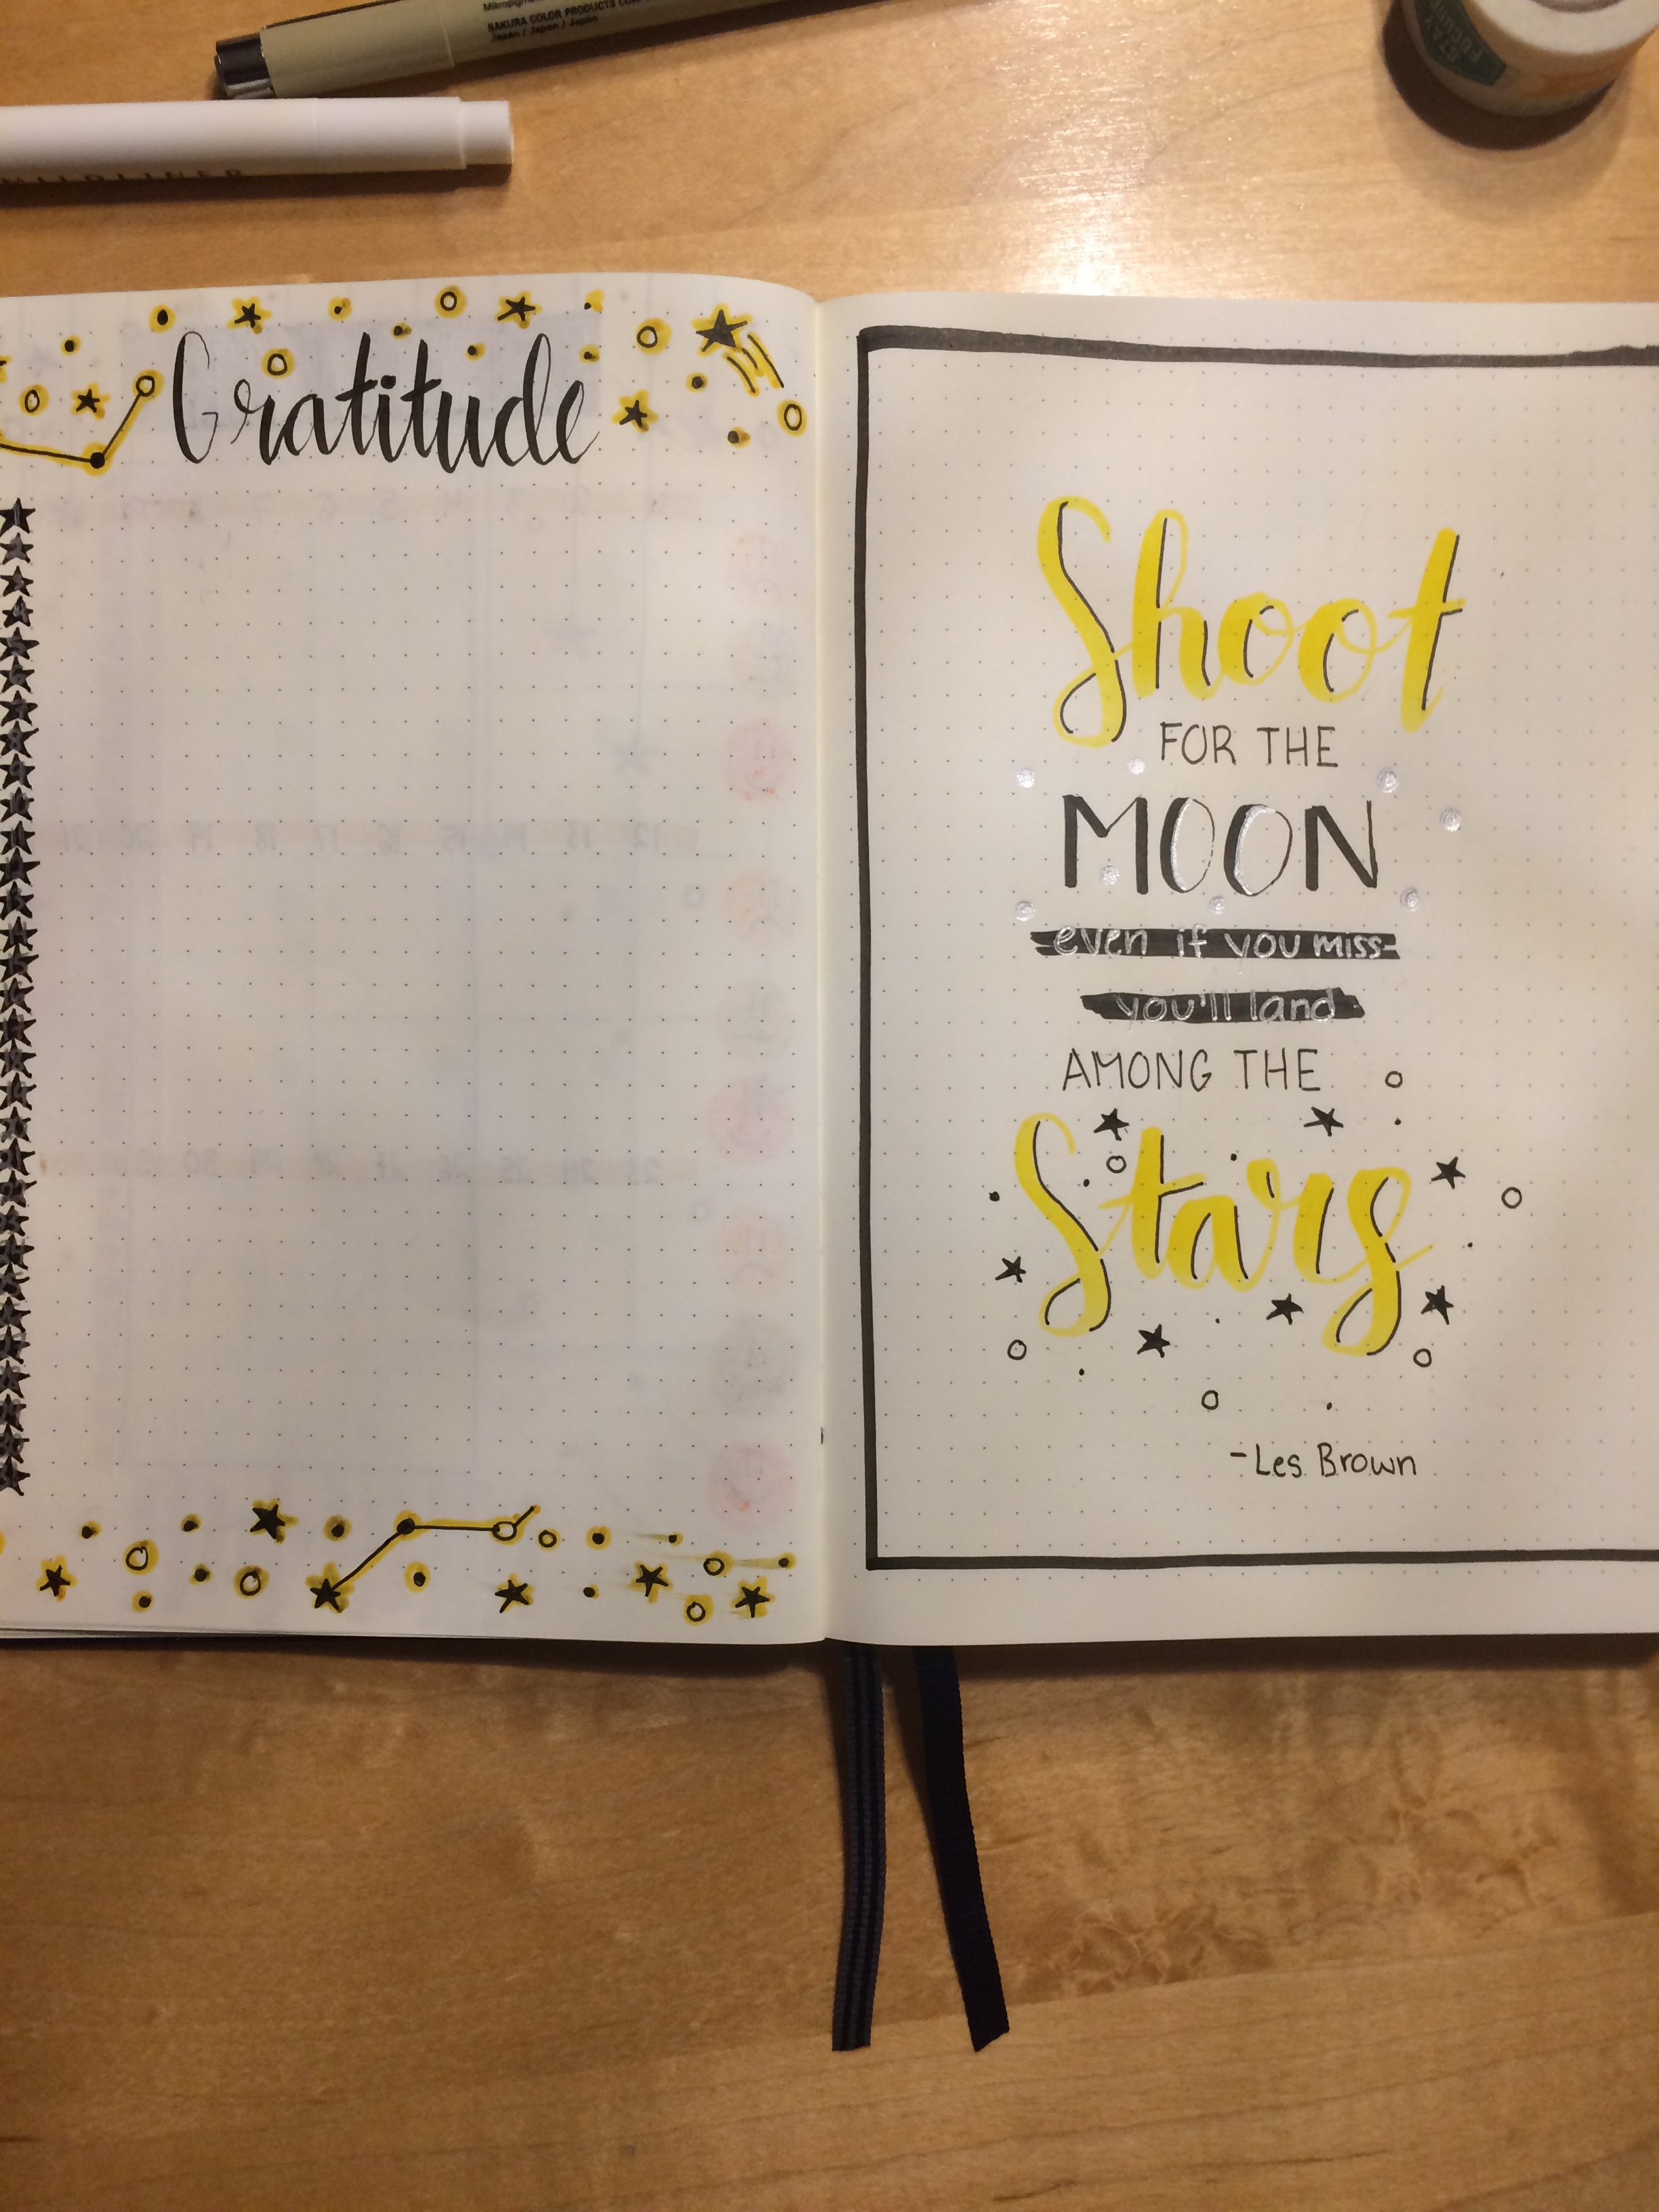
The last two pages before my first weekly spread are dedicated to my gratitude log and another quote page. I think that they both turned out well;))

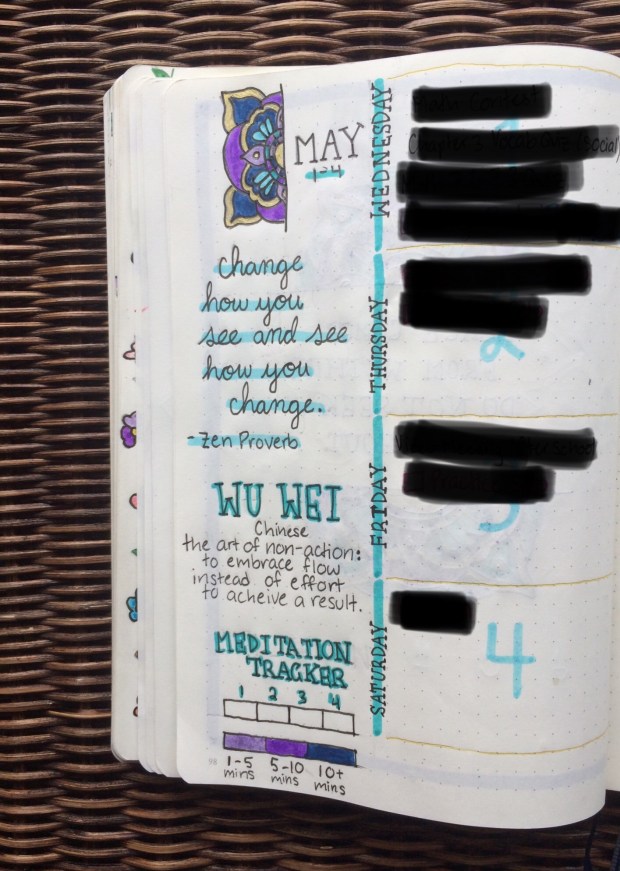
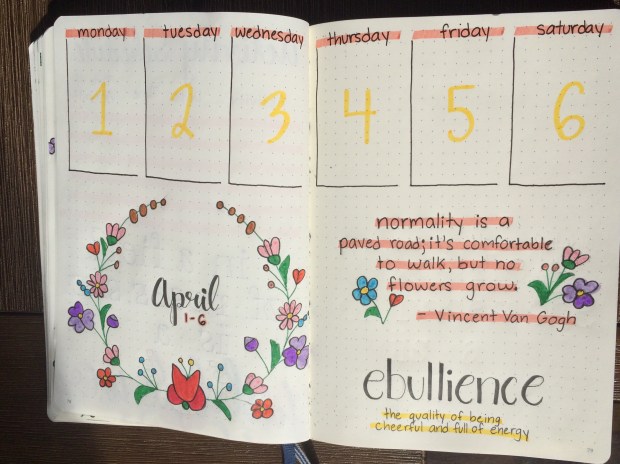
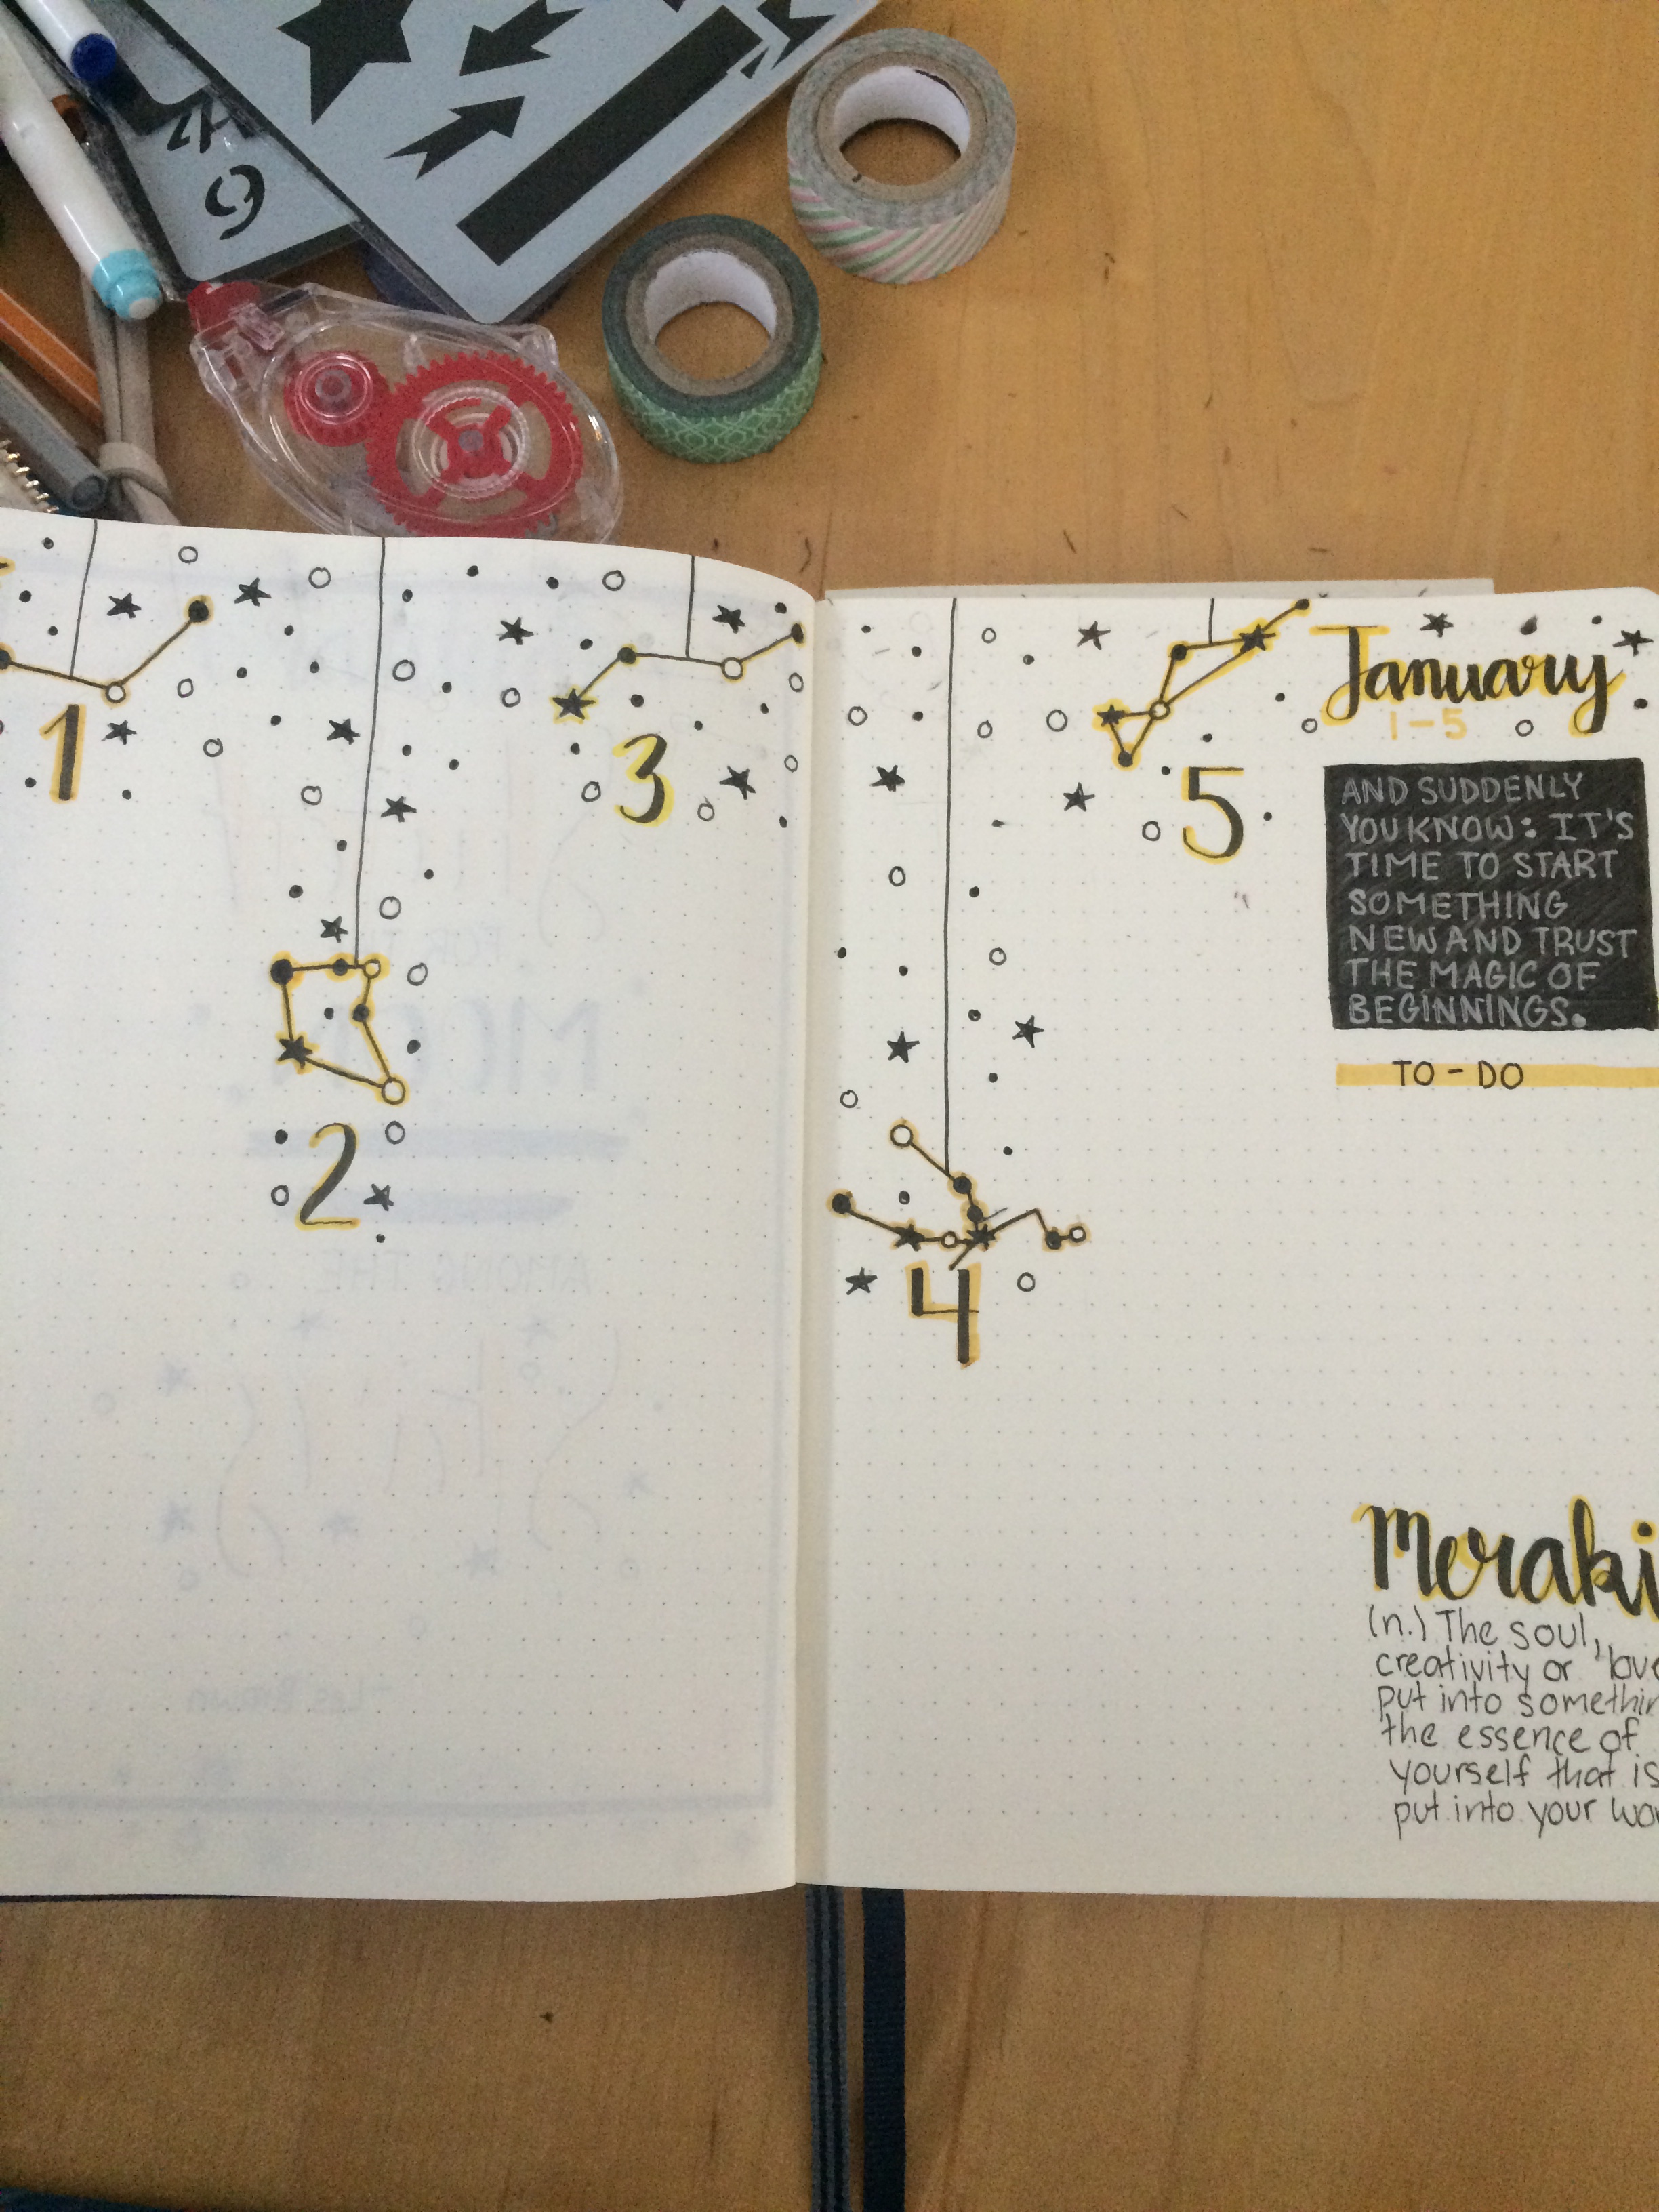
And finally, my first weekly spread. I added a meditation tracker here because I forgot to in my big habit tracker.

I hope you like this month’s set-up! Let me know what you think;)

Yours Truly,

MyDayIsBooked

April 2019 Bullet Journal Set-Up with March Monthly Recap

Hello again! I hope that everyone’s spring break was fun;) I actually felt pretty productive; I went for a run almost every day for some early track and field training and completed my April bullet journal set-up, which I’ll share with you in this post. Like pretty much every other month, I had some trouble coming up with a theme for April. But I finally ended up drawing inspiration from Hungarian embroidery. If you’ve never seen it, here’s what it looks like:

I’m part Hungarian, and so these kinds of patterns remind me of Easter, which happens to fall in April this year. The flowers are also very springy and give me an opportunity to use a bajillion different colours in my spreads, which is a good thing;) They do take a little while to draw though because of all the details, so some of my spreads are a bit more minimalistic because I didn’t want to draw a ton of flowers. In the end I was really happy with the way this turned out, and I hope you get some inspiration from today’s post!

We’ll start with my March monthly recap- I don’t think anything changed here. I’m going to miss the simplicity of drawing emeralds, but I’m excited for my new theme.

My title page probably took me the longest to draw out of all my spreads this month, but I think it looks pretty good. I drew a wreath around the word April and some more flowers in the corners of the page. The quote I chose is “let your joy burst forth like flowers in spring”, which I feel embodies this theme well.

Here I have my calendar. You can kind of see what I mean when I say minimalistic here, because I only drew two flower wreaths and there’s quite a bit of empty space. But you know what, that’s ok. Sometimes less is more.

My mood and habit trackers didn’t change much. I drew some flowers on either side of my habit tracker so they look more like embroidery. My mood tracker consists of a flower wreath, and each day I’ll colour in a flower, with the colour corresponding to the legend at the bottom. I used a lot of different colours this month, but my two main ones are a kind of coral colour and a nice yellow. I use these two colours the most throughout my spreads.

On the left is my gratitude log, and on the right is what I call my flex page. I do different things on this page depending on what I need that month. There’s a lot going on for me in April in terms of sports, so I decided to draw out an activity schedule so I know where I have to be at what time. I also included another quote on this page.

And finally my first weekly spread of the month. Nothing too crazy here.

There you go;) Have a great week and happy planning!

Yours Truly,

MyDayIsBooked;)))

January 2019 Bullet Journal Set-up

It’s 2019 tomorrow! Time to get ahead on planning and goal setting for the new year! My theme for January- stars and constellations- is one that I’ve been wanting to do for a while. I was really excited to set up this first month because I have so much room- 20 pages! This means no more cramped weekly spreads and much more experimentation;)

I searched up some constellations that are in our sky right now, and included those on my title page along with some stars. On the opposite page I have a quote and yet more stars. You’re going to see a lot of stars in this post! I used three different yellow markers here, as well as my black brush pen and fineliners.

Like I said, I went a little crazy with the stars! My monthly layout is one thing I kept the same as last year. However, I added a small blog post planner on the side. I think that my calligraphy has really improved from last year, and so you’ll see me do a lot more of it in 2019.

Next, I have my mood and habit trackers, which I could use two pages for! While my habit tracker is a simple grid, I tried something different with my mood tracker. Each day I’ll draw a star hanging from a string, and the longer the star, the happier I was that day.

Here’s my gratitude log. I have a whole page for it! There’s also a quote page that leads into my first weekly spread.

My first weekly spread is simple but pretty. I drew more stars and constellations, as well as writing out a quote and word of the week. I have a to-do section in there as well. I plan to use some black paper in my next few spreads, because my silver gel pen really stands out on it.

There you go! Hopefully you found some good ideas in this post;) You may have noticed that I haven’t done any book spreads yet. Well, I plan to use two pages at the end of each month for a monthly review, so I’ll include something bookish in there;) Have a Happy New Year!

Yours Truly, MyDayIsBooked;)

My 2019 Bullet Journal Set-Up

Hi guys! Hope you all had a great holiday;) I’m super excited to share my 2019 bullet journal set up with you, because I feel like now I have the hang of the bullet journal system and can have a bit more fun with it. Last year was my year to experiment, and now I know what I like and can keep a more effective journal! If you’re new to the bullet journal, feel free to check out my 2018 bullet journal set up, because I explain things a bit more in-depth. Otherwise, let’s get right into my 2019 set-up!

Oh, about supplies, I’ve been using the Tombow Fudenoske Brush pen, as well as some Micron Fineliners and Crayola Super Tips. You don’t need any super fancy supplies to bullet journal, but these markers really help when it comes to calligraphy. You can find them on Amazon.

This year I’m using the Leuchttrum 1917 bullet journal. It’s hardcover and has 249 pages- which means I get 20 pages per month! Like last year, I wrote 2019 on some washi tape and stuck it on the front for some added decoration.

Last year I didn’t really use my index very much, so even though this journal already contains one, I don’t think that I’ll be using it. This means that the first couple of pages in my journal are my key and title page. I definitely simplified my key, because I didn’t use many of the bullets and colours that were in my key last year. also, I’m trying to keep the first pages of my journal pretty neutral, since each month I have a different theme and colour. So for my title page I wrote “Dear 2019, I’m ready” in black, silver and grey.

Onto my future log/year at a glance. As you can see, I have waaaayy more room than last year to plan out any future events! This is because I used four pages instead of two. The bottom was looking a little empty, so I decorated with some washi tape. I really want to get more crafty with my bullet journal this year, by using washi tape, paper, and even printing out pictures. I experimented with this in November and really liked the way that it turned out.

Next, I drew out a space to write the goals that I have for 2019. The opposite page is titled “This Year”. I haven’t filled it in yet, but basically I’ll just write some resolutions that I have for the new year, as well as some things that I’d like to do this year. There’s also a spot to write down one word that I want to be my focus in 2019. I love doing pages like these, because they allow you to look back on what you want to accomplish and help you get focused.

For the final two pages of my set-up, I have a vision board and a quote page. I recently made a vision board on a large poster and hung it up in my room, but I wanted to make space for one in my journal so that I could look at it at anytime. Basically, a vision board is just a spot to paste images of things and people that inspire you, and things you want to work towards. Throughout the year, I’ll add more pictures. I also wrote a sort of mission statement on the other page, and I think that I’ll add some more quotes around it because It’s looking a little empty. Hopefully these pages help me to stay inspired this year!

That’s all for my 2019 set-up! I’ll be posting my January set-up separately, but don’t worry, it’ll be out pretty soon. I hope that you liked my spreads and feel inspired for a whole new year of bullet-journaling!

Yours Truly, MyDayIsBooked;))

DIY No-Candy Advent Calendar

Today is the one year anniversary of mydayisbooked.com! I have a super neat post to share with you guys today, but first I want to thank everyone who has supported and followed my blog in the past year! You guys are awesome:) 

I started making this advent calendar a few years ago, and I really love it. Instead of getting a candy everyday, you have to complete an act of kindness or treat yourself to a favourite winter activity. This is a great concept because it invokes the true spirit of Christmas- giving! You make can this calendar as fancy or as minimalistic as you like; I love to get super creative with it! Down below I have laid out the instructions and materials that you’ll need, as well as some ideas to get you started;)

DIY No-Candy Advent Calendar

Materials

  • 25- 31 envelopes (I used ones that are about 16.5 by 9 cm, but any size works)
  • 25-31 index cards (or cut up pieces of card stock)
  • markers, crayons, stickers, pens, anything you need to decorate your calendar!

Directions:

  1. Number the envelopes from 1-25 (or 31, depending on how many days you want your advent calendar to cover) and decorate them however you want! I drew a kind of christmasy drawing in the corner of each of mine, which took a little while, but it’s totally worth it! **You can reuse the envelopes from year to year to save time**

2. Once your envelopes are finished, take out your pieces of card stock or index cards. On each one, write an act of kindness or winter activity that you want to do in December. Here are 25 ideas that you can use in your calendar:

  • Call your grandparents
  • Bake cookies
  • Build a snowman
  • Write 5 nice comments on social media
  • Make a gingerbread house
  • Shovel your neighbour’s driveway
  • Leave a nice note for someone
  • Compliment someone who you wouldn’t usually talk to
  • Donate money to a Christmas charity
  • Give food to a food bank
  • Make Christmas ornaments
  • Send a letter to a friend, wishing them a merry Christmas
  • Do some extra chores around the house
  • Express gratitude to 5 different people
  • Watch your favourite Christmas movie
  • Make a gift for your teacher or a friend
  • Wear your cosiest sweater
  • Make a holiday playlist
  • Go ice skating
  • Make your favourite breakfast
  • Bake a new recipe
  • Look at Christmas lights
  • Make treats for your pet
  • Make hot chocolate
  • Read before the fire (my personal favourite!)

3. Fold each piece of card stock in half and spread them out randomly so that you don’t know which activity is written on each one. Then put one in each envelope and seal it. This way, the activity that you do each day will be a surprise. If you know that you’ll only have time to do a certain thing on the weekend, then you can make a pile of weekend activities and fill your weekend envelopes from that pile. Also, I like to use sticky tack and hang each envelope on my wall for a cool Christmas decoration, but you can display them however you’d like.

Spread out the pieces of card stock
Place each one inside an envelope

I hope that you enjoy this calendar throughout December! It’s super fun and easy to make and spreads lots of holiday cheer;) Thanks agin for making my first year of blogging so awesome!

Yours Truly, MyDayIsBooked