
I’m SO excited for this post because sushi is my absolute favourite food. I would consider going vegan but I don’t think I could give up sushi! That sashimi- or raw fish- is just too good. Going out to sushi restaurants is always so fun, but right now depending on where you live you might not be able to go to a restaurant. So in this post I’m going to detail how to make your very own sushi at home!
Making sushi can seem complicated, but it doesn’t have to be. All you need is a few simple ingredients that you can find in the International or Asian aisles!

- Sushi Rice – this is usually a Californian or Japanese short or medium grain rice, but will be labelled as sushi rice. It’s important that you use sushi rice because it’s more starchy and sticky than regular rice, which is important when spreading it onto your nori.
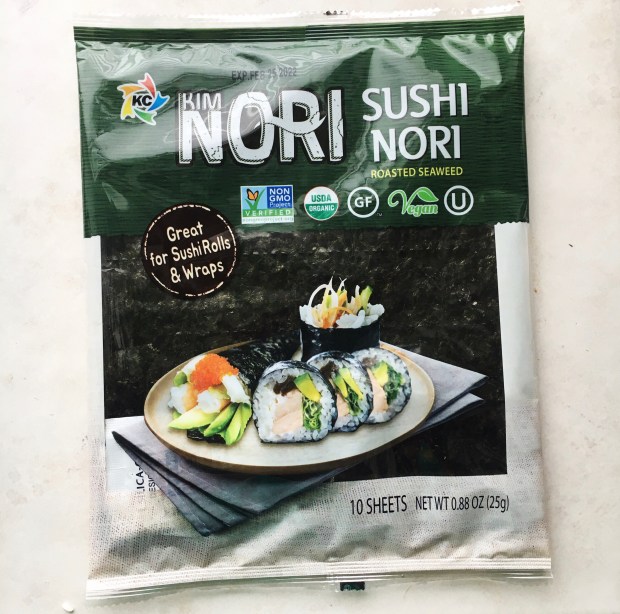
- Sushi Nori (roasted seaweed) – these are rectangles of roasted seaweed that the rice gets spread onto, and everything gets rolled inside.
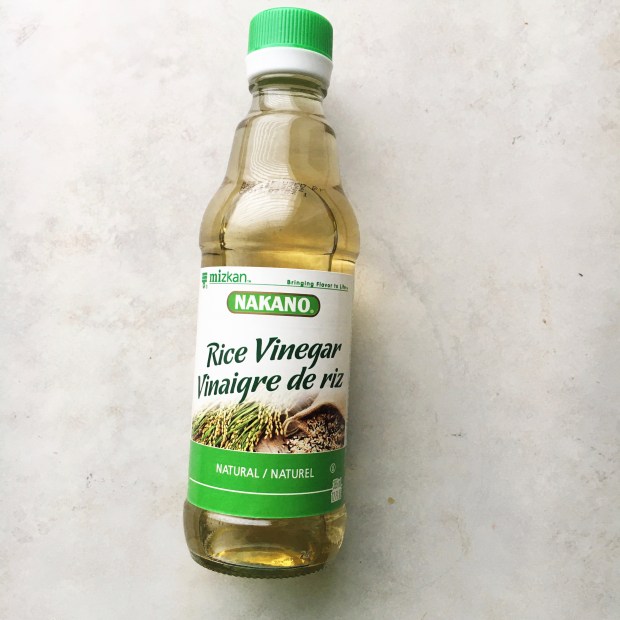
- Rice Vinegar – rice vinegar is used to season up your sushi rice! If you’re making your sushi gluten free, make sure you purchase a gluten free rice vinegar.
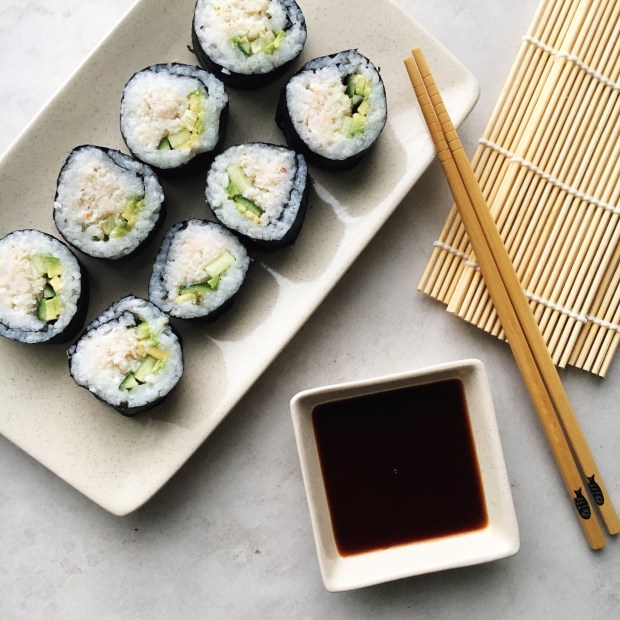
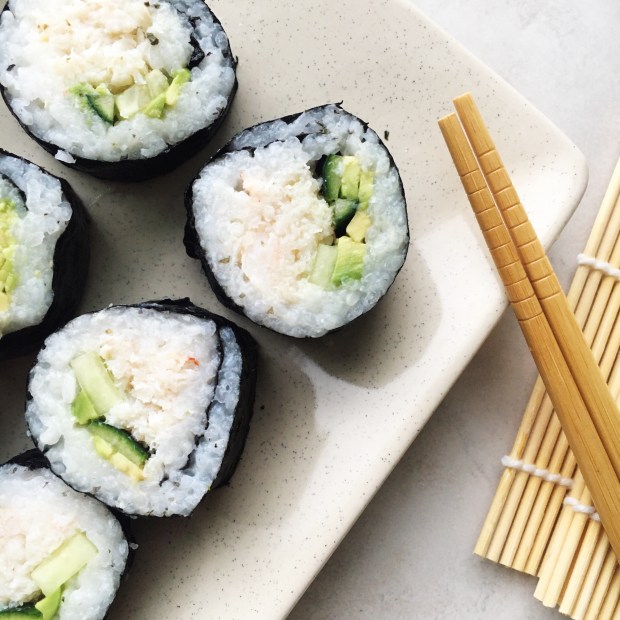
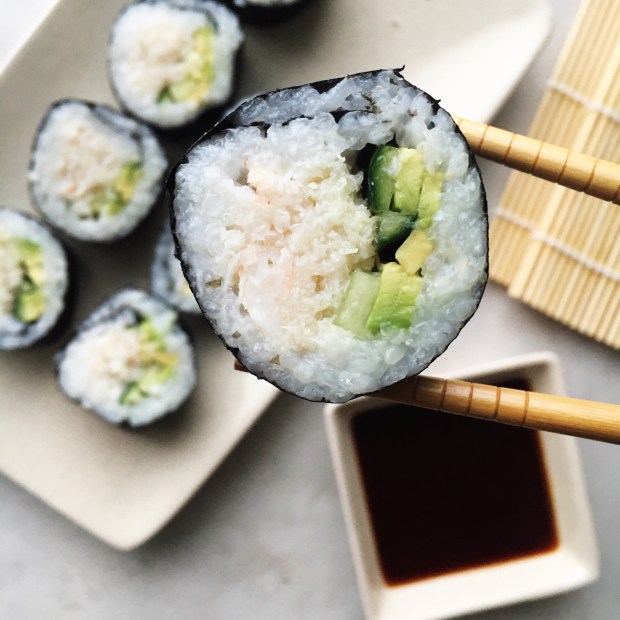
With those ingredients as your base, you can proceed to choose any fillings you’d like. I went with some avocado, cucumber, and canned (not imitation) crab to make some great California rolls. There are so many delicious combinations you can try though- and I hope to get my hands on some sushi grade fish soon!

Some more roll ideas include:
- Vegetarian- fill your rolls with mushrooms cooked in soy sauce, just avocado, carrot, or cucumber, or some combination of the four.
- Sushi Grade Fish- slice up some sushi grade salmon or tuna and pair it with some creamy avocado.
- Cooked Shrimp, Crab or Tuna- fill your rolls with cooked shrimp, canned crab, or canned tuna mixed with soy and avocado (see my Tuna and Avocado Poke Bowls)
Ok, so now we’ve got all of our ingredients rounded up- now it’s time to make some rolls! The first and most important step is cooking your rice.
It’s very important to rinse your rice first, to get rid of some of that starchiness. Otherwise, your rice with be too mushy. I placed mine and a bowl and rinsed and drained it about 4-5 times, swirling it around with my fingers, under the water is clear when I mixed it. I then filled the bowl with more water and let the rice soak for about 10 minutes.

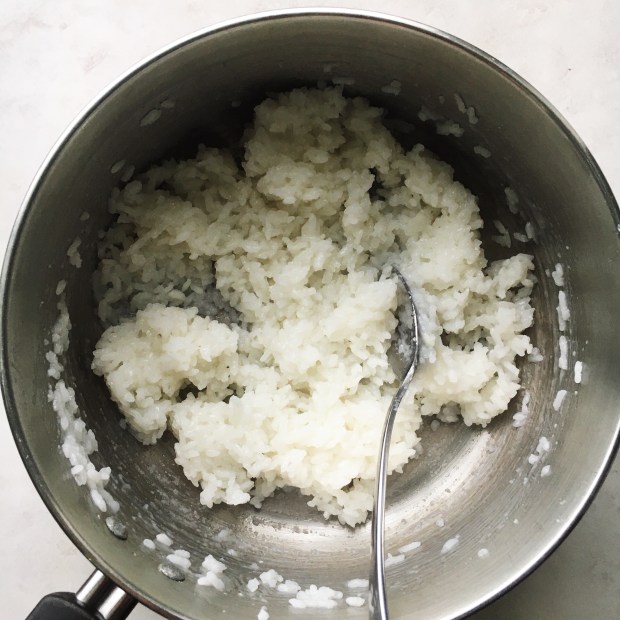
Once the rice is good to go, it goes into a pot with some more water and simmers for about 10-15 minutes, until it’s cooked all the way through. I then let it cool for a bit before mixing in some rice vinegar for flavour.
Get ready to get rolling! To roll your sushi rolls, you’ll need a bamboo sushi mat- these are easily found on Amazon for around ten dollars or so. I got out my mat, covered it with a piece of plastic wrap, and placed one sheet of nori down.

I then scooped out some sushi rice onto the nori, and spread it around with my fingers to cover the whole sheet in a nice, even layer. You don’t want to see too much of the nori underneath, but you also don’t want the rice layer to be to thick, so find a good middle ground. Leave about a centimetre strip at the top empty, however, so that it can seamlessly seal the end of the roll. This picture does not illustrate this very well- do better than me!

For the rolls, you can choose if you want to have the rice on the inside, or the outside. In this demonstration I flipped my nori over so that the rice would be on the outside, but in the photos I took of my final product were of my second batch of rolls, where the rice was on the inside. I found that these were easier to roll and held together more nicely, but you can choose whichever you like best! Here I proceeded to add in my filling right on top of the rice in a straight line, leaving some space at the bottom.

To roll up the sushi, you’re going to fold over the bamboo mat from the bottom, until that overhang you left at the bottom covers the filling ingredients to form a roll. Press firmly so that everything gets held together, and keep rolling until the full sheet of sushi covered nori is rolled into a nice cylinder. You may need to pause a few times to adjust the plastic and the mat during this process. Once everything is rolled up, you can use a bit of water on your finger to seal the nori on the outside of the roll.
All that’s left is to cut the sushi into nice even pieces, dip em into some soy sauce, and enjoy! It can take a little while to get a hang of the rolling, so don’t be discouraged if your first few rolls aren’t turning out so nice- my first rolls were a bit rough. Making sushi is an art that takes years to perfect, but these homemade rolls are great for a little something different at home, and they’re super fun to make as well!
Definitely play around with filling combinations, dipping sauces, and toppings too, to make these rolls your own. If you have any questions feel free to leave a comment! Enjoy:)
Yours Truly,
Olivia:))
Homemade California Rolls
Ingredients
-3/4 cup sushi rice
-1 cup water
-3 tbsp rice vinegar
-1/4 of an avocado, sliced
-1/4 of a cucumber, julienned
-1 170g can of real crab meat
-2 sheets of sushi nori
Directions
1. Add the rice to a small bowl, fill it with water, and swirl it around with your fingers. You should see the water turn white and cloudy as the starch from the rice is released. Drain the rice and repeat this process 4-5 times, until the water remains clear.
2. Fill the bowl with water once more and let the rice soak for 10 minutes to remove additional starch. Drain and add the rice to a pot.
3. Add the 1 cup of water to the pot and bring to a boil, then turn the heat to low, cover, and let the rice simmer for 10-15 minutes, until cooked through. Set aside and let cool before mixing in the rice vinegar.
4. Lay your bamboo sushi mat flat on your counter and cover it with a piece of plastic wrap. Place a sheet of nori down, and proceed to spread out about half of the rice on it in an even layer, leaving an empty space of about one centimetre at the top for sealing.
5. Either flip the nori over so that the rice will be on the outside of your sushi, or leave it so that the rice will be on the inside. In a straight line about an inch away from the bottom of the nori, lay down half of the crab, cucumber, and avocado.
6. Begin rolling the sushi by folding over your mat from the bottom, an pressing firmly to make a tight roll once the empty space at the bottom of the nori has completely encircled the filling. Continue to roll your sushi by rolling the mat, pausing to adjust the plastic or the mat when needed.
7. Seal the roll by brushing a little bit of water onto the nori with your finger. Slice into 8 even rolls.
8. Repeat steps 4-7 with your remaining ingredients.
9. Serve with soy sauce.

These look lovely!
LikeLiked by 2 people
Thank you so much!
LikeLiked by 2 people