Peanut Butter Chocolate Fudge Bars

Hey there! I meant to post a killer fudge recipe closer to Halloween, but I just didn’t have the time. So today I whipped up these Peanut Butter Chocolate Fudge Bars and DANG THEY’RE GOOD! They almost taste like a peanut butter cup, but with no refined sugar and only 7 ingredients! I’m practising some self-control right now by not gobbling up the whole pan. Did I add that they’re no bake and require almost zero effort? If you’re not convinced of the amazingness of this recipe by now, I don’t know what’s going on inside that head of yours. Grab your peanut butter and let’s rock!

Peanut Butter Chocolate Fudge Bars

Serves: Makes About 20 Small Bars

Total Time: 40 minutes

Ingredients:

  • 1/2 cup natural peanut butter
  • 1/4 cup + 1 tbs maple syrup
  • 1/4 cup + 3 tbs coconut oil
  • 1 tsp vanilla
  • 1 cup almond meal (ground almonds)
  • 1/2 cup blanched and slivered almonds
  • 1 tbs cocoa powder

Directions:

  1. In a pot, combine the peanut butter, vanilla, 1/4 cup maple syrup, and 1/4 cup coconut oil. Place over medium heat until the mixture is melted and smooth, but don’t allow it to simmer. Remove from the heat.
  2. Add the almond meal and blanched almonds into the pot and stir until combined. Spread the mixture evenly onto a parchment-lined 8×8 baking pan and place in the freezer.
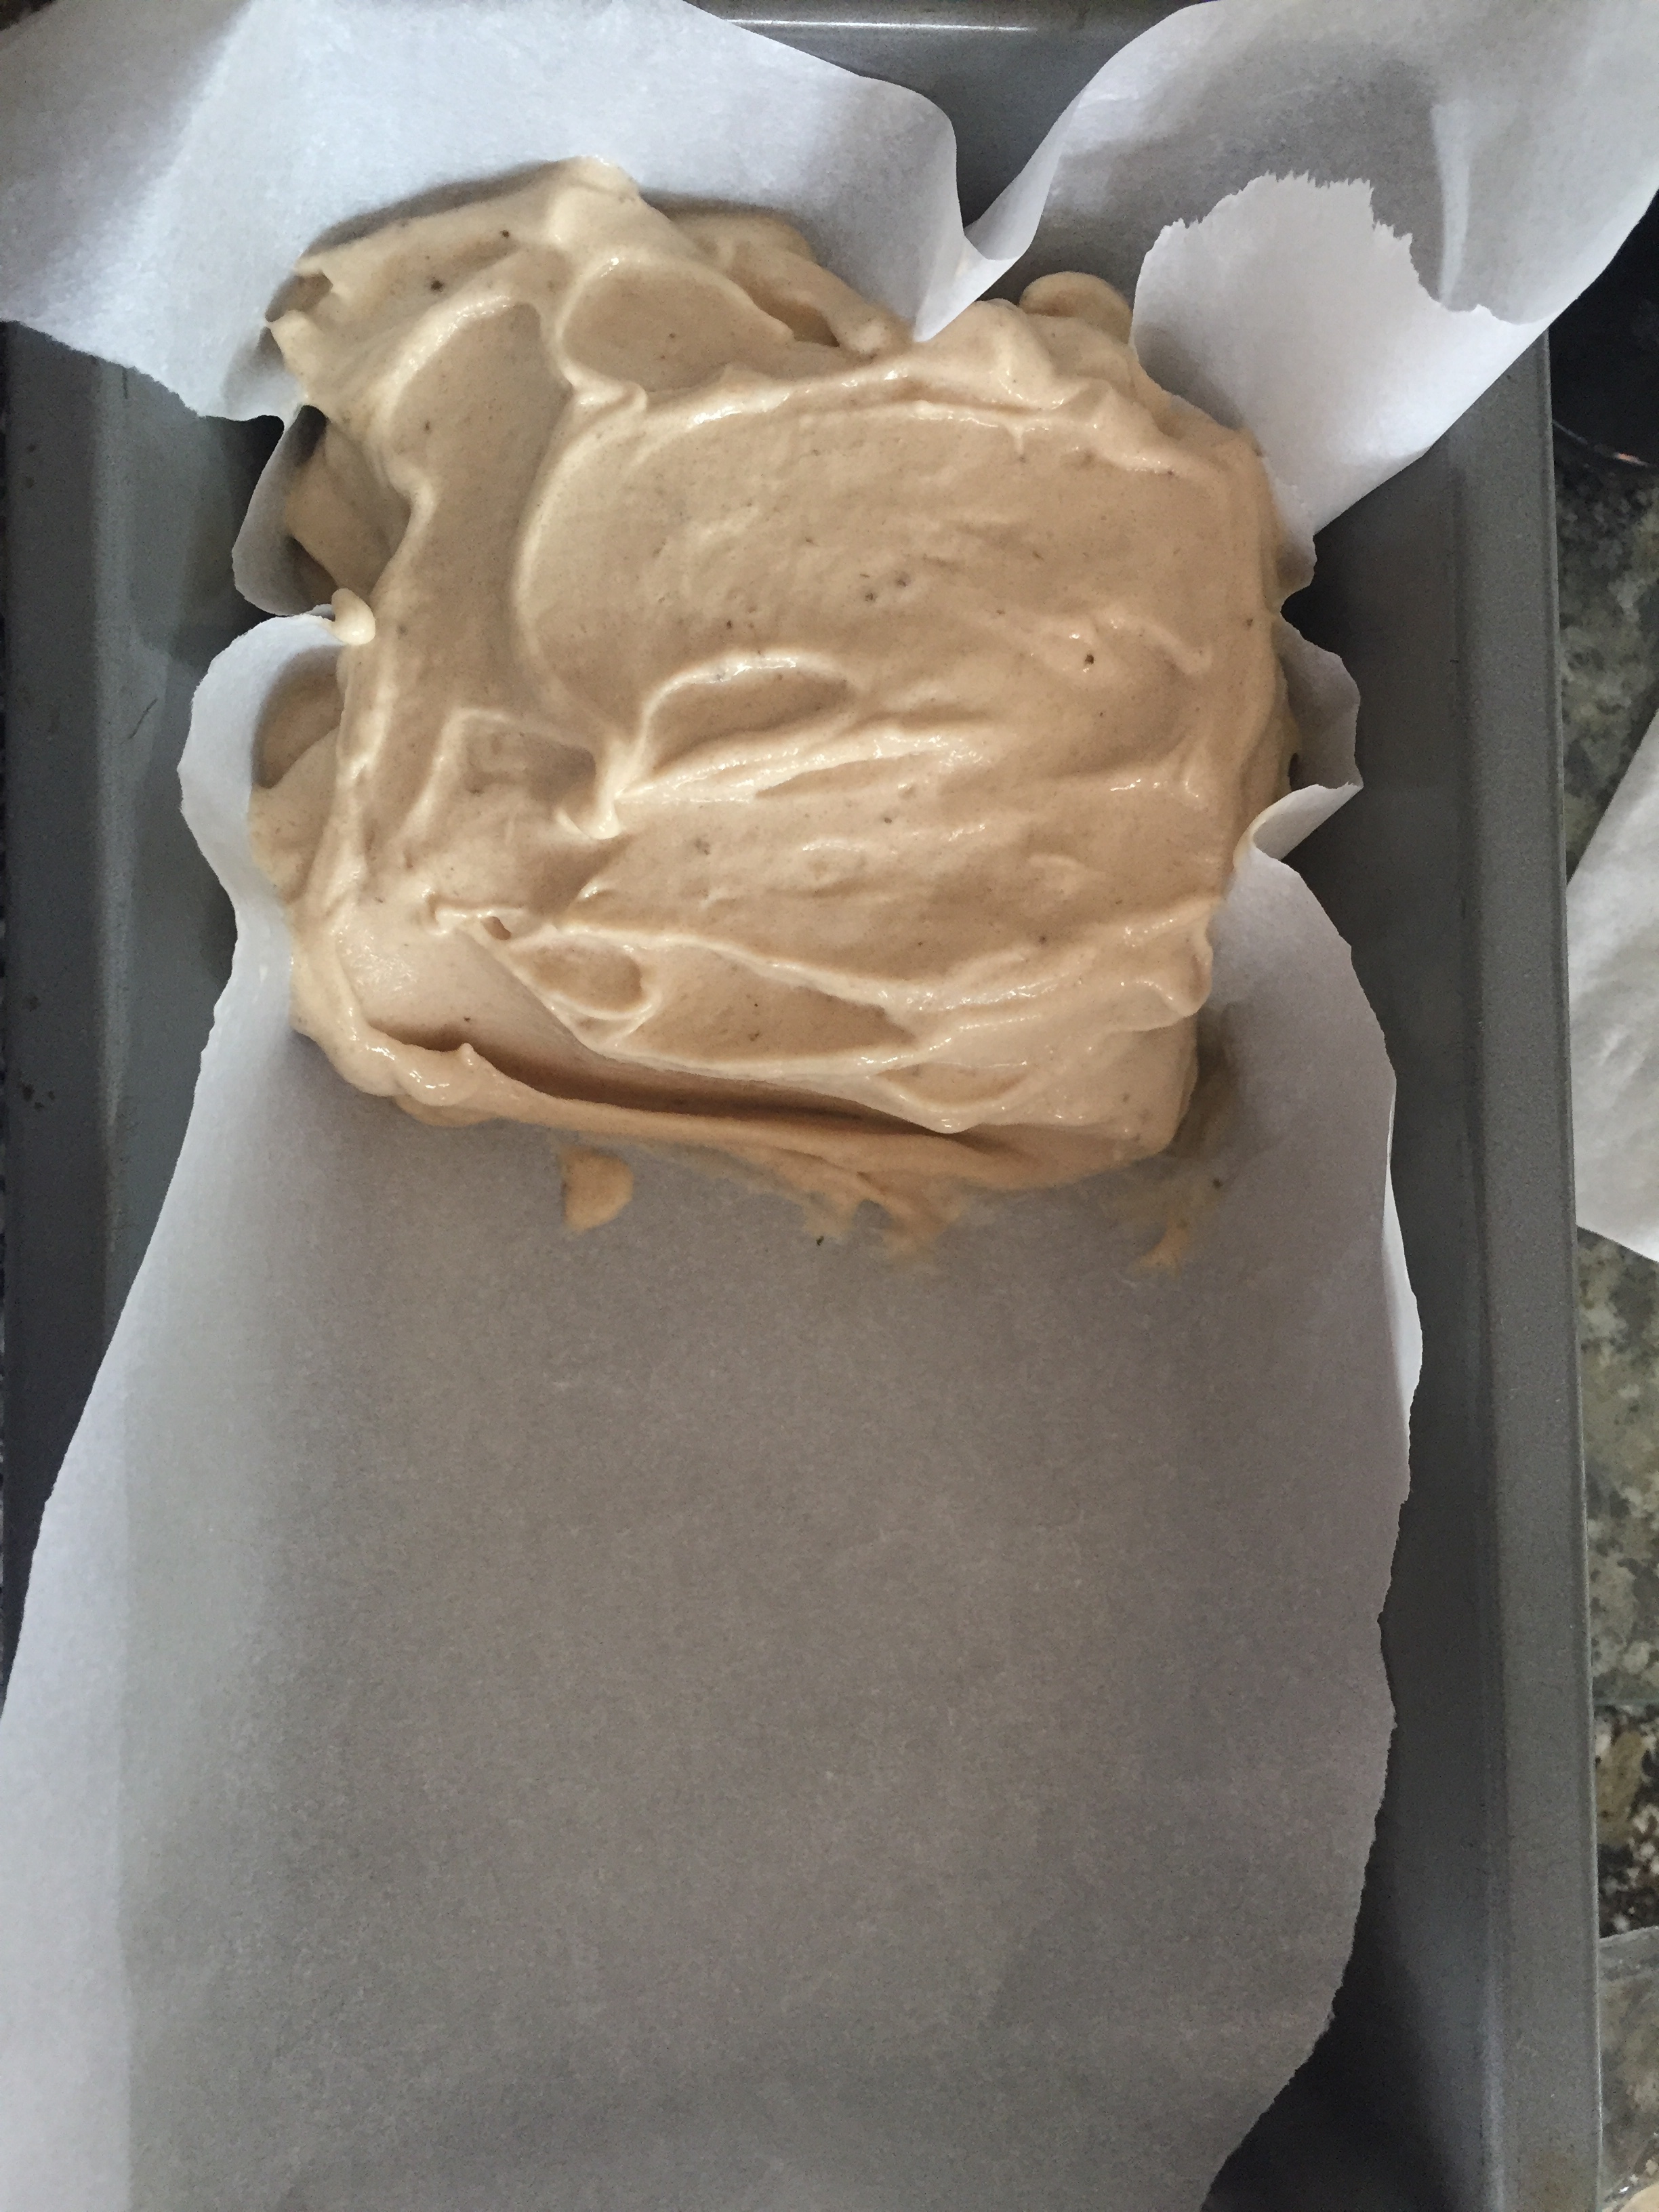
  3. In another pot, stir together the 1 tbs maple syrup, 3 tbs coconut oil and 1 tbs cocoa powder over low heat until melted and smooth. Allow to cool for a few minutes before removing the peanut butter mixture from the freezer and spooning the chocolate over it, covering the top completely. At this point, your fudge bars might look like a soupy mess, but this is normal!
  4. Place the pan into the freezer for 25 minutes to let the bars set. Take them out of the freezer and cut them into small squares. Store in an airtight container in the fridge and enjoy!

These definitely would’ve been good on Halloween, but with the holidays coming up, you’ll still have plenty of time to enjoy these amazing bars! Have a great weekend;))

Yours Truly,

MyDayIsBooked;))

Mango and Banana Nice Cream Sandwiches

Hi! I promise that next week I’ll go back to savoury recipes, but I’m trying to cram all of these summer desserts in before fall;) I don’t think that you guys will be complaining too much anyways, because these ice cream sandwiches are pretty darn good. Mango and Banana Nice Cream is sandwiched between two date and cinnamon cookies, making the perfect treat👌. Hope you enjoy!

Mango and Banana Nice Cream Sandwiches

Serves: 3

Total Time: 60 minutes

Ingredients:

For the Cookies:

  • 8 small dates, pitted
  • 3/4 cup oat flour
  • 1/2 cup oats
  • 1 tsp vanilla
  • 1 tbs cinnamon
  • 1 tbs chia seeds
  • 1/3 cup water

For the Nice Cream:

  • 1 small banana, frozen
  • 1 1/2 cups frozen mango
  • 1 tsp vanilla
  • 6 tbs water

Directions:

  1. Start by making the cookies. Preheat your oven to 350 degrees Fahrenheit.
  2. In a small bowl, combine the chia seeds and water. Let sit for about 15 minutes to form a chia “egg”.
  3. Meanwhile, in a blender, pulse the dates, oats, oat flour, vanilla, and cinnamon until combined.
  4. Dump the mixture into a bowl and add in the chia “egg”. Stir together until a dough forms.
  5. Spoon out a heaping tablespoon of dough and roll it in between your hands to form a ball. Place it on a parchment lined baking sheet and flatten so that it forms a small disc. Continue to do this with the rest of the dough, you should end up with 6 cookies (three sandwiches).
  6. Place the tray in the oven and bake for about 10-15 minutes, until the bottom of the cookies are golden brown. Remove from the oven, transfer to a small plate and place in the freezer to cool completely.
  7. While the cookies are baking, make the Nice Cream. Blend all of the ingredients in a blender until smooth. Place in a parchment lined bowl and put in the freezer while you wait for the cookies to bake and cool.
  8. When the cookies are completely cool, remove them and the Nice Cream from the freezer. Have a small parchment lined baking sheet ready. Scoop about a tablespoon of nice cream onto the flat side of three cookies. Place another cookie on top of each one to form a sandwich. Put the sandwiches on the baking sheet and move them to the freezer right away, before the Nice Cream melts.
  9. Let the sandwiches set in the freezer for about 30-45 minutes before serving.
  10. Enjoy!

Have a great weekend enjoying these sweet treats!

Yours Truly,

MyDayIsBooked;))

Chocolate Dipped Bananas

You guys, I literally thought that it was Sunday today! Funny how summer does that to you🤣 So, as a kind of last minute post, I decided to whip up these chocolate dipped bananas. I’ve had dessert on the brain lately;) This frozen treat is pretty simple to whip up, although a bit messy. All you have to do is make some chocolate sauce, dip the bananas in it, then sprinkle them with nuts or other toppings and throw them in the freezer. You don’t really even have to freeze them if you don’t want, you can just eat them as is. Spoiler Alert: THEY’RE REALLY GOOD. Hope you enjoy;)

Chocolate Dipped Bananas

Serves: 4

Total Time: 60-75 minutes

Ingredients:

  • 2 bananas, slightly ripe
  • 1/4 cup cocoa powder
  • 1/4 cup maple syrup
  • 2 tbs coconut oil
  • 1 tbs water

Other:

  • 4 small skewers

Directions:

  1. In a small pot, mix together the cocoa powder, maple syrup and coconut oil. Bring to a simmer on the stove and stir until well combined.
  2. Remove the chocolate sauce from the heat once it’s reached a simmer. Add in the water and stir. The result should be a smooth sauce.
  3. Pour the sauce into a small bowl, or something that will be easy to dip the bananas into. Cut the bananas in half. Using your hands, dip the bananas into the chocolate sauce and then lay them on a baking sheet lined with parchment paper.
  4. Stick a skewer into each banana and sprinkle with desired toppings.
  5. Eat as is or put the tray in the freezer for about 45 minutes to an hour.
  6. Remove the bananas from the freezer and enjoy!

I already know that there won’t be enough hot days left this summer to enjoy as many of these bananas as I want to🤧🤧 But I guess that eating a frozen dessert in the fall never killed anyone! See you guys on Wednesday;)

Yours Truly,

MyDayIsBooked;)))

Chocolate Saskatoon Berry Pie

Hello! About two weeks ago I went Saskatoon berry picking with my family, and so now we have an excessive amount of berries sitting in our freezer. In order to use some of those up, I came up for the recipe with this Chocolate Saskatoon Berry Pie. And let me tell you, it might just be the most delicious thing that I’ve ever made. The crust is super chocolatey and almost melts in your mouth, plus the filling has just the right amount of sweetness while still managing to show off the Saskatoon berries. Also, did I mention that it’s a no-bake Pie? If you don’t have any saskatoons handy, you can always use blueberries. As always, this Pie is refined sugar free and made with healthy ingredients. Trust me, you need this Pie in your life.

Chocolate Saskatoon Berry Pie

Serves: Makes 1 9 inch pie

Total Time: About 70 minutes

Ingredients:

For the Crust:

  • 1 1/3 cup oats (I used steel cut)
  • 1/4 cup cocoa powder
  • 10 small pitted dates
  • 3 tbs maple syrup
  • 2 tbs coconut oil

For the filling:

  • 2 cups fresh or frozen Saskatoon berries
  • 1/4 cup maple syrup
  • 1 tsp coconut oil
  • 1 tsp vanilla
  • 1/2 cup water
  • 2 tbs oat flour

Directions:

  1. Bring a small pot of water to a boil on the stove. Once it starts boiling, remove it from the heat and put the dates in it. This is to soften them up a bit. Let the dates sit in the hot water for 10 minutes, then remove them from the pot and put them in a blender.
  1. Add the rest of the crust ingredients into the blender with the dates. Blend until the ingredients are combined, but you can still see the oats. If you’re using rolled oats, you might not be able to see them after blending, and that should be ok, but I can’t guarantee anything because I haven’t tested the recipe with rolled oats.
  1. Dump the contents of the blender onto a 9″ Pie plate and use your hands to press down the mixture, forming an even crust all along the bottom and sides of the plate. Any extra crust can be saved and eaten on its own later (it’s that good)😋
  1. Place the pie plate into the freezer and let the crust set up for about 30 minutes.
  1. While the crust is setting, start working on the filling. Add the berries, maple syrup, coconut oil and water into a pot. Bring it to a boil on the stove, then reduce to a simmer. Let filling simmer for about 10-15 minutes, until it has started to thicken up a little. Add in the oat flour and stir, then simmer for another 2-5 minutes until the mixture is the consistency of pie filling, or a little looser.
  1. Take the crust out of the freezer and spoon the filling into it. Place the whole pie in the fridge for about 30 minutes before eating to set the filling.
  1. Serve cold with Nice Cream and enjoy!

You can now say “you’re welcome” to your tastebuds because by making this pie, you’ve made them very happy! Hope you enjoy and that you have a great weekend;)

Yours Truly,

MyDayIsBooked;))))

Neapolitan Nice Cream

Hello everyone! Summer is here and I’m craving some sweet treats! So I brought out my blender and made some delicious Neapolitan Nice Cream😋. Nice Cream has a texture and taste similar to ice cream, but it’s generally made with frozen bananas. It’s light and refreshing, perfect for a hot summer day! This Nice Cream is super easy to make, and only requires 4 ingredients (not including water) to make all three flavours; vanilla, strawberry and chocolate. Make sure you give yourself time before serving to freeze your ingredients, as well as the final product. Here’s the recipe!

Neapolitan Nice Cream

Serves: 3-4

Total Time: 4 hours

Ingredients:

  • 6 medium bananas
  • 6 strawberries, washed
  • 1 tbs vanilla extract
  • 2 tbs unsweetened cocoa powder
  • Water

Directions:

  1. Chop up the bananas into round slices, keeping each banana separate. Split them evenly into three ziploc bags; two chopped bananas per bag. This is so that you can make each flavour of Nice Cream separately.
  2. Remove the stems from the strawberries and cut them into small slices. Put them in with one of the bags of bananas. This bag will be for the strawberry Nice Cream.
  3. Place all of the bags in the freezer, and freeze for at least 3 hours, or until all of the fruit is completely frozen.
  4. Once the strawberries and bananas are frozen, remove the bags from the freezer.
  5. Empty one bag of just bananas into your blender, along with the 1 tbs of vanilla and one tbs of water. This is for the vanilla Nice Cream. Blend until a smooth texture forms. It should look something like this:
  6. Scoop out the Nice Cream from the blender and use it to fill up one third of a lined loaf pan. Put the loaf pan in the freezer while blending up the other flavours.
  7. For the strawberry flavour, empty the bag with the bananas and strawberries into the blender and blend until you reach the same consistency as the vanilla. Scoop it into the loaf pan to fill another third of it, then put it back into the freezer.
  8. Now it’s time for chocolate! Put the last bag full of bananas into the blender with the 2 tbs of cocoa powder and 1 tbs of water, and again blend until you reach that perfect consistency. Fill up the last third of the loaf pan with the chocolate Nice Cream.
  9. Place the loaf pan in the freezer for about 30-45 minutes before serving, to get the perfect texture. If your Nice Cream gets to hard, let it thaw on the counter for a bit before digging in. Enjoy!
  • I hope you like this healthy summer treat! To be honest, I think chocolate was my favourite flavour, but the other ones were great too:) I gave my dog a little scoop of the strawberry and he loved it! Have an awesome week😊😊🍦🍦

Yours Truly,

MyDayIsBooked;)