Coming at you with another quick and easy lunch idea! This one uses cauliflower rice, which I’ve recently discovered and is pretty dang good! It also is loaded with veggies and includes some eggs to get in that protein.
There are so many options for a base when it comes to making “fried rice”- normal white rice, brown rice, and quinoa are all tasty options. But this cauliflower rice just lightens everything up while also being super delicious! The flavour of the cauliflower adds so much to the dish. In addition to that cauliflower, the rainbow of veggies in this speedy meal includes carrots, celery, red pepper, purple cabbage, and red onion. So good!
All of that yummy veg is sauteed first so that they have a chance to get nice and tender. Once they do, everything moves pretty quickly, so make sure you have your ingredients handy. The cauliflower rice gets added- I used some I had in the freezer- along with the eggs, and then everything is seasoned with salt and pepper. The cauliflower only needs to be sauteed for the amount of time it takes the eggs to cook, so that it doesn’t get super mushy, and is still rice like.
I seasoned this dish very simply with just some salt and pepper, to really let all of those beautiful veggies shine! It’s so tasty, fresh, healthy and delicious, and is perfect for meal prepping the night before school, as a quick dinner, or a simple lunch at home. I love the eggs in here because of the great protein they offer! However, if you want to veganize this dish, you can easily substitute for chickpeas or beans.
Hope you like this fast and tasty take on a simple dish!
-1 1/2 cups cauliflower rice, fresh or frozen (grate or process cauliflower florets)
-2 eggs
-Salt and pepper to state
Directions
1. Heat the olive oil over medium heat in a pan. Add in the veggies, except for the cauliflower rice, and sautee until tender, about 6-8 minutes.
2. Add in the cauliflower rice and the eggs, and scramble the eggs with a wooden spoon as you stir the rice into the veggies. Continue to sautee until the eggs are cooked through.
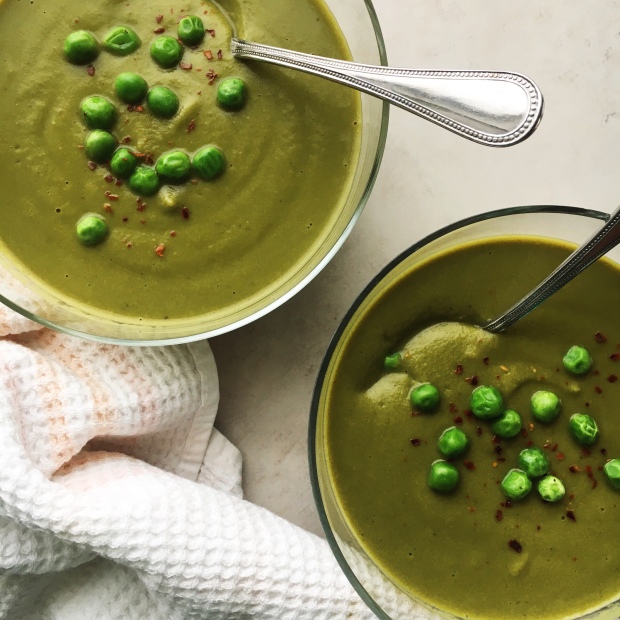
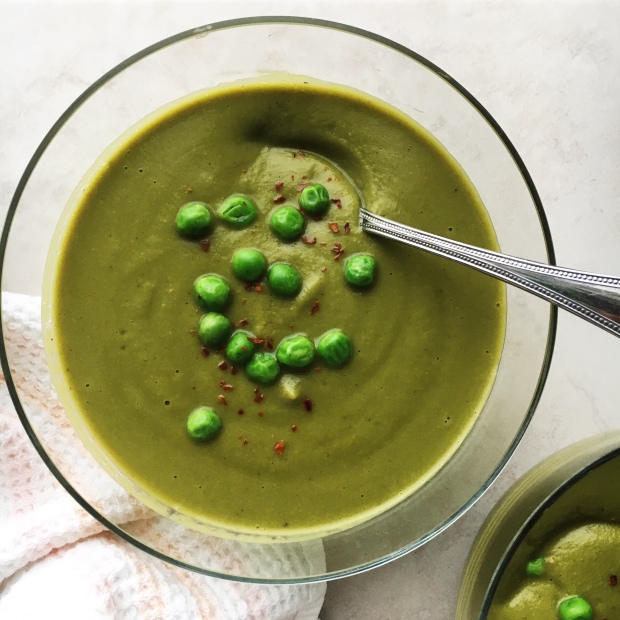
Hey there! I haven’t made a good soup in a while, so this DELICIOUS Creamy Pea and Spinach Soup really hit the spot! Soup is one of those things that might seem complicated or hard to make, but it’s actually super easy. This one in particular is very straightforward!
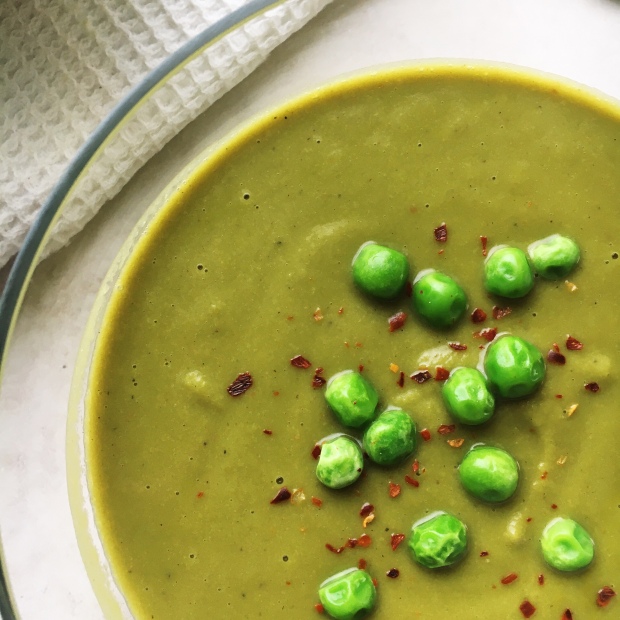
I cooked up some red onion with some garlic to start, then added in the veggie broth and all of the other ingredients! Ground ginger, some coriander and a bit of red chilli flakes add so much flavour, and of course the peas and spinach give the soup its GORGEOUS green colour. I also added in some chickpeas, which when blended help create a creamy texture.
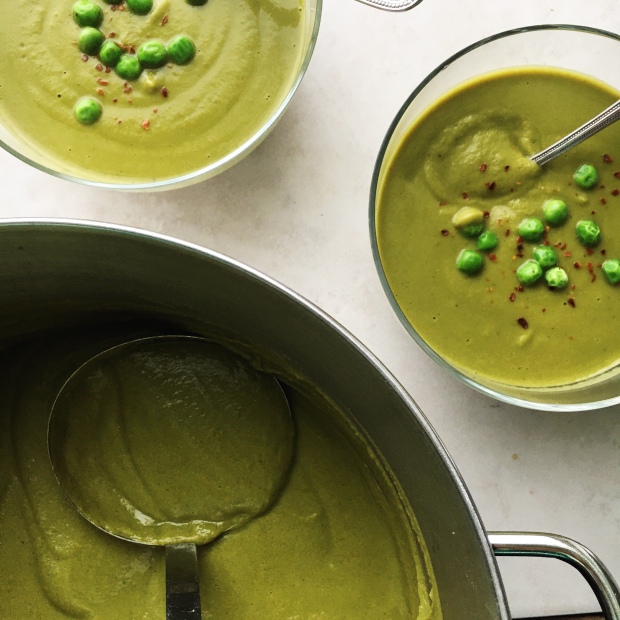
These simple ingredients are all simmered together for a good twenty minutes, to make sure all the flavours come together. Then everything is dumped into a blender and pureed until super smooth! Look at that; so easy and so delicious.
Soup like this is the best on a cold day. And yes, this soup is also freezer friendly, so you can save some for later! Quick lunch idea for the win! It’s a great way to get your veggies in and is really good for you, as well as being naturally vegan and gluten free.
1. Heat the olive oil over medium heat in a large pot. Add in the onion and cook until translucent, about 6 minutes. Add in the garlic and continue to cook for another 2 minutes.
2. Add the veggie broth to the pot, along with the ginger, coriander, peas, spinach, red chilli flakes, and chickpeas. Stir to combine and season generously with salt and pepper. Bring to a boil, then turn the heat to low and let the soup simmer for 20 minutes.
3. Let the soup cool slightly before adding it to a blender or food processor and blending until smooth and creamy. Taste and season additionally if needed.
PANCAKES- one of the best breakfasts ever! I’ve been crazy about pancakes lately and I wanted to share the recipe that I’ve been using. It’s quick, easy, uses 2 INGREDIENTS, and so tasty! I also love all the protein they pack in first thing in the morning.
I’ve used a lot of oats in my pancakes in the past, and while they do make a good cake, they can make things a bit dense. So I went really simple and just used banana and egg- and I loved the result! I remember a few years ago I tried out this simple recipe, but it never really stuck. I’m pretty much obsessed with it now though!
Because they lack a bit of that density that some kind of flour would give them though, they’re a little bit harder to flip. Some tips to make flipping easier are:
Use Slightly Underripe Bananas- slightly underripe bananas are more starchy then when they’re very mushy and ripe, and so using them in this recipe helps the pancakes to hold together better and not burn as easily.
Use a Thin Spatula- the thinner the spatula you use, the easier it is to get under these delicate pancakes and flip em!
Make the Pancakes on the Smaller Side- it can be really difficult to flip large pancakes, and making them smaller means that it’s easier to get under them. I use strictly one tablespoon full of batter for each pancake.
Wait Until You Can See Bubbles All Around the Edges to Flip- I know it can be hard to wait to eat these pancakes, but make sure you wait until you see those bubbles to flip! If the pancake isn’t cooked through enough, the flip will fail.
Keeping those tips in mind, flipping should be a breeze!
I love how versatile this recipe is too- you can add cinnamon, allspice, a bit of cocoa powder, matcha, or any other powdered flavouring you’d like. And for only using a banana and two eggs, you get LOTS of small pancakes- I’m talking like 10-15! I love eating these with some extra banana and frozen blueberries on top, drizzled with peanut butter, with Greek yogurt, or with other fruit. The eggs in them are a great source of protein, so they’re perfect for a pre or post workout snack as well. Or have them for a quick and easy breakfast that makes everyday feel like Saturday!
2. Add in the eggs and the allspice, and whisk everything together until combined.
3. Heat up a small pan over medium-low heat.
4. Scoop the pancakes batter by tablespoon-fulls into the pan, and cook for about 1-2 minutes, until you can see bubbles all around the edges. Carefully flip the pancakes with a thin spatula, and continue to cook for another 1 minute.
5. Use the spatula to transfer the pancakes onto a plate, and repeat step 4 until all of the batter is used up!
Hey friends! I know that prepping lunches/dinners for school/work can be a STRUGGLE. I’ve been there, believe me. So today I’m sharing how to meal prep the perfect lunch bowl, to give you a bit of inspiration to make lunch the best part of the day again!
Packing lunches is difficult for a number of reasons. It could be that you have no idea what to make, or that you’re just lazy (I get you). It’s times like these when it’s the hardest hard to fit nutritious food into your diet. When you don’t feel like prepping food or are lost as to what to even pack, it’s easier to grab more processed snacks and faster, less nutrient dense options. So this is why lunches need to be
a) Exciting
b) Quick and Easy to Make
c) FREAKING DELICIOUS AND NUTRITIOUS
Having a slew of super tasty lunch ideas available makes it way more likely that you’ll have the desire to meal prep, because you’ll know that your future self will be thanking you. And if said delicious ideas are fast and simple to prepare, even better! It won’t be a laborious chore to make sure that you’re nourished everyday. Which is, of course, the goal. To NOURISH YOUR BODY so that you can be the best version of yourself possible. You can’t do that if you’re consistently packing you’re not having a good lunch- whether you’re consistently packing a couple of chocolate bars and a bag of chips, or s few cucumber slices. I have a ton of great lunch options under School Lunches on my site, but keep reading for my perfect bowl formula.
Like I just said, you can’t pack a super tiny lunch full of junk food or just veggies and expect to feel satisfied. You need BALANCE people. BALANCE! And that’s what I love about these bowls. You get your veggies, your complex carbs (aka ones that will help keep you fuller longer), AND your protein (also fills you up), all in a neat little package that is customizable based on what you have, what you like, and what you feel like preparing. The point is, you get a delicious meal that is simple and easy to make. Which is the optimum recipe for meal prepping success!
Once you have these bowls made, feel free to add a little something extra on the side, whether that be more fruits and veggies, or a little treat. If you’re getting all of your required nutrients in to fuel you throughout the day, of course you can have a lil something sweet- check out my healthy desserts here. It keeps things interesting and satisfying.
Before I present you with this bowl building guide, let me assert this point- UTILIZE LEFTOVERS! Whether it’s some chicken from that night’s dinner, some quinoa you made a few days ago, or some random roasted veggies that you have in your fridge, leftovers of all kinds are welcome in these bowls and are a part of what makes them so quick and easy!
You’ll definitely notice the difference once you fuel up properly, as opposed to being unsatisfied with your lunch choices. And this is incentive should be enough to keep on meal prepping! I hope that this perfect bowl formula helps you out- it’s my go-to lunch almost every day! Let’s get into the very simple steps.
Step 1: Choose Your Complex Carbs
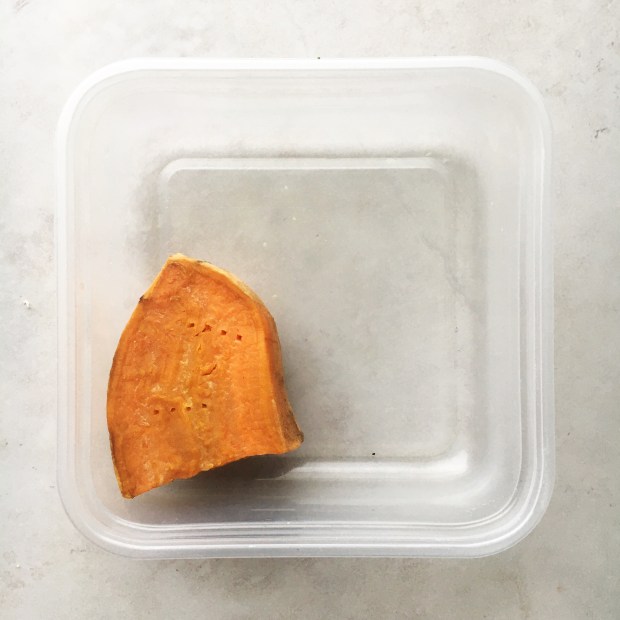
Carbs are IMPORTANT because they give you energy for the day ahead, and help you feel full! Don’t leave em out. What is also important, however, is making sure that you’re choosing whole grain and complex carbs that release energy more slowly and provide you with more nutrients than more quick to release, simple carbs. Think whole wheat bread instead of white bread, and brown rice or quinoa instead of white rice. But if you don’t have whole grain options on hand, don’t shy away from using carbs like white rice. You still need that energy, and carbs shouldn’t be something to be afraid of. Fill your tupperware to about a 1/4 full with your carb of choice! Some of my favourite complex carb ideas are:
Veggies are full of nutrients and are an essential part of these bowls! Both fresh and cooked options work great- or use a combination of the two. I always like to have a bunch of different veggies on hand in the fridge, ready to be used for such situations. Be sure to pick veggies that YOU LIKE- don’t force yourself to eat stuff you hate, because that is not sustainable. Fill your tupperware at least 1/2 full with veg- here are some ideas:
Tomatoes
Cucumber
Corn, peas, or other defrosted frozen veggies
Beets
Cauliflower
Zucchini
Carrots (I grate mine- game changer!)
Spinach
Lettuce
Mushrooms
Celery
Broccoli
Peppers
Olives
The list goes on and on!
Step 3: Pick Your Protein
Protein is vital- it helps keep you feeling fuller longer, and is necessary to build muscle tissue and for your body to function in general! When you think protein, you may just be thinking of your conventional sources- meat- which can be hard to include if you don’t have any ready to go. There are a TON of easy protein options out there though! Many of them can be prepped before hand, and a bunch of others are ready to go as is. These are some great healthy protein options to add to your bowl:
Boiled eggs (I love boiling a bunch at a time, and having them ready to use for the next few days)
Chicken, pork, or beef (including leftovers, or meat that you cook in a batch for meal prep)
Canned tuna (mix with some mashed avocado so it’s less dry)
Ok, so we’ve got carbs, veg, and protein, which, on their own, should taste pretty good. You can see that I added some more protein in the form of chickpeas to this bowl as well. But to make these bowls even better, be sure to add some healthy fats and flavour at the end! I’m talking homemade dressings, hummus, tzatziki, avocado, nuts and seeds, or simply some balsamic vinegar! Healthy fats are a necessary part of your diet, and make your lunches that much more satisfying. Try and stay away from store bought dips and dressings- they can be full of preservatives, sugars, and other not so nice ingredients! Some finishing touches I like to add to my bowls are:
Dips and dressings (see my favourite recipes here)
Hummus
Salsa
Vinegars (love my balsamic)
Avocado
Nuts
Seeds
There you have it- the perfect steps to make your meal prep dreams come true! There are so many combinations and that’s something that I love about this formula, but here are some flavour combo ideas if you’re feeling a bit overwhelmed:
All of those combos sound amazing! Go ahead and get creative, and I promise that these steps will help you to create delicious, filling and nutritious lunches and keep you coming back for more.
Hi guys! This is truly one of my favourite recipes ever- it’s so full of flavour and VERY hearty, as the name suggests. It’s healthy, vegan, and so so good. I posted the recipe for this chilli just under two years ago, but WITHOUT A PICTURE. So I thought it was time for you guys to see just how good it is😍
Chilli is honestly one of the easiest things you can make, and also one of the most comforting. When I think of a big bowl of this warm chilli, I think of curling up under a blanket after spending the day outside in the cold. The chilli itself has so much delicious flavour, and it’s PACKED with beans and veggies! The more stuff my chilli has in it, the better, and if you agree you’ll adore this recipe.
It starts the way many other delicious things do- with onion and garlic. They get fried up in some olive oil before the spices get added, and become the base of flavour for the chilli. And let me tell you, that is the most technical part of the recipe right there. After that, it’s pretty much just dumping the rest of the ingredients in, giving it a stir, and letting all those aromatics come together in the pot.
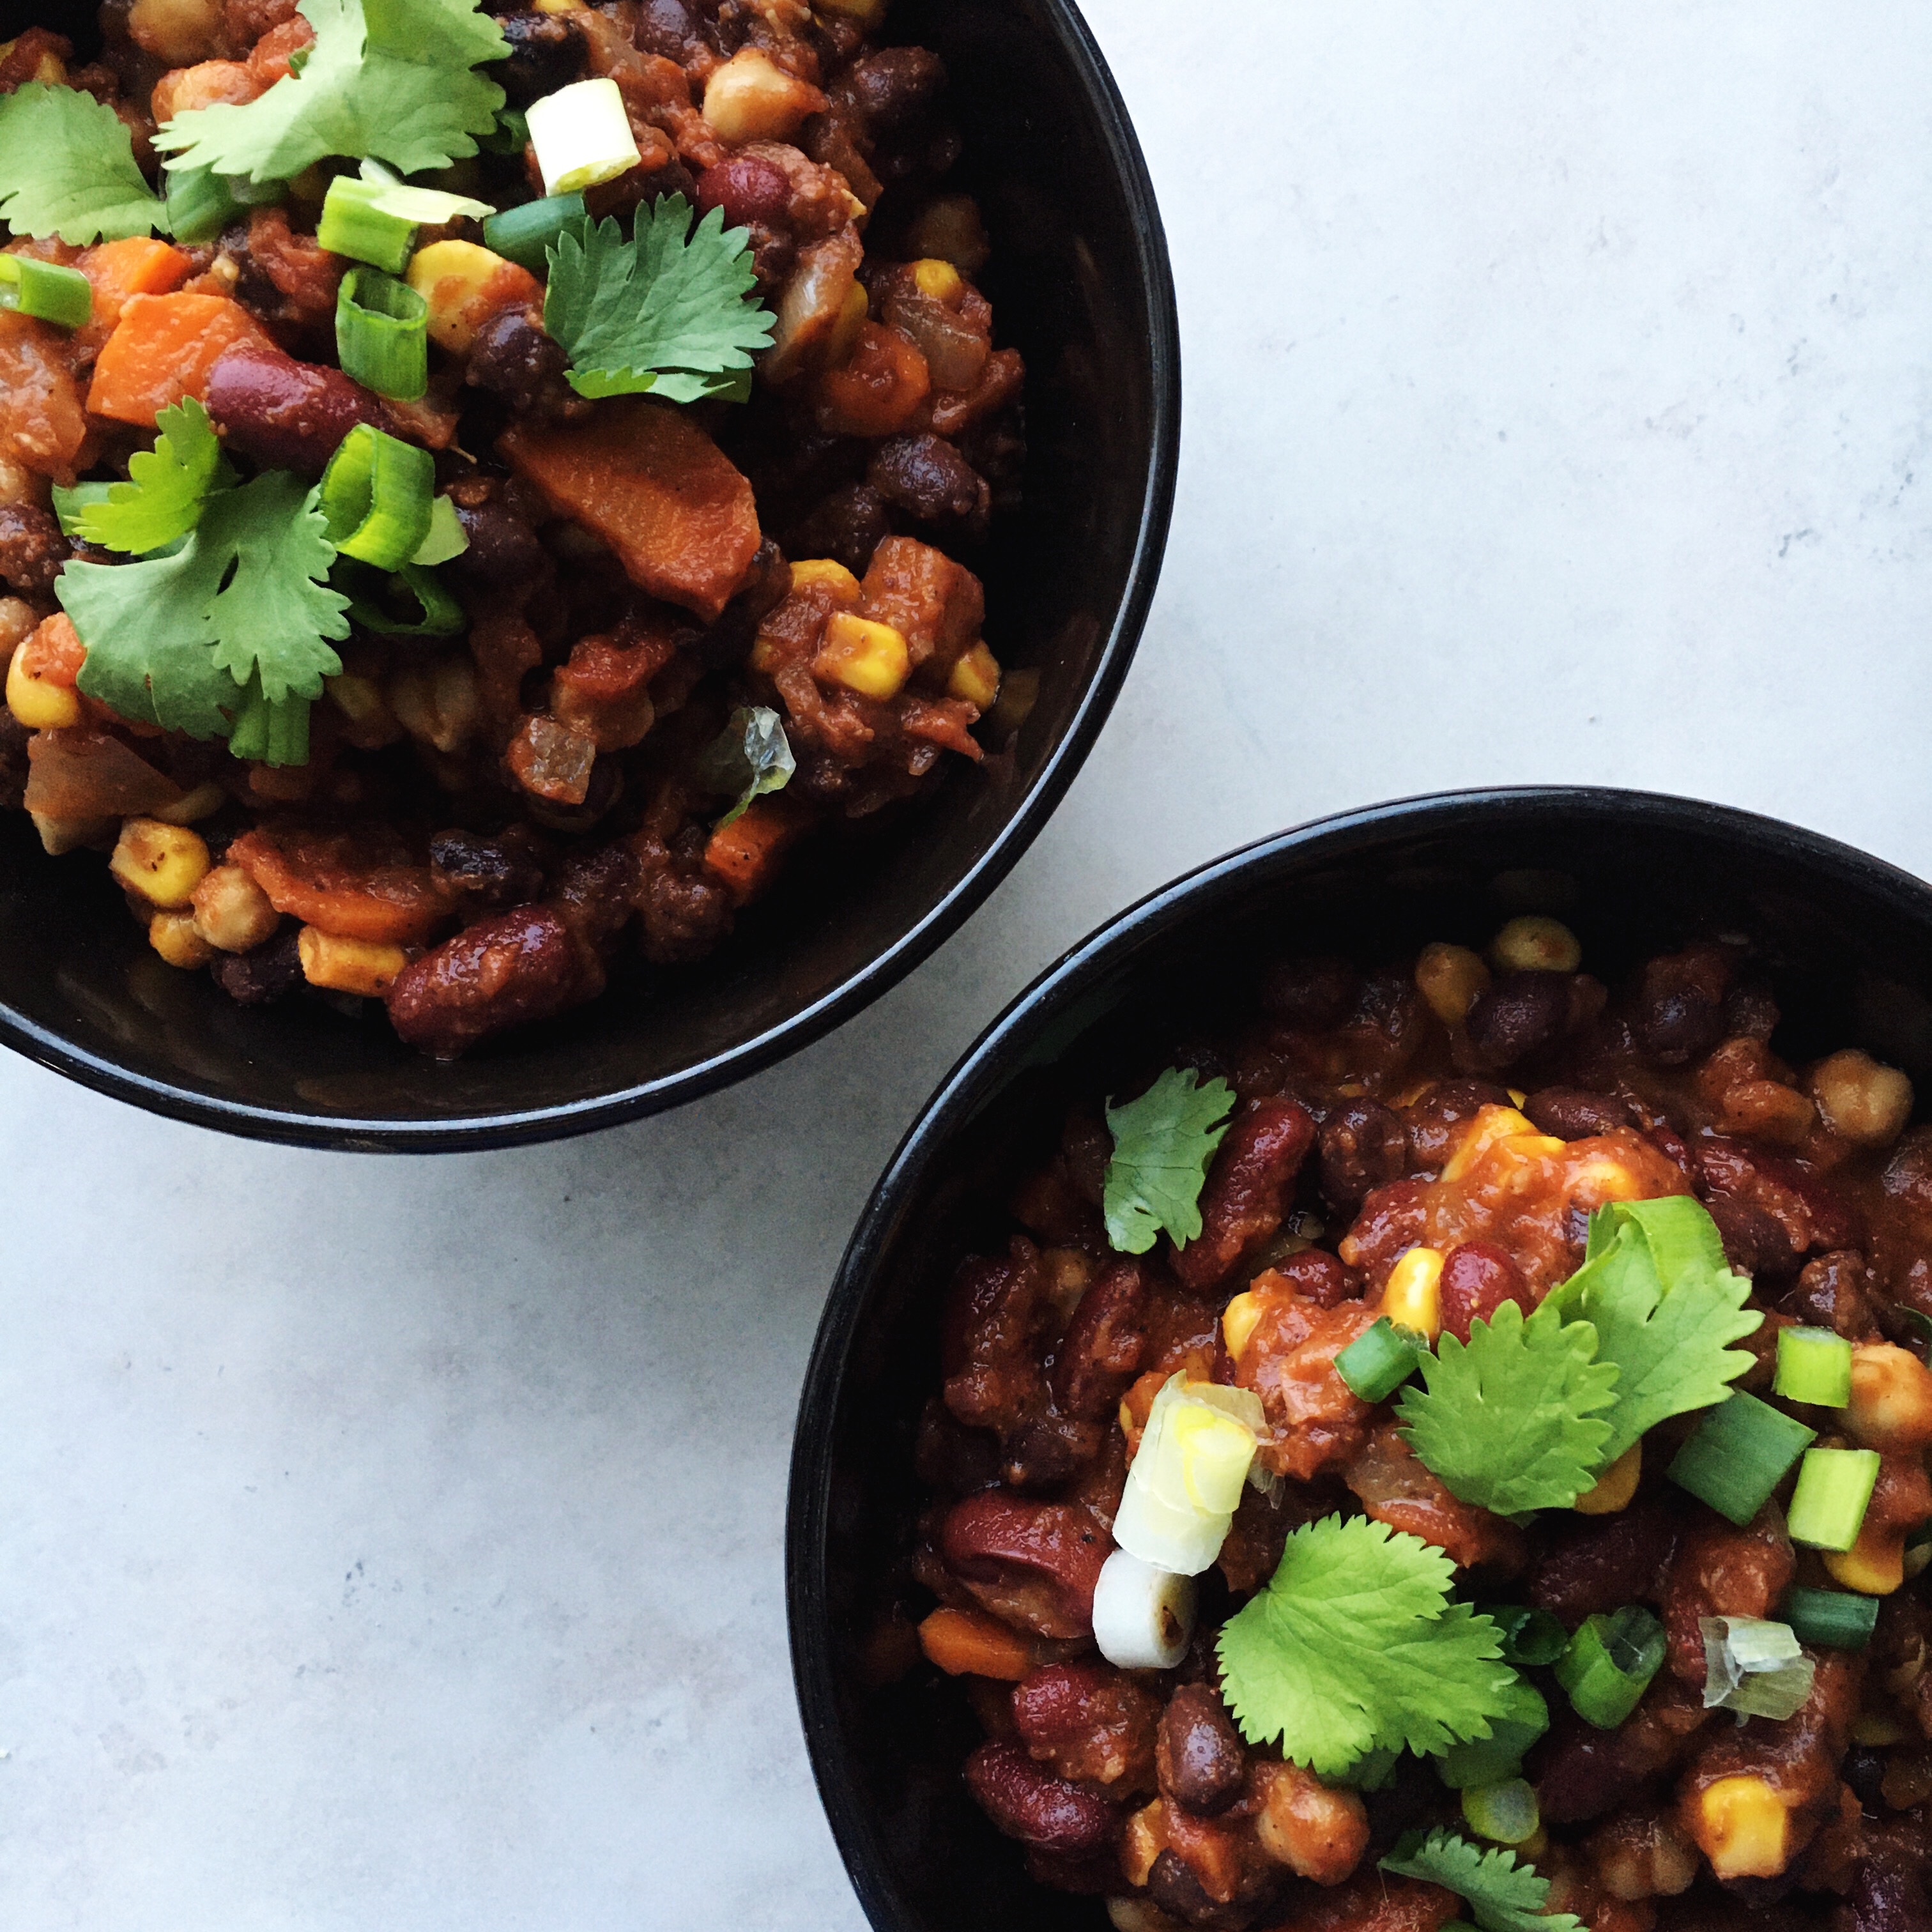
Once the chilli is done- you can tell because the carrots will be soft enough to pierce with a fork- I like to scoop out big bowls of it, and top it with some cilantro and chopped green onion. Some hummus would even be great on there too!
All the veg in there is so good- you’ve got tons of corn and carrots, plus black beans, chickpeas, and red kidney beans. This means there’s so much protein and it will definitely fill you up! Perfect for school lunches👌On a related note, this recipe is freezable and therefore great for meal prepping as well. Literally, any situation you’re in, this chilli is applicable.
Make sure you check this chilli out- it’s one of my favourite recipes for a reason!
1. Heat the olive oil in a large pot over medium heat. Add in the onion and cook for 6-8 minutes, until translucent. Add in the minced garlic and cook for another 2 minutes.
2. Add all of the spices to the pot and cook for 1 more minute, just to brown them up a bit. Next, dump all of the other ingredients into the pot and give everything a good stir.
3. Bring the chilli to a simmer, then turn the heat down to low and cover the pot. Simmer for 25-30 minutes, until the carrots can be pierced with a fork.
4. Season to taste with salt and pepper, remove from the heat and serve warm.