Hey friends! I’ve already posted a great guide on How To Meal Prep The Perfect Lunch Bowl, but today I wanted to give you a few more tips on how to make eating during the week much easier.
While making lunch bowls is a super easy way to stay ahead, having these 5 ingredients always prepped and ready to go means that you’re, like, AHEAD. It makes it so easy to just throw some stuff into a bowl and go, without cooking each separate component every time you need to make your lunch. Some of these ingredients are great for a quick breakfast too!
Trust me, when eating well is this convenient, it’s almost too easy. In about 20-30 minutes, you can have almost all of these 5 versatile and healthy foods prepped and ready to go for the week. 20-30 minutes- FOR THE WHOLE WEEK. It’s just way less of a headache then having to remake the same things every day, and will definitely help you to fuel your body for all of the amazing things that you do when you’re on the go.
I love having these foods on hand, and there’s so much you can do with each and every one of them to keep things interesting! I’ll definitely be sure to list some recipes and ideas that you can try with them. here they are!
Quinoa
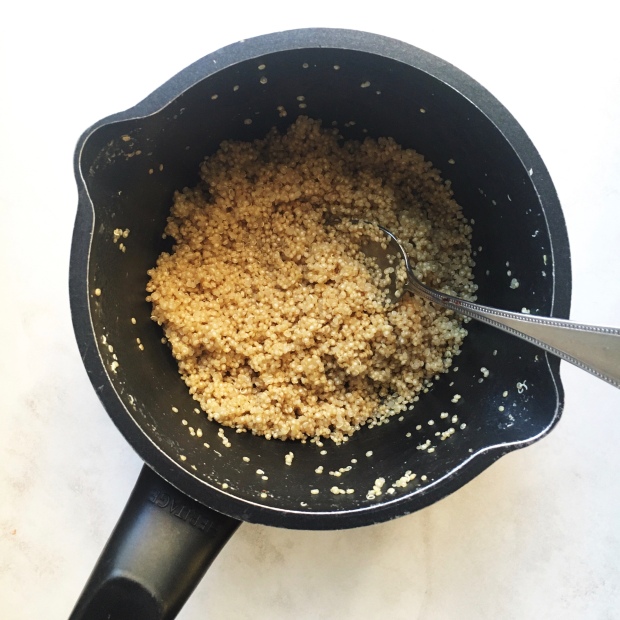
Making a big batch of quinoa at the beginning of the week allows you to make a variety of different bowls, salads, and stir-frys with ease! Quinoa takes 15 minutes to cook and contains all 9 essential amino acids, amazing it a complete source of protein, as well as a complex carb. It’s the perfect base for a lunch bowl, and is great for breakfast, lunch or dinner. That’s right- I said breakfast! Mix some quinoa with fruit, almond milk or yogurt for a quick breakfast, like in these Cherry, Peach and Quinoa Breakfast Bowls. Hands down, quinoa is the most versatile ingredient on this list. Check out these great recipes you can make with pre-cooked quinoa!
- Cherry, Peach and Quinoa Breakfast Bowls
- Veggie Fried Quinoa
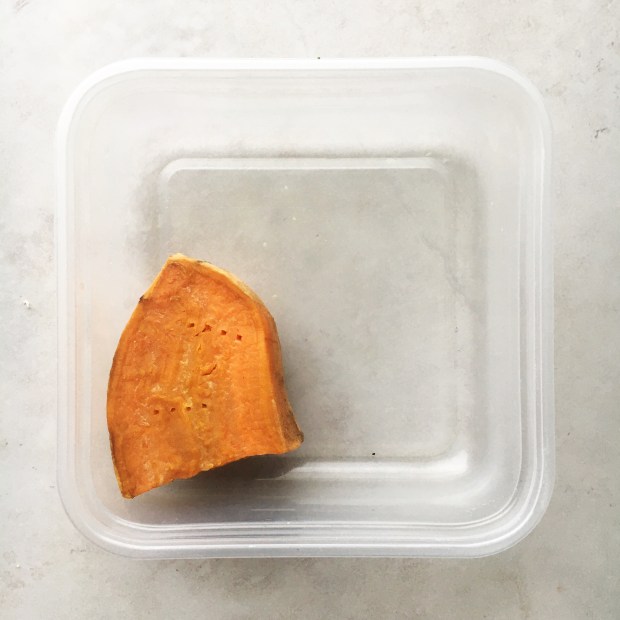
- Chickpea Salad Stuffed Sweet Potatoes
- Lentil and Quinoa Salad
- Double Pea Fried Quinoa
Hummus

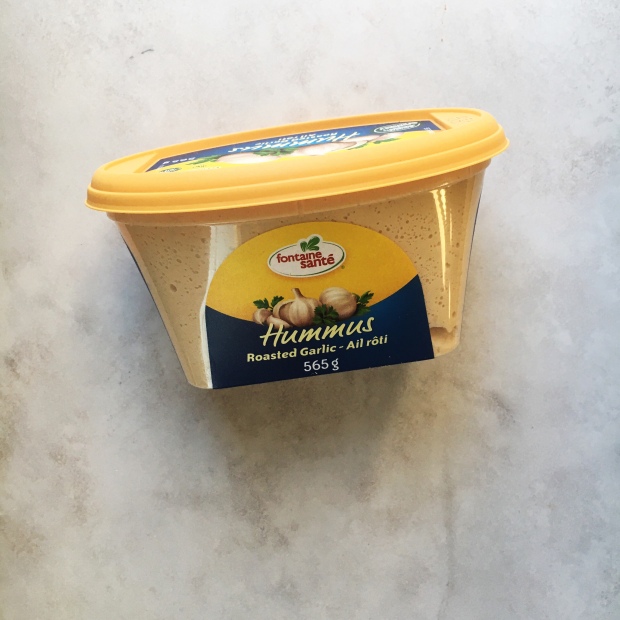
Whether you make your own hummus or buy it at the store (no judgement here- there’s a great hummus that I love from Costco), having some in your fridge at all times is a great idea. It makes a delicious snack paired with crackers or veggies, or spread on toast. Plus, dolloped onto bowls and salads it’s SO GOOD- not to mention the amazing flavour it gives to sandwiches and wraps. Hummus brings any of your meals to life, especially your lunch bowls, and so it’s great to have some always ready to go! Here are some delicious hummus recipes- and some recipes that use hummus in delicious ways!
- Herb and Garlic Hummus
- Butternut Squash Hummus
- Spiced Up Hummus
- Creamy Mushroom and Hummus Pasta
- Toasty Curried Zucchini and Hummus Wrap
Boiled Eggs
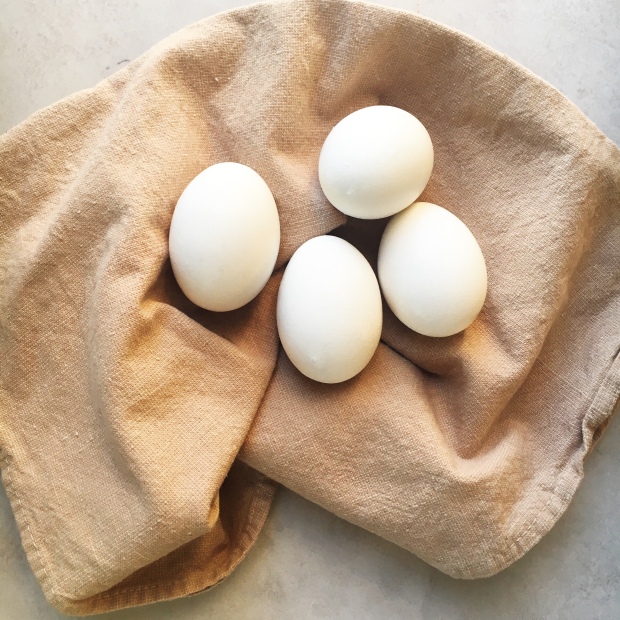
Gotta get that protein baby! Protein is super important for building muscle and filling you up, but it can be hard to fit into your diet. Having some boiled eggs prepped in the fridge means you can just grab some and go. Need breakfast? Good, grab a couple eggs. Making a lunch bowl? Add a couple eggs. Quick snack? Eggs! I know some of you might get tired of eggs quickly, so even prepping them just once every couple of weeks can keep them from becoming boring. I have one salad recipe where I use a nice soft boiled egg- but feel free to add an egg to any salad or bowl!
Roasted Chickpeas
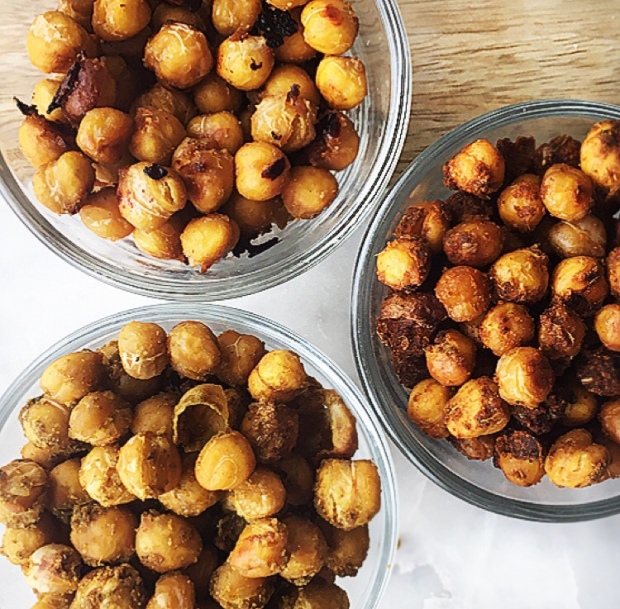
Roasted chickpeas are so crunchy and delicious, and are packed with protein and fibre! This makes them an amazing snack, and a super tasty addition to sandwiches, salads, bowls, and wraps. It only takes about 20 minutes to roast up some chickpeas, and there are a TON of delicious flavours out there! Here are some great roasted chickpea recipes- and a couple of recipes that highlight these crispy little legumes.
- 3 Flavours of Crispy Chickpeas
- Balsamic Roasted Veggie and Quinoa Salad
- Mediterranean Sweet Potato Toasts
Frozen Bananas
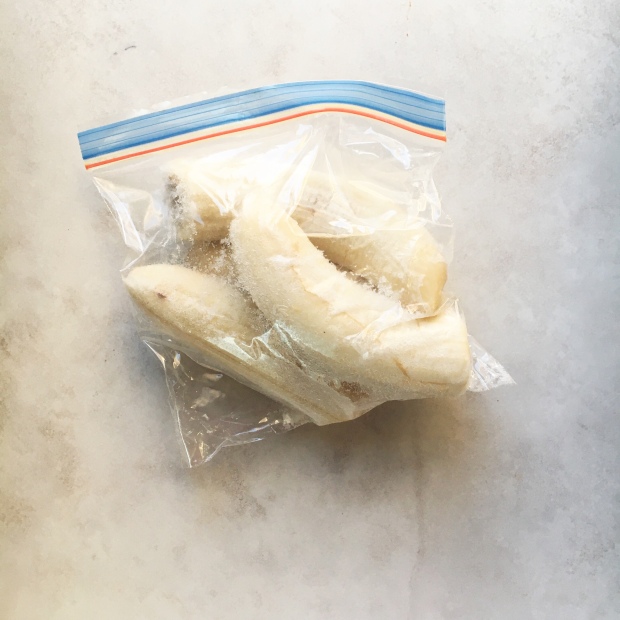
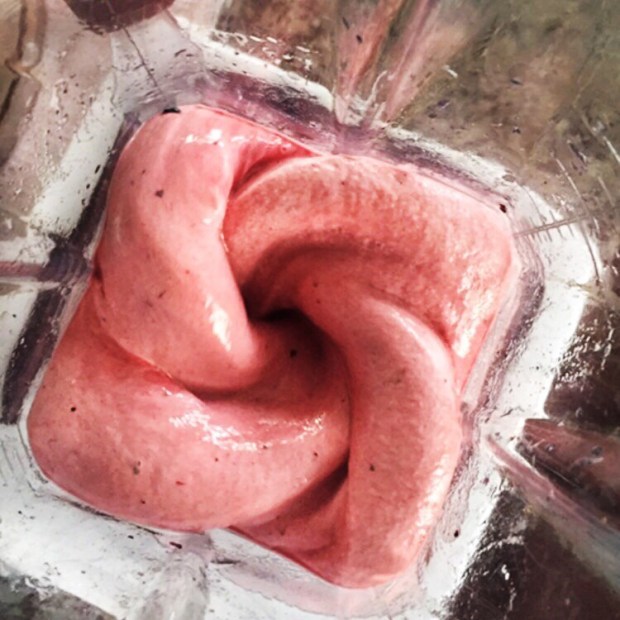
Fresh bananas are definitely a necessity for me, and I eat one almost every day at breakfast. But having a couple of frozen bananas in the fridge is a lifesaver- mainly for making smoothie bowls! Frozen banana gives your smoothies and smoothie bowls an amazing creamy texture and a perfect touch of sweetness. Even if you’re not a big fan of smoothies, you can still easily defrost a frozen banana and add it to oats, pancakes, or make some delicious banana bread. You can freeze your bananas peeled and halved like this, but I like to chop them up first, so that I can skip the hassle of trying to cut up a frozen banana! Here are my favourite frozen banana recipes.
- Chocolate Smoothie Bowl
- Peanut Butter Cluster Nice Cream
- Chocolate Shake
- Banana Walnut Nice Cream
- 2 Summer Smoothie Bowls
I hope this list helps you out when planning ahead for your busy week! Making sure that you’re getting the kind of fuel your body needs is super important, and having these ingredients on hand will definitely make it a lot easier. As always, if you have any questions don’t hesitate to reach out!
Yours Truly,
Olivia:)))